


4
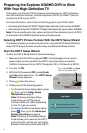
Preparing the Explorer 8300HD DVR to Work
With Your High-Definition TV
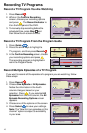
First make sure that your DVR is properly connected to your HDTV television
and other electronic devices. Use the component (PrPbY) or HDMI™ ports to
connect the DVR to your HDTV.
For more information, refer to the connectivity guide for your DVR model:
• Connecting the Explorer
®
8300™ Digital Video Recorder, part number 4003987
• Connecting the Explorer
®
8300HD™ Digital Video Recorder, part number 4003986
Note: The composite ports (red, yellow, white) and the component ports (PrPbY)
on the back of the 8300HD are both active simultaneously.
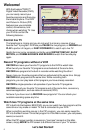
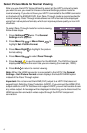
Selecting HDTV Picture Formats With the HDTV Setup Wizard
The following section provides instructions for using the HDTV Setup Wizard to
select HDTV picture formats using the Easy and Advanced Setup modes.
Start the HDTV Setup Wizard
To start the HDTV Setup Wizard, follow these steps.
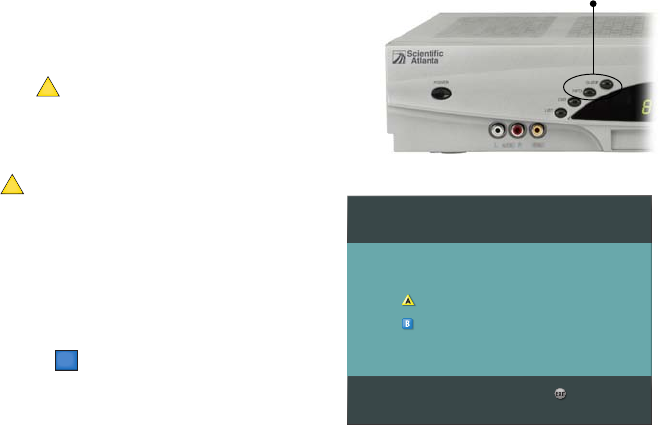
1. Make sure that the DVR is powered OFF, but still plugged into an active
power outlet, and connected to the HDTV using the proper connectors
(HDMI or Component for an HDTV; Composite, RF, or S-Video for a SDTV).
2. Turn the TV ON.
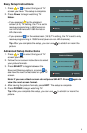
3. With the DVR powered OFF, press Guide
and Info at the same time. The HDTV Setup
Wizard screen appears.
4. Press to start the set up.
5. Choose one of the following options:
• To choose the Easy Setup option press
A
; then, go to the Easy Setup
Instructions on page 5.
Note: Choosing the Easy Setup
mode limits your HDTV picture
formats to 480i and 1080i, depending
on the TV type you select.
• To choose the Advanced Setup option
press
B
; then, go to the Advanced
Setup Instructions on page 5.
Note: Choosing the Advanced Setup
mode allows you to save all the HDTV
picture formats, so that you can toggle
between them easily while watching TV.
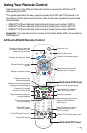
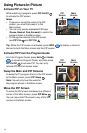
Setup Options
Press for Easy Setup: Used by most TV viewers
Press for Advanced Setup: Used by advanced TV viewers
Complete setup
Press the Guide and Info
keys at the same time
A