28
On-Screen Display Menu
System Options
Menu
View Option
Input Terminal Setting
AQUOS LINK Setup
Menu Design
Operation Lock Out
[Off]
Icon Light Up Setting
Demo Mode
System Options
System
Options
Example
1
Press MENU to display the MENU screen, and then
press
c
/
d
to select "System Options".
2
Press
a
/
b
to select a specifi c adjustment item and
then press ENTER.
3
Press
a
/
b
(or
c
/
d
) to select the desired setting,
and then press ENTER.
4
Press MENU to exit.
View Option
These functions are useful for adjusting the audio
and video settings. The View Option functions can be
operated with the remote control unit.
View Mode
This function changes the screen size.
Select "View Option" on the menu to display the View
Mode menu screen.
The View Mode menu varies depending on the input
source.
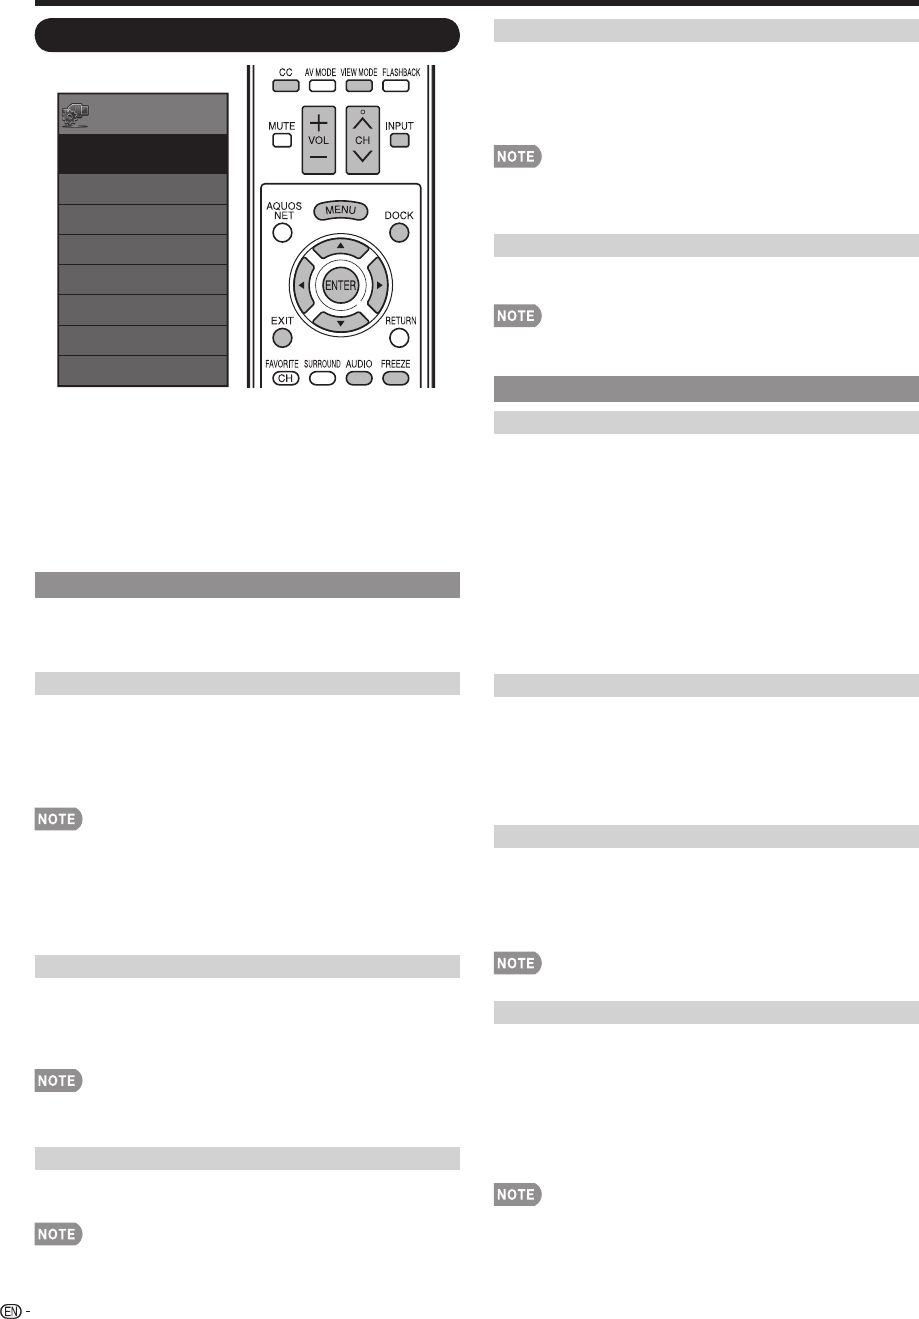
• You can select View Mode by pressing VIEW MODE on
the remote control unit.
— See page 21 for adjusting the video being input from a
TV or other audiovisual equipment.
—
See page 47 for adjusting the video being input from a PC.
—
See page 59 for adjusting the video being input from Netfl ix.
Freeze
Allows you to capture and freeze a moving image that
you are watching.
• Select "Freeze" again on the menu and press ENTER to
return to the normal image.
• You can select Freeze by pressing FREEZE on the remote
control unit. See page 18 for details of Freeze function.
Change Audio
Allows you to change the audio when multiple audio is
available for the program you are watching.
• You can change Audio by pressing AUDIO on the remote
control unit. See page 19 for details of Audio function.
Change CC
Allows you to change the Closed Caption display.
Select "Change CC" on the menu to display the Closed
Caption information.
• The information displayed varies depending on the program
you are watching.
• You can change Closed Caption by pressing CC on the
remote control unit. See page 20 for details of Closed
Caption function.
DOCK
The DOCK can be displayed by selecting "DOCK" on
the MENU screen.
• You can display the DOCK by pressing DOCK on the
remote control unit. (See page 20.)
Input Terminal Setting
Audio Setup
You can output digital audio to an AV amplifi er or
similar device whose DIGITAL AUDIO INPUT terminal
is connected to the DIGITAL AUDIO OUTPUT terminal
on the TV. Please select an audio output format
compatible with the audio format of the program you
are watching and the equipment connected.
PCM: The optical output terminal outputs audio signal
in PCM form. If your digital audio system does not
support Dolby Digital, select "PCM".
Dolby Digital: The optical output terminal outputs audio
signal in Dolby Digital form. It reproduces sound from
surround program of digital.
Input Skip
This setting allows you to skip the HDMI or PC-IN Input
("Input 3 (PC)", "Input 4 (HDMI)", "Input 5 (HDMI)",
"Input 6 (HDMI)" and "Input 7 (HDMI)") on the Input
Selection operation.
Yes: Skips the input.
No: Does not skip input.
Input Label
Lets you set the input terminal displayed when using
the CH List or channel display. Press
a
/
b
/
c
/
d
to
select the new name for the input mode.
•
Using the software keyboard, you can enter up to
10 characters for text. (See page 52.)
•
You cannot change labels if the input source is TV.
HDMI Setup
To watch an HDMI or PC-IN equipment image, select
"INPUT4", "INPUT5", "INPUT6" or "INPUT7" from the
CH List using INPUT on the remote control unit or on
the TV.
Auto View:
Enable: To use View Mode based on signal
recognition, including an HDMI signal.
Disable: No function.
•
Refer to your external equipment operation manual for the
signal type.
•
When connecting a DVI-HDMI conversion adapter/cable to
the HDMI terminal, the image may not come in clearly.
