63
PC Connection
6 Set the POWER switch to OFF (CHG), and then disconnect the USB cable.
7 Reboot your computer.
Step 2 Install the USB driver
Perform the entire procedure listed in “Installing the USB driver” on the page 60.
Installing “PIXELA ImageMixer Ver.1.0 for Sony”
Install “PIXELA ImageMixer Ver.1.0 for Sony” to your computer. “PIXELA
ImageMixer Ver.1.0 for Sony” is contained on the CD-ROM supplied with your
camcorder. You can view video images easily on your camcorder, using your computer
with “PIXELA ImageMixer Ver.1.0 for Sony”.
For Windows 2000 Professional users
Log in with permission of Power Users or Adminisitrator.
For Windows XP users
Log in with permission of Administrator.
(1) Turn on your computer and allow Windows to load.
While using your computer, close all running applications.
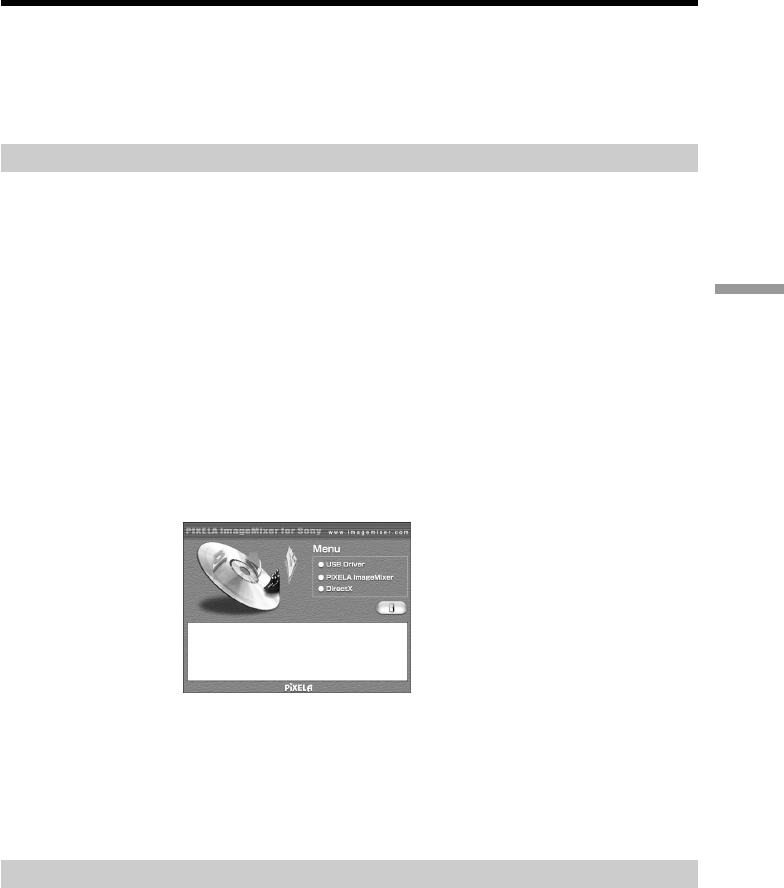
(2) Insert the supplied CD-ROM into the CD-ROM drive of your computer.
The application software screen appears.
If the application software screen does not appear, double-click “My
Computer” and then “ImageMixer” (CD-ROM Drive). The application
software screen appears after a while.
(3) Move the cursor to “PIXELA ImageMixer” and click.
The language selection dialogue box appears.
(4) Select the language for installation.
(5) Follow the on-screen messages.
Follow the directions on the screen to install DirectX. DirectX 8.0 will be installed.
Capturing images with “PIXELA ImageMixer Ver.1.0 for Sony”
For Windows 2000 Professional users
Log in with permission of Power Users or Adminisitrator.
For Windows XP users
Log in with permission of Administrator.
Viewing images using your computer – USB Streaming
(Windows users only)


