


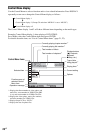
Playback
27
US
Customizing the
Playback Configuration
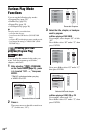
Adjusting the playback
picture
(CUSTOM PICTURE MODE)
You can adjust the video signal from the
player to obtain the picture quality you want.
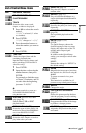
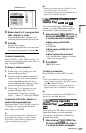
1 After selecting (CUSTOM
PICTURE MODE) on the Control Menu
(page 20), press X/x to select the
setting you want.
The default setting is underlined.
• STANDARD:
displays a standard
picture
• DYNAMIC 1: produces a bold
dynamic picture by increasing the
picture contrast and the color intensity
• DYNAMIC 2: produces a more
dynamic picture than DYNAMIC 1 by
further increasing the picture contrast
and color intensity
• CINEMA 1: enhances details in dark
areas by increasing the black level
• CINEMA 2: white colors become
brighter and black colors become
richer, and the color contrast is
increased
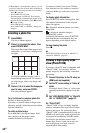
•MEMORYt: adjusts the picture in
greater detail
2 Press ENTER.
The selected setting takes effect.
z
When you watch a movie, “CINEMA 1” or
“CINEMA 2” is recommended.
b
• This function does not work when “PhotoTV HD”
mode is activated (page 30).
• This function does not work if your TV supports
Theater mode and it is set to “On.” For more
details, refer to the operating instructions supplied
with the TV.
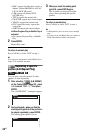
Sharpening the picture
(SHARPNESS)
You can enhance the outlines of images to
produce a sharper picture.
1 After selecting (SHARPNESS)
on the Control Menu (page 20), press
X/x to select a level.
The default setting is underlined.
•OFF
: cancels this option
• 1: enhances the outline
• 2: enhances the outline more than 1
2 Press ENTER.
The selected setting takes effect.
b
• This function does not work when “PhotoTV HD”
mode is activated (page 30).
• This function does not work if your TV supports
Theater mode and it is set to “On.” For more
details, refer to the operating instructions supplied
with the TV.
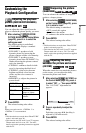
Adjusting the delay
between the picture and sound
(AV SYNC)
When the sound does not match the pictures
on the screen, you can adjust the delay
between the picture and sound.
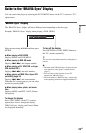
1 After selecting (AV SYNC) on
the Control Menu (page 20), press c
to select “SET t,” then press ENTER.
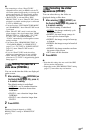
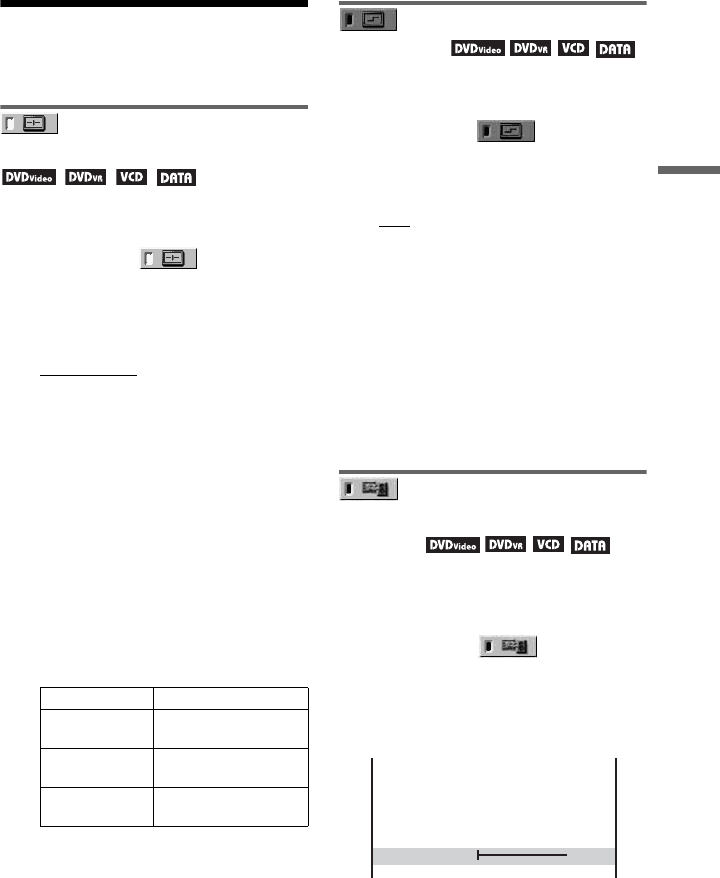
The “AV SYNC” adjustment bar
appears.
2 Press c repeatedly to adjust the
delay.
Each time you press C/c, the delay is
adjusted by 10 milliseconds.
3 Press ENTER.
The selected setting takes effect.
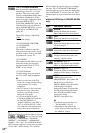
PICTURE Changes the contrast.
BRIGHTNESS Changes the overall
brightness.
COLOR Makes the colors
deeper or lighter.
HUE Changes the color
balance.
AV SYNC 0ms
,continued