Chapter 3 Getting Started
3-4 Chapter 3 Getting Started
3-1 Power Supply
3-1-3 Powering On and Off
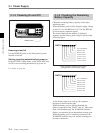
Powering on and off
Powering on and off
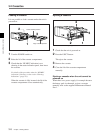
Use the POWER switch on the front panel to power
the unit on and off.
Starting recording automatically at power on
In the SYSTEM 1 setup menu, set the P-ON REC item
to ON to start recording automatically at power on.
For details, see page 6-4.
3-1-4 Checking the Remaining
Battery Capacity
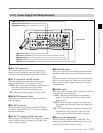
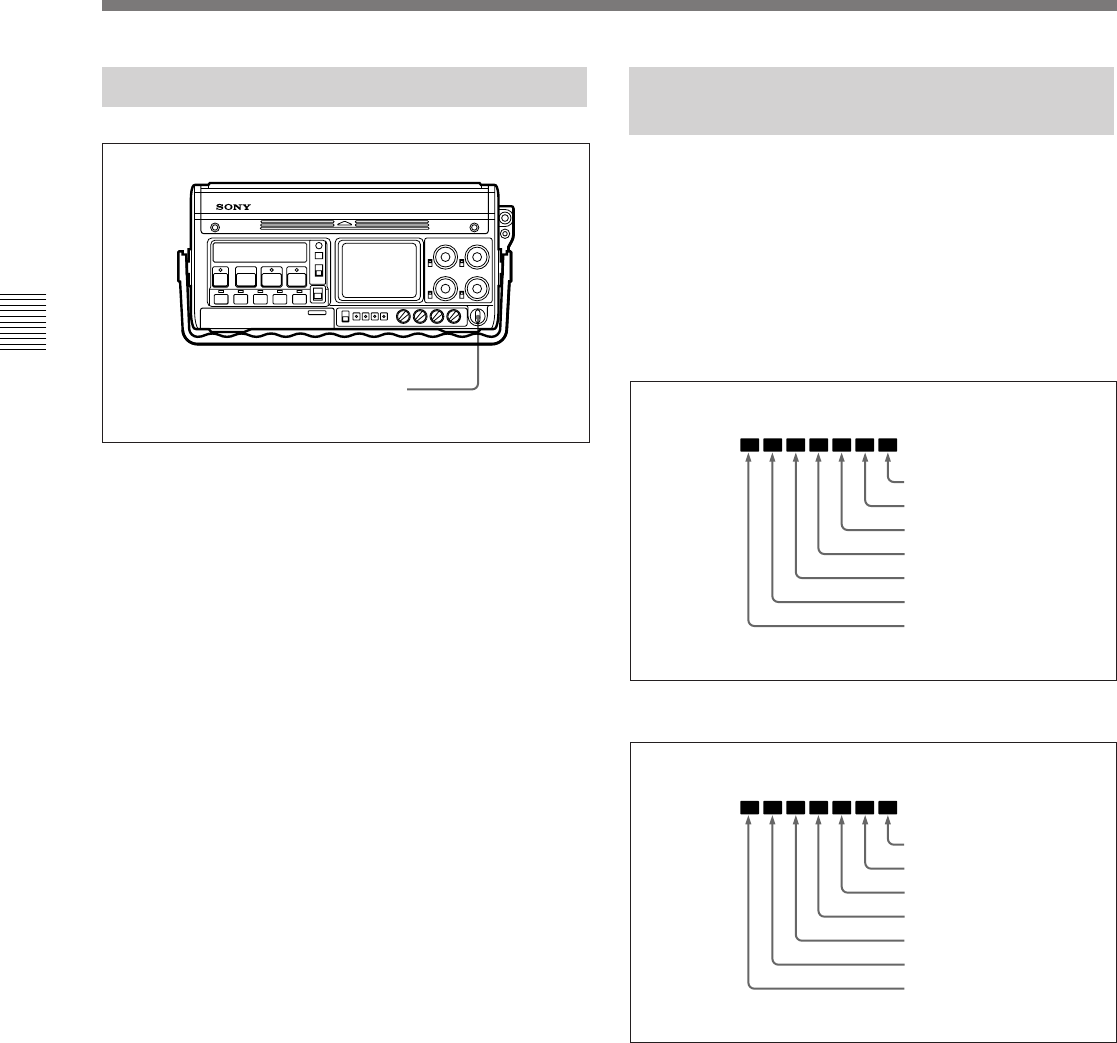
Check the remaining battery capacity in the status
indication panel.
When the battery pack is fully charged (supply voltage
at least 13 V for the BP-90A or 16 V for the BP-L60),
all seven display segments appear.
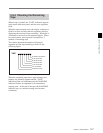
The relation between the number of displayed
segments and the battery pack voltage is shown in the
following figure.
Display segments and battery pack voltage
(Using BP-90A or external power supply)
Display segments and battery pack voltage (Using BP-L60)
As the battery capacity is used up, the segments
disappear in turn from the right.
When the battery pack is almost exhausted, the
leftmost segment and the “BATT” and “E” indications
flash, and simultaneously the WARNING indicator
flashes, accompanied by an intermittent warning tone.
When the battery pack is completely exhausted, the
WARNING indicator stays on, and the warning tone
becomes continuous.
POWER switch
13.0 V and above
12.5 to 13.0 V
12.0 to 12.5 V
11.75 to 12.0 V
11.5 to 11.75 V
11.25 to 11.5 V
11.0 to 11.25 V
16.0 V and above
14.5 to 16.0 V
13.0 to 14.5 V
12.5 to 13.0 V
12.0 to 12.5 V
11.5 to 12.0 V
11.0 to 11.5 V
BATT E F
BATT E F


