


56
4 Press ENTER.
The date, start and stop times,
programme position, etc. setting appear.
The recorder is ready to start recording.
• To record on a DVD
See “Checking/Changing/Cancelling
Timer Settings” on page 59.
• To make more detailed timer settings
See “Checking/Changing/Cancelling
Timer Settings” on page 59.
To confirm, change, or cancel a timer
recording
See “Checking/Changing/Cancelling Timer
Settings” on page 59.
To stop recording during timer recording
Press x REC STOP.
Note that it may take a few seconds for the
recorder to stop recording.
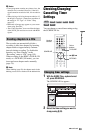
Rec Mode Adjust
If there is not enough available disc space for
the recording, the recorder automatically
adjusts the recording mode to enable the
entire programme to be recorded. Set “Rec
Mode Adjust” of the “Timer Settings” to
“On” in the “Recording” setup (page 102).
Auto Title Erase (HDD only)
If there is not enough space for a timer
recording, the recorder automatically erases
old titles recorded on the HDD.
The oldest played title is erased. Set “Auto
Title Erase” of the “Timer Settings” to “On”
in the “Recording” setup (page 102).
Protected titles are not erased.
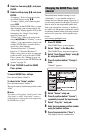
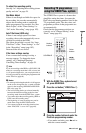
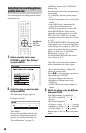
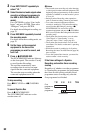
1 With the GUIDE Plus+ system turned
off, press SCHEDULE.
2 Press the green button (“Manual”).
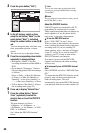
3 Set the date using the number buttons
and </M/m/,. Then press the
green button (“Next”).
4 Set the start time using the number
buttons and </M/m/,. Then press
the green button (“Next”).
5 Set the stop time using the number
buttons and </M/m/,. Then press
the green button (“Next”).
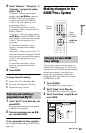
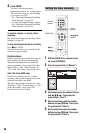
Setting the timer manually
</M/m/,,
ENTER
SCHEDULE
Number
buttons
x REC
STOP
Colour
buttons
z REC