


97
Settings and Adjustments
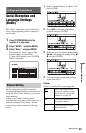
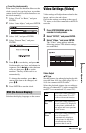
To set the clock manually
If the Auto Clock Set function did not set the
clock correctly for your local area, try another
station for the Auto Clock Set function or set
the clock manually.
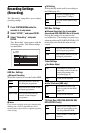
1 Select “Clock” in “Basic,” and press
ENTER.
2 Select “Auto Adjust,” and press ENTER.
3 Select “Off,” and press ENTER.
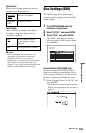
4 Select “Present Time,” and press
ENTER.
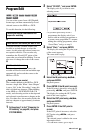
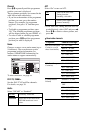
5 Press M/m to set the day, and press ,.
Set the month, year, hour, and minutes in
sequence. Press </, to select the item
to be set, then press M/m to set the
numbers. The day of the week is set
automatically.
To change the numbers, press < to
return to the item to be changed, and
press M/m.
6 Press ENTER to start the clock.
Switches the display language on the screen.
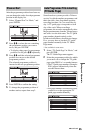
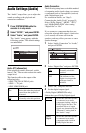
Video Settings (Video)
Video settings will adjust items related to the
image, such as size and colour.
Choose the settings according to the type of
TV, tuner, or decoder connected to the DVD
recorder.
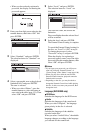
1 Press SYSTEM MENU while the
recorder is in stop mode.
2 Select “SETUP,” and press ENTER.
3 Select “Video,” and press ENTER.
The “Video” setup appears with the
following options. The default settings
are underlined.
Video Output
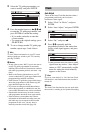
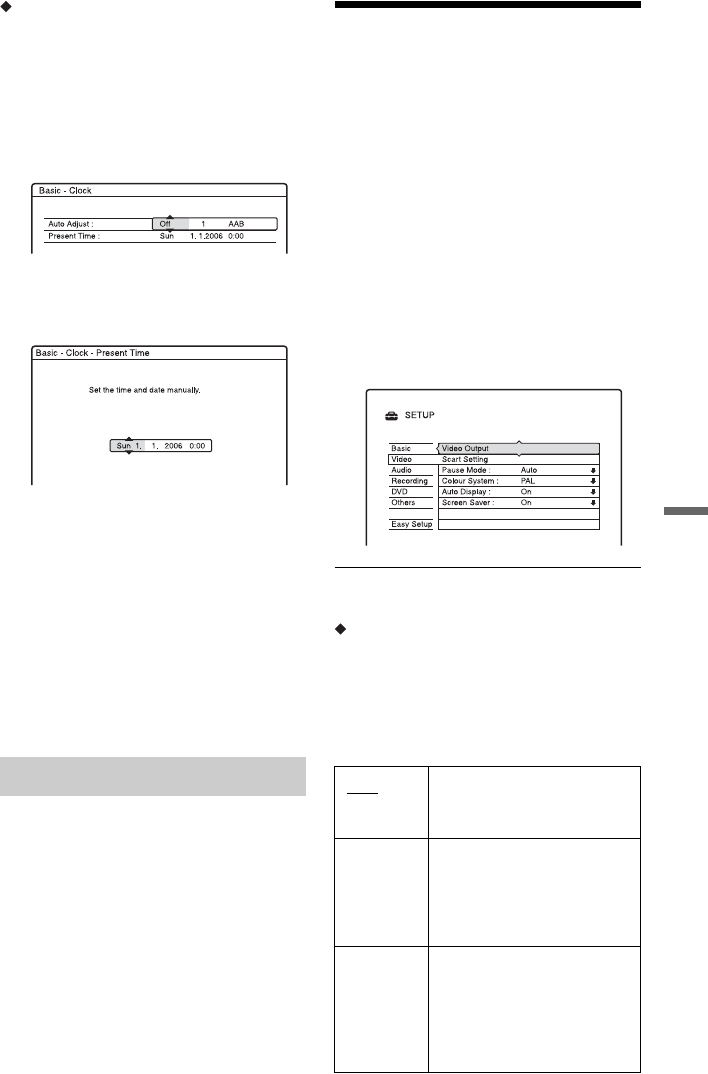
TV Type
Sets the picture size when playing back a title
recorded from 16:9 size video (page 58) or a
16:9 size commercial DVD video.
Select the playback picture size according to
the type of connected TV (wide-screen/wide
mode TV or conventional 4:3 screen TV).
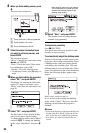
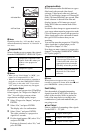
OSD (On-Screen Display)
16:9 Select this when connecting
to a wide-screen TV or TV
with a wide mode function.
4:3 Letter
Box
Select this when connecting
to a 4:3 screen TV. Displays a
wide picture with bands on
the upper and lower portions
of the screen.
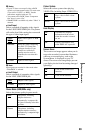
4:3 Pan
Scan
Select this when connecting
to a 4:3 screen TV.
Automatically displays a
wide picture on the entire
screen and cuts off the
portions that do not fit.
,continued