57
Timer Recording
You can record from a connected VCR or
similar device. To connect a VCR or similar
device, see “Connecting a VCR or Similar
Device” on page 21. Use the DV IN jack on
the front panel if the equipment has a DV
output jack (i.LINK jack).
1 Press HDD or DVD.
If you select DVD, insert a recordable
DVD (see “1. Inserting a Disc” on
page 24).
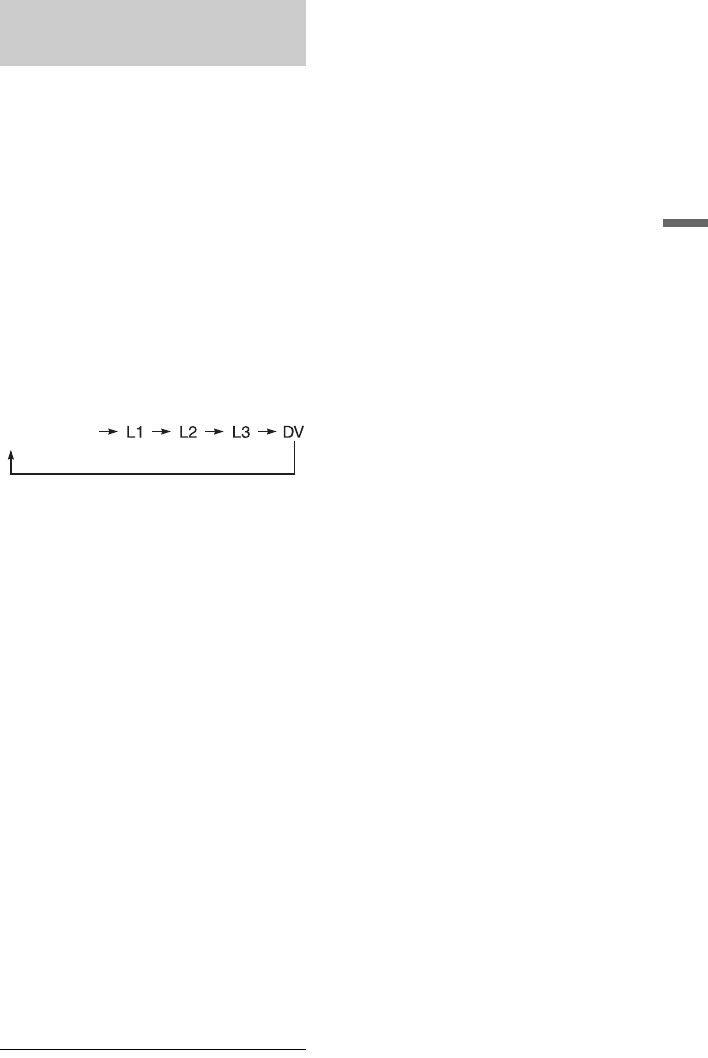
2 Press INPUT SELECT to select an input
source according to the connection
you made.
The front panel display changes as
follows:
3 Select the desired audio signal when
recording a bilingual programme to
the HDD or DVD-RWs/DVD-Rs (VR
mode).
Press OPTIONS to select “Line Audio
Input,” and press ENTER. Then select
“Bilingual,” and press ENTER.
4 Press REC MODE repeatedly to select
the recording mode.
For details about the recording mode, see
page 44.
5 Insert the source tape into the
connected equipment and set to
playback pause.
6 Press z REC.
This recorder starts recording.
7 Press the pause (or play) button on the
connected equipment to cancel the
playback pause status.
The connected equipment starts playback
and the playback image is recorded by
this recorder.
To stop recording, press x REC STOP
on this recorder.
If you connect a digital video camera with
a DV IN jack
See “DV Dubbing” on page 82 for an
explanation of how to record from the DV IN
jack.
z Hint
You can adjust the settings for the recording picture
before recording. See “Adjusting the recording
picture quality and size” on page 51.
b Notes
• When recording a video game image, the screen
may not be clear.
• Any programme that contains a Copy-Never copy
guard signal cannot be recorded. The recorder
continues to record, but a blank screen will be
recorded.
Recording from connected
equipment without a timer
programme
position


