41
Recording to the HDD (“GUIDE Plus+”)
Setting the Timer
Manually (Schedule)
You can set the timer for a total of 32
programmes using the GUIDE Plus+ system
and the Timer List (page 50), up to 30 days
in advance.
Before you start recording…
• Check that the HDD has enough available
space for the recording (page 82). You can
open up disc space by erasing titles
(page 67).
b
The recording destination is HDD only.
1 Press TIMER.
The schedule list appears.
2 Press the green button (“Manual”).
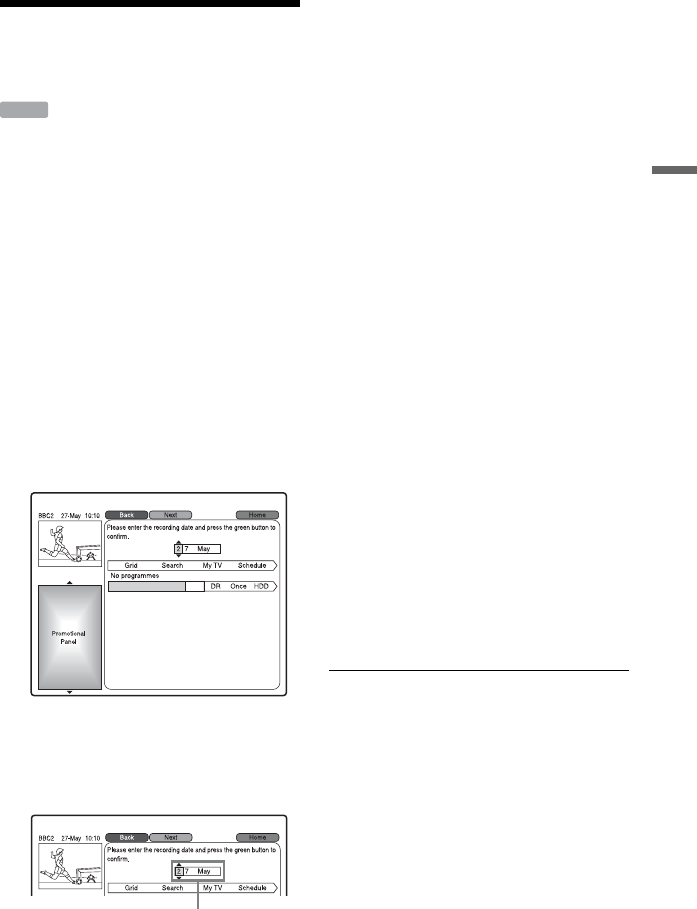
3 Set the blue-highlighted date using
the number buttons and </M/m/,.
Then press the green button
(“Next”).
4 Set the start time using the number
buttons and </M/m/,. Then press
the green button (“Next”).
5 Set the stop time using the number
buttons and </M/m/,. Then press
the green button (“Next”).
6 Confirm the input source and press
,, then select the programme
position using the number buttons or
M/m.
7 Press the green button (“Next”).
The display for entering characters
appears. You can change the title name,
if necessary.
8 Press the green button (“Save”).
The date, start and stop times,
programme position, etc. settings
appear.
9 Press the green button (“Frequency”)
repeatedly to set the recording
frequency.
10
Press , to display “Timing,” then
press the yellow button (“Timing”)
repeatedly to adjust the recording
start/end time.
When “Timing” is set to “<5/20>,” the
recording starts 5 minutes before the
scheduled recording start time, and ends
20 minutes after the scheduled recording
end time.
11
Press GUIDE to exit the GUIDE Plus+
system.
The recorder is ready to start recording.
• To modify the timer setting, see page
42.
To stop recording during timer recording
Press x REC STOP.
Note that it may take a few seconds for the
recorder to stop recording.
b
The title name may be displayed differently in the
Title List from the one displayed when you set the
timer.
HDD
Date
,continued


