43
Recording to the HDD (“GUIDE Plus+”)
5 Press the corresponding colour
button repeatedly to change settings.
To set the recording pattern, press the
green button (“Frequency”).
6 Press , to display “Timing.”
7 Press the yellow button (“Timing”)
repeatedly to change the duration
time.
8 Press GUIDE to exit the GUIDE Plus+
system.
The new settings become effective.
In step 2 of “Checking/changing timer
settings,” select the timer setting you
want to cancel using M/m, and press the
red button (“Delete”).
To close the schedule list
Press GUIDE.
When the timer settings overlap
• The programme that starts first has priority
and the entire programme is recorded.
• After finishing the previous recording, the
other recording starts with several tens-of-
second’s delay (when the end-time of one
recording and the start-time of another are
the same).
• When the recordings start at the same time,
only one of them will be recorded. Cancel
the timer setting for the programme that
you are not going to record.
Changing the GUIDE
Plus+ System Settings
(Setup)
You can change or reset the GUIDE Plus+
system settings.
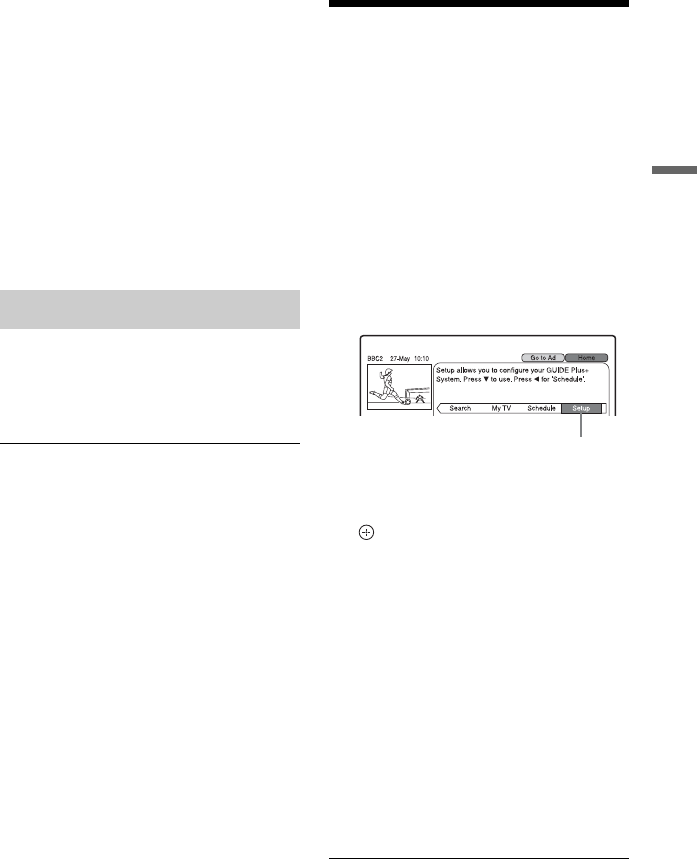
1 Press GUIDE.
2 Press M to move the cursor to the
Menu Bar.
3 Select “Setup” using </,.
The GUIDE Plus+ setup menu appears.
4 Press m.
5 Select an item using M/m, and press
.
“Personal Preferences”:
See “Language/Recording timing/
Overnight Download settings (Personal
Preferences)” on page 44.
“Start Installation Sequence”:
See “Resetting the GUIDE Plus+ system
settings (Start Installation Sequence)”
on page 44.
“Manual Data Download”:
Use this function to download the
GUIDE Plus+ data manually when the
GUIDE Plus+ data is not displayed.
“GUIDE Plus+ System Information”:
You can check the GUIDE Plus+ system
information.
To cancel the settings
Press the red button (“Back”).
Cancelling timer settings
“Setup”
,continued


