


102
Component Out
Selects whether or not to output video signals
from the COMPONENT VIDEO OUT jacks.
Notes
• When you set “Line 1 Output” to “RGB,” you cannot
set “Component Out” to “On.”
• When you connect the recorder to a monitor or
projector via only the COMPONENT VIDEO OUT
jacks, do not select “Off,” as the picture will not appear.
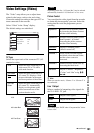
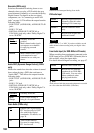
Progressive
If your TV accepts progressive (525p/625p)
format signals, you will enjoy accurate colour
reproduction and high quality image.
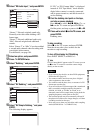
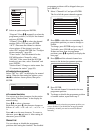
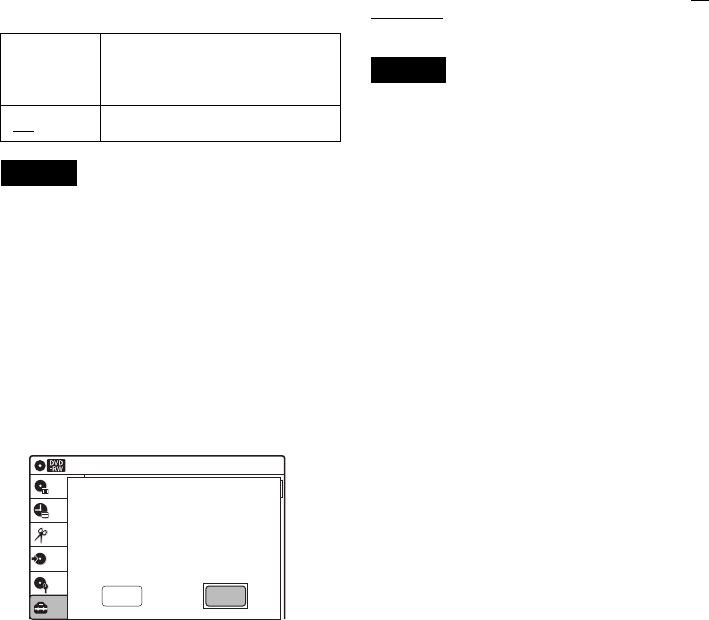
1 Select “Progressive,” and press ENTER.
2 Select “On,” and press ENTER.
3 Follow the instructions appearing on the TV
screen.
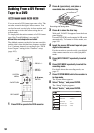
1)Ensure your TV is progressive scan
capable.
2)Connect with component video output
jacks (red/green/blue connections).
See “If your TV has component video input
jacks” on page 16.
3)Select [OK] to test your video signal.
4)If video signal appears OK, video
connection is complete.
4 Select “OK” and press ENTER.
The PROGRESSIVE indicator on the
recorder lights up.
If picture is distorted, press O RETURN.
Check the connection (page 16).
z Hint
To cancel the “Progressive” setting, press X PAUSE on
the recorder continuously for five seconds or more, or
select “Off” in step 2 above.
Note
If you select progressive signals when you connect the
recorder to a TV that cannot accept the signal in
progressive format, the image quality will deteriorate. In
this case, set “Progressive” to “Off.”
On Outputs the component video
signals. Select this when you want
to view progressive signals.
Off
Outputs no signals.
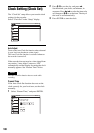
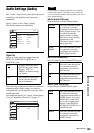
Video
TV Type
Black Level
Picture Control
Progressive
: Standard
: Off
: 4:3 Pan Scan
: On
Setup
Disc Setting
Edit
Title List
Timer
Dubbing
10:10
OK Cancel
Progressive Scan Output
1) Ensure your TV is progressive scan capable.
2) Connect with component video output jacks.
(red/green/blue connections)
3) Select [OK] to test your video signal.
4) If video signal appears OK,
video connection is complete.