


6 (US)
Before assembling
• Be sure to have a Phillips screwdriver that fits the screws prior to
the assembly.
• When using an electric screwdriver,
set the torque setting to approximately
1.5 N·m {15 kgf·cm}.
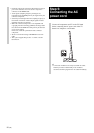
Be sure to hold the TV Stand and handle it carefully.
Step 1:
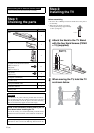
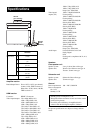
Checking the parts
Name Quantity
Stand
1
Joint
1
Neck
1
TV Stand Neck Attachment Screw
(PSW5 × 16) (× 3)
Joint Screw
(PSW5 × 16) (× 3)
6
Neck Screw
(PSW4 × 12)
4
AC adapter (ACDP-001) 1
AC power cord
High Speed HDMI cable 1
Instructions manual 1
Warranty card
If you allow the AC power cord to be pinched under or between
pieces of equipment, this may result in a short circuit or an electric
shock. If you stumble over the AC power cord or the connecting
cable, the TV Stand may topple over and cause injury.
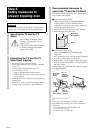
Decide on the installation location and lay the TV
Stand down before installing the TV.
Since the TV is heavy, it is recommended that you decide on the
installation location beforehand, and assemble the TV Stand on
site.
Refer to the operating instructions supplied with your TV for
information on how to remove the Table-Top Stand from the TV.
Note on taking the TV Stand out from the carton
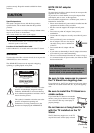
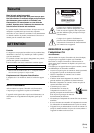
WARNING
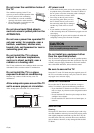
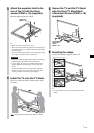
Step 2:
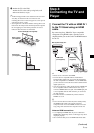
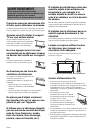
Installing the TV
1
Attach the Neck to the TV Stand
with the four Neck Screws (PSW4
× 12) (supplied).
2
When moving the TV, hold the TV
as shown below.
12 cm ~
Neck
Neck Screw
(PSW4 × 12)