


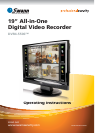


DVR4-5500™ Operating Instructions
8
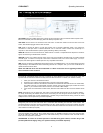
Part 3: Basic Functions
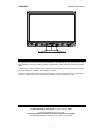
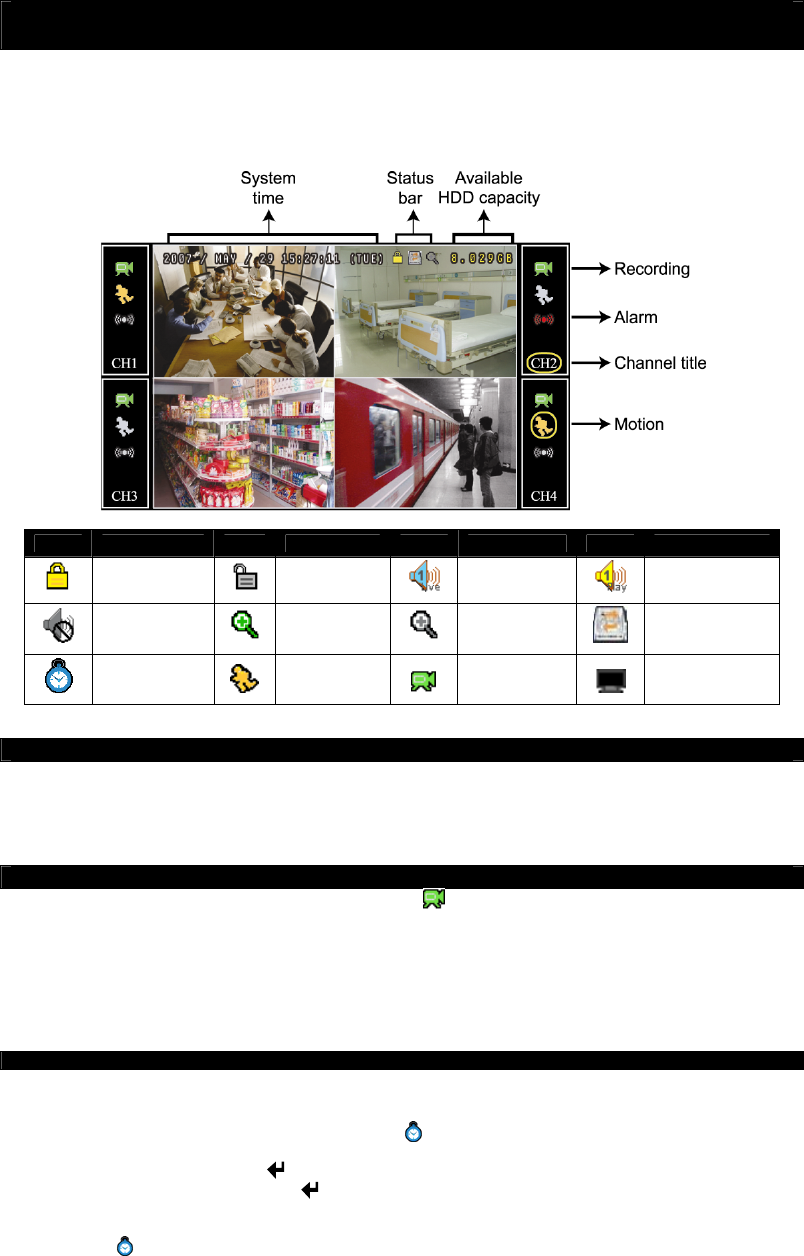
3.1 Overview of the Interface: The Live Monitoring Layout
This section will cover everything you need to start monitoring your cameras and recording footage. It is worth taking
some time to experiment with the basic functions of the DVR, so that you understand the features and limitations of
your particular setup.
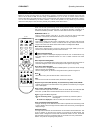
First of all: here’s what you’ll see when you first turn your DVR on, and an explanation of what some of the icons
you’ll see mean.
3.2 Locking / Unlocking the DVR (KEYLOCK)
To prevent unauthorised access to your DVR, the unit automatically locks itself after a short interval of inactivity. To
unlock the unit, it is necessary to enter your password. The time until the DVR locks can be adjusted in the SYSTEM
INFO submenu. It can be set to 30 seconds, 1 minute, 2 minutes or never. It is strongly suggested that, if the DVR is
in a non-secure location, that the auto-lock feature be left ON.
3.3 Recording
When the DVR is recording, it will display the recording icon ( ). If this icon does not appear when the DVR should
be recording, check that your recording settings are correct and that the connection between the DVR and the hard-
drive is in place.
There are two main ways that the DVR can be configured to record. The first is to record based on a programmed
schedule: this is referred to as TIMER RECORDING. The alternative, and often preferred method, is MOTION
RECORDING. In addition, both of these settings can be overridden by the option to manually start and stop
recordings.
3.3.1 Timer Recording
To set the unit up for TIMER RECORDING:
1. Open the menu.
2. Select RECORD TIMER. It’s next to the TIMER (
) icon.
3. Then, using the arrow buttons, set the RECORD TIMER setting to ON.
4. Whilst ON is highlighted, hit
. This will open the Timer control window.
5. Using the arrow buttons and the
button, you can select what hours per day, and which days per week,
that the DVR will record for. The DVR will record at all times that you highlight.
The timer icon (
) will appear on screen whenever the TIMER RECORDING function triggers the DVR to record.
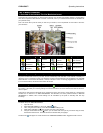
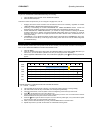
Icon Description Icon Description Icon Description Icon Description
Locked
Unlocked
1st live audio
channel
1st playback
audio channel
Audio channel
unselected
Digital zoom
mode
Digital zoom
unselected
HDD overwrite
Timer
recording
Motion
Recording
LCD adjustment