


32
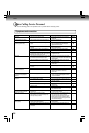
Function setup
Setting details
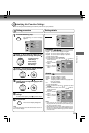
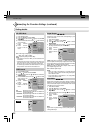
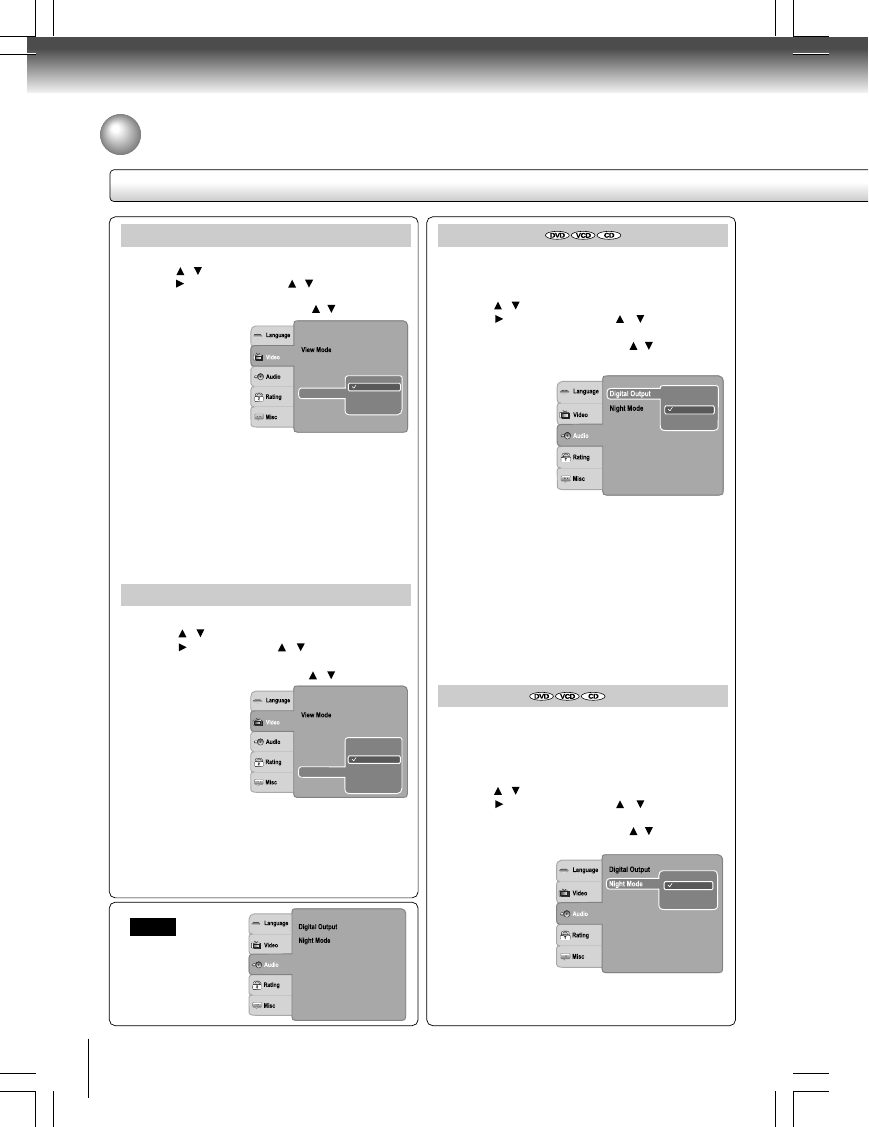
Night Mode
Night mode is equivalent to Dynamic Range Compress.
When it is On, it reduces the variations between loud and
soft sounds in audio output. You can still hear softer sounds
and dialog even in very low volume.
1) Press SETUP button.
2) Press
/ button to select Audio.
3) Press button, then use the / button to select
Night Mode.
4) Press ENTER button, then use the / button to select
On or Off mode.
5) Press ENTER
button.
6) Press SETUP
button to exit the
menu.
Note
Night mode is Dynamic Range Control (DRC) option for
analog audio output.
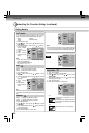
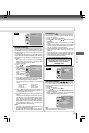
Off
PCM
Raw
Selects the output sound format corresponding to your
system connection.
1) Press SETUP button.
2) Press / button to select Audio.
3) Press button, then use the / button to select
Digital Output.
4) Press ENTER button, then use the / button to select
the output sound format (Off, PCM or Raw).
5) Press ENTER
button.
6) Press SETUP
button to exit the
menu.
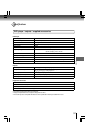
PCM: Select when connected to a Multi-channel digital
stereo amplifier. The DVD player outputs sound in the PCM
stereo format when you play a DVD recorded on the Dolby
Digital, MPEG1 or MPEG2 recording system.
Raw: Disc audio raw data will be output. Select “Raw” if
your amplifier supports “DTS”.
Off: To disable Digital Output.
Notes
• When you make a connection to a TV, Dolby Surround
Pro Logic or stereo system via the analog audio jacks,
select “PCM” or “Raw”.
• If this DVD player is connected to a TV using HDMI,
make sure to select “PCM”.
Customizing the Function Settings (continued)
Audio
Digital Output
:PCM
:Off
:PCM
Off
On
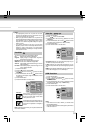
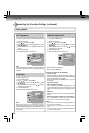
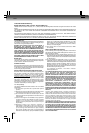
JPEG Interval
1) Press SETUP button.
2) Press
/ button to select Video.
3) Press
button, then the / button to select the
JPEG Interval.
4) Press ENTER button, then the
/ button to shift
and change the
JPEG Interval.
5) Press ENTER
button.
6) Press SETUP
button to exit the
menu.
Off: Plays back one file at a time.
5 seconds: Plays back images in the form of a slide show
at 5 seconds interval.
10 seconds: Plays back images in the form of a slide show
at 10 seconds interval.
15 seconds: Plays back images in the form of a slide show
at 15 seconds interval.
Aspect Ratio
: 16 :9
: Auto Fit
: HDMI
Off
10 seconds
15 seconds
5 seconds
Video Out
HDMI Resolution
JPEG Interval
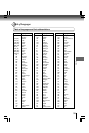
HD JPEG Mode
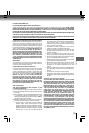
HD JPEG Mode
1) Press SETUP button.
2) Press
/ button to select Video.
3) Press
button, then use the / button to select HD
JPEG Mode.
4) Press ENTER button, then use the / button to select
On or Off mode.
5) Press ENTER
button.
6) Press SETUP
button to exit the
menu.
On: JPEG image is displayed in a suitable picture quality
(480p, 720p, 1080i or 1080p).
Off: The picture quality is fixed to 480p.
Aspect Ratio
: 16 :9
: Auto Fit
: HDMI
Off
On
Video Out
HDMI Resolution
HD JPEG Mode
JPEG Interval
Notes
• If the Video Out is not set to “HDMI”, you cannot select the “HD
JPEG Mode”.
• All JPEG pictures will not be output through the VIDEO OUT
jack and Component video (Y/PB/PR) jacks if the HD JPEG
Mode is on and you may view pictures through HDMI jack.
• For HDMI output, DISPLAY and ZOOM buttons only work in
480p resolution mode when HD JPEG Mode is On.