80
Create a Recording Schedule
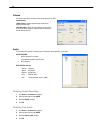
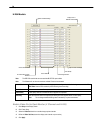
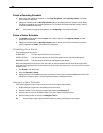
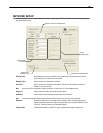
1. Select a day to begin creating the schedule for -or- click Single Day Selection, enabling Multi Day Selection, to create the
same schedule for multiple days.
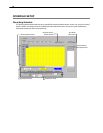
2. Highlight the Time-Blocks within the Recording Schedule window for the camera(s) selected to schedule. Once the desired
Time-Blocks are highlighted, click a Recording Mode button. The Time-Blocks should now appear Blue for Motion, Yellow for
Continuous and White for No Recording.
Note Leave cameras recording with Sensor Detection set to No Recording for the specified time block(s).
Create a Sensor Schedule
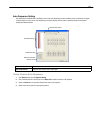
1. Click Schedule and then and then select the Sensor option. Select a single day or click Single Day Selection to include
multiple days in the schedule.
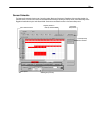
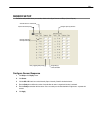
2. Highlight the Time-Blocks within the Recording Schedule window for the sensor(s) to enable and schedule. Once the time
blocks are highlighted click Enable. The time block will now appear red.
Scheduling Alarm Events
There are three types of Alarm Events:
ALARM EVENT: This option logs the Alarm Events on the local server.
CENTRAL STATION: This option sends a Map Alarm to Central Station software such as SCS Multi-Site Management.
EMERGENCY AGENT: This option sends the Alarm Event to the Emergency Agent software.
Motion can be designated as an alarm event. Often motion does not need to be treated as an Alarm event. Ex: During work hours,
motion that occurs is expected and should not be treated as an alarm. However, after business hours, any motion that occurs could be
treated as an alarm.
1. Click Schedule on the Setup screen.
2. Select either Recording or Sensor.
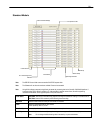
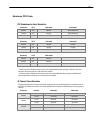
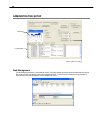
3. Highlight time blocks in the schedule that have been set to Motion (or Sensor) and click the desired Event buttons (Alarm Event,
Central Station, Emergency Agent). A corresponding letter will display in the selected time blocks.
Emergency Agent Schedule
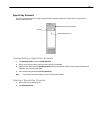
Video recording triggered by motion or sensor events can be sent to the Emergency Agent software.
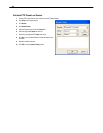
1. Enable the Emergency Agent Event. (see Scheduling Alarm Events above).
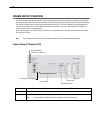
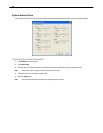
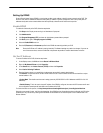
2. Enter the IP Address of a PC running the Emergency Agent software under Emergency IP.
3. Select the check box next to the IP Address to enable it. Only one IP Address is supported at a time.
4. Enter the recording duration (in seconds) in the Emergency Time box.
Tip See the Emergency Agent chapter for detailed information on setting up the Emergency Agent software.


