


Installation
Vidikron Vision Model 65/Model 75 Installation/Operation Manual 19
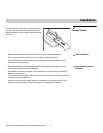
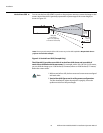
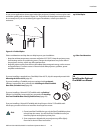
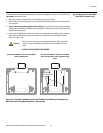
Folded OpticsIn rear-screen applications where space behind the projector is limited, a mirror may be used
to fold the optical path, as shown in
Figure 3-4. The position of the projector and mirror must
be accurately set. If you are considering this type of installation, contact your dealer for
assistance.
Figure 3-4. Folded Optics
Other ConsiderationsOther considerations and tips that can help improve your installation:
• Keep the ambient temperature constant and below 35°C (95°F). Keep the projector away
from heating and/or air conditioning vents. Changes in temperature may cause drifts in
the projector circuitry, which may affect performance.
• Keep the projector away from devices that radiate electromagnetic energy such as motors
and transformers. Common sources of these include slide projectors, speakers, power
amplifiers and elevators.
3.4
Installing the Optional
CineWide Lens Mount
If you are installing a standard (non-CineWide) Vision 65/75, skip this step and proceed with
Mounting the Vision 65/75 (page 25).
If you are installing a CineWide projector equipped with a prismatic
(Whitney) anamorphic lens, proceed with
Installing the Fixed CineWide
Base Plate (Prismatic Lens) (page 23).
If you are installing a Vision 65/75/CineWide with a cylindrical
(Rainier II or McKinley) anamorphic lens, proceed with
Installing
the Fixed CineWide Base Plate (Cylindrical Lens) (page 24).
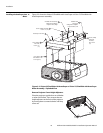
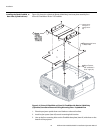
If you are installing a Vision 65/CineWide with AutoScope or Vision 75/CineWide with
AutoScope, proceed as follows to install the AutoScope lens motor.
Screen
Mirror
1. Do not install the CineWide lens yet, only the fixed CineWide base plate
or AutoScope lens motor. You will install the CineWide lens after you
install the projector and adjust the primary lens.
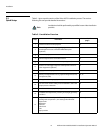
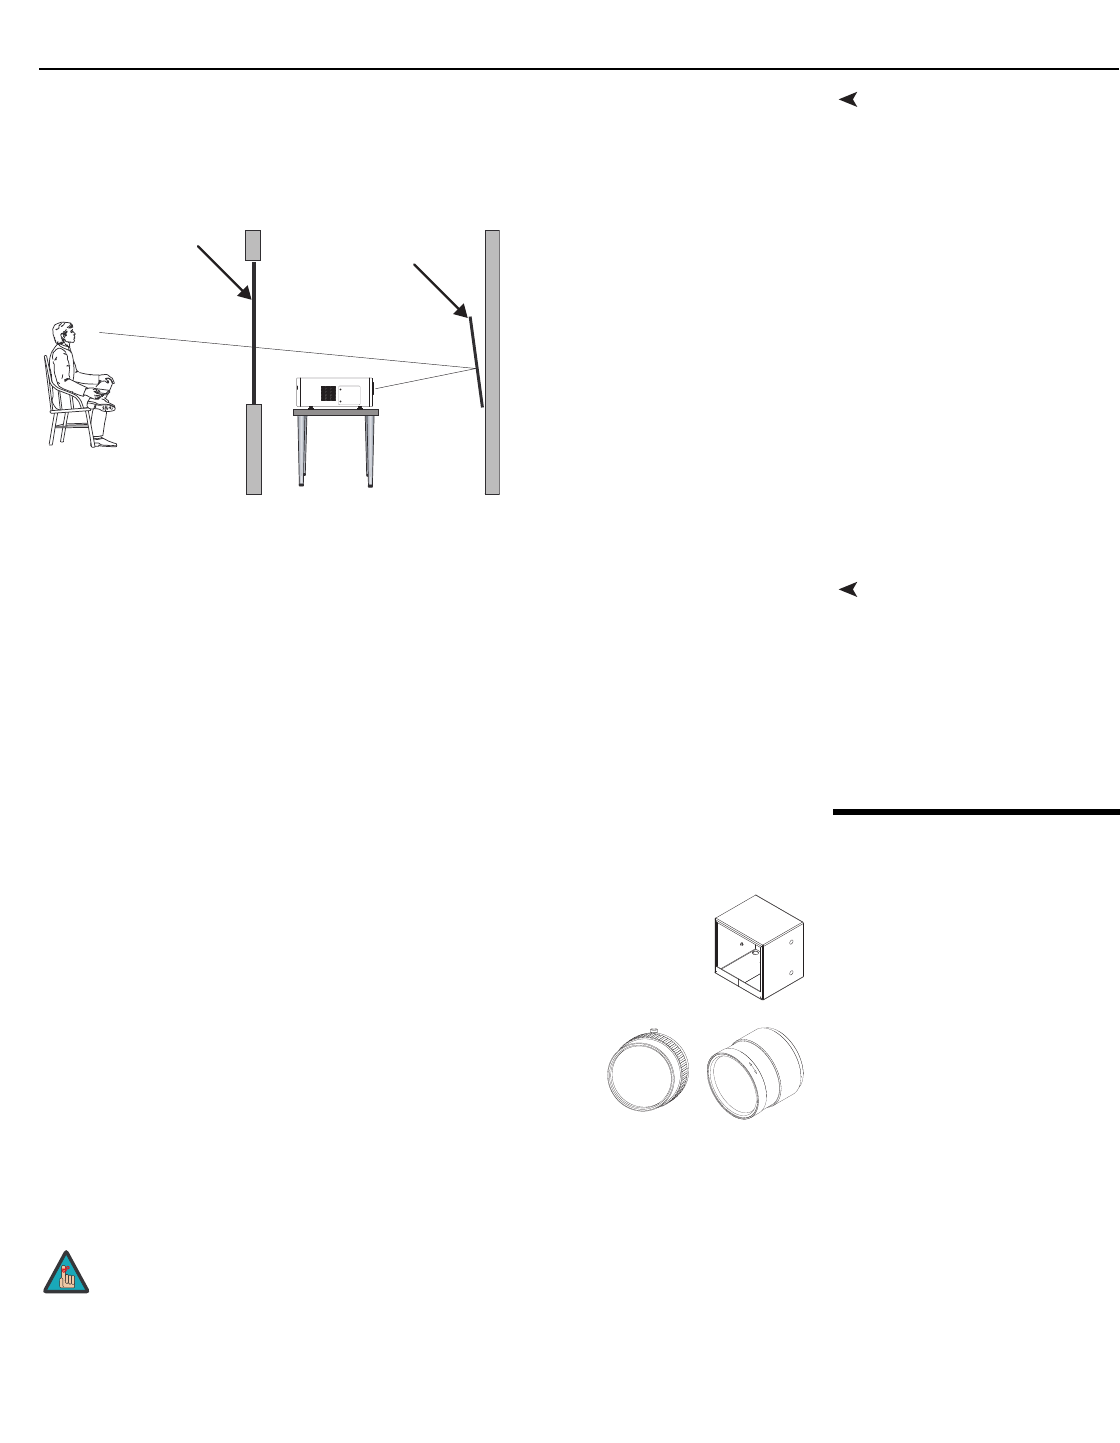
2. Some components shipped with your projector may differ slightly
from what is shown in these instructions.
F
O
C
U
S
Note