


800057-02 Rev. A Page 5 of 11 May 24, 2003
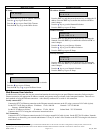
Main-level Screens Second-level Screens
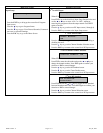
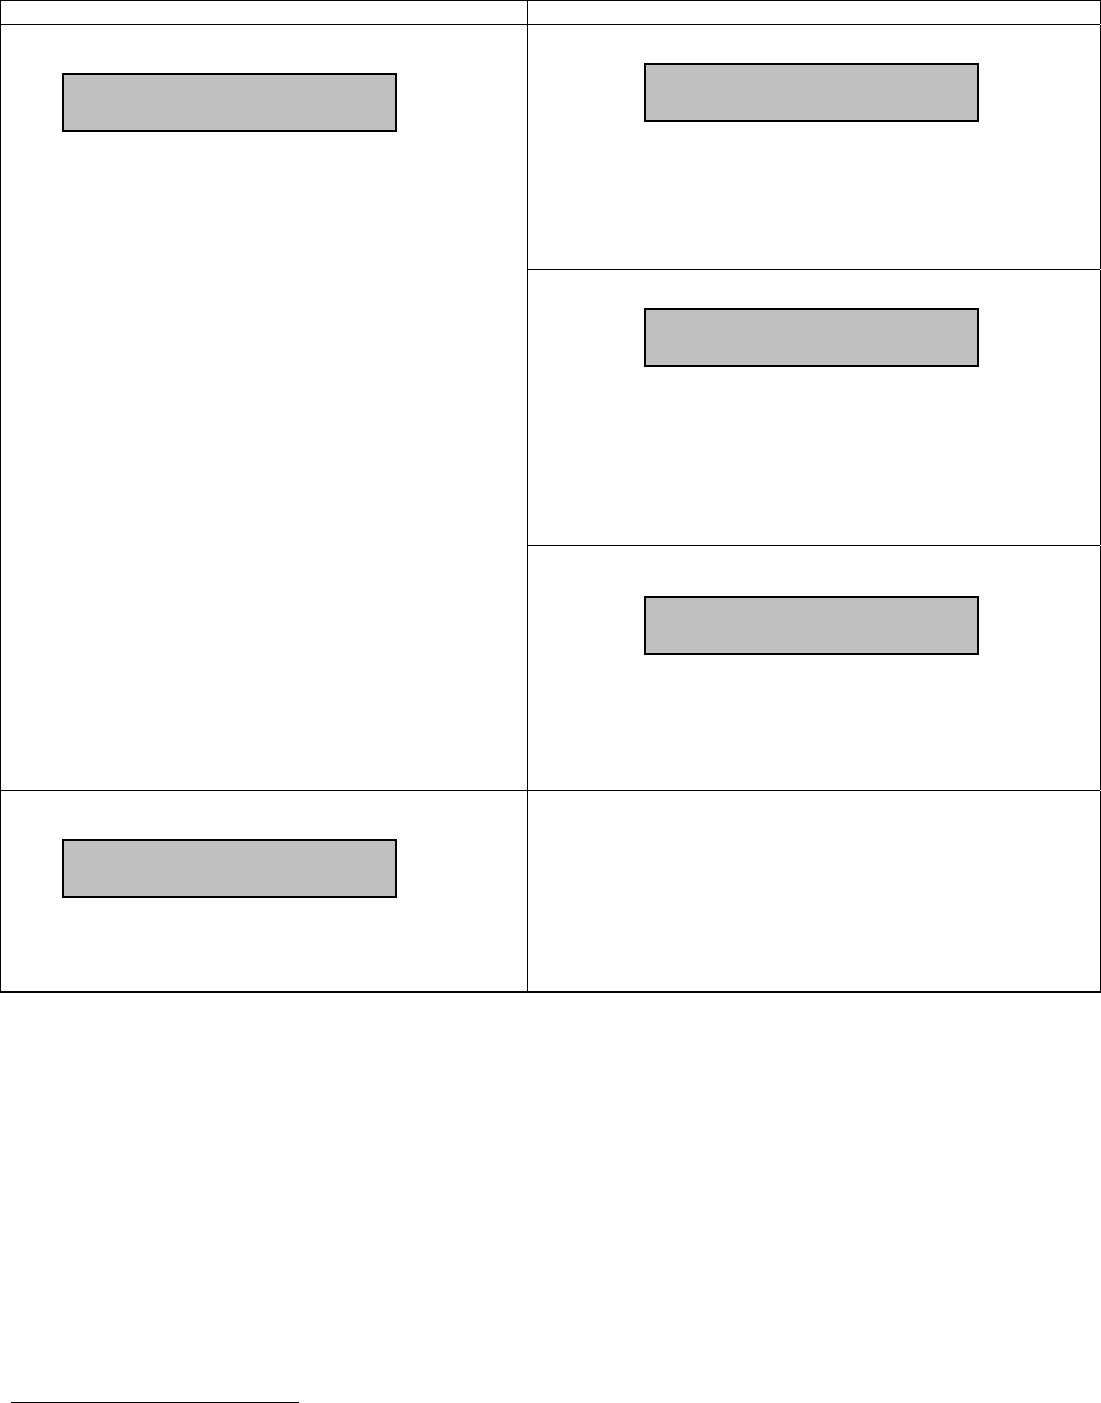
IP Address Selection
Press the ENT key and then press the arrow keys to change the IP
address. Press the ENT key to confirm the selection or ESC to
cancel changes.
Press the 4 key to go to the Netmask Selection.
Press the ESC key to go to IP Setup.
Netmask Selection
Press the ENT key and then press the arrow keys to change the
Netmask. Press the ENT key to confirm the selection or ESC to
cancel changes.
Press the 4 key to go to Gateway Selection.
Press the 3 key to go to IP Address Selection.
Press the ESC key to go to IP Setup.
IP Setup
Press the ENT key to go to IP Address Selection.
Press the 4 key to go to Reset Unit.
Press the 3 key to go to Panel Help Timeout.
Press the ESC key to go to the Home Screen.
Gateway Selection
Press the ENT key and then press the arrow keys to change the
Gateway. Press the ENT key to confirm the selection or ESC to
cancel changes.
Press the 3 key to go to Netmask Selection.
Press the ESC key to go to IP Setup.
Unit Reset
Press the ENT key to reset the unit and start the bootloader.
Press the 3 key to go to IP Setup.
Press the ESC key or 4 to go to the Home Screen.
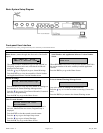
Web Browser User Interface
In addition to the front panel, the user may control and monitor the unit using the rear-panel Ethernet connection. Before using the
Ethernet connection, the appropriate IP address, netmask, and gateway must be selected via the front-panel interface. There are two
basic methods of using the Ethernet connection – with a directly connected PC or with a LAN connection.
Locally connected PC –
Connect the DTV744 Ethernet connection to the Ethernet network connector on the PC using a crossover RJ-45 cable (8 pins).
Set the DTV744 IP Setup as follows: IP Address: 172.016.100.020 Netmask: 255.255.000.000
Gateway: 000.000.000.000
Set the PC IP address as follows:
1
IP Address: 172.016.100.001 Subnet Mask: 255.255.000.000
Connect to the DTV742 using the web browser instructions below.
LAN Connection –
Connect the DTV742 Ethernet connection to the LAN using a normal RJ-45 cable (8 pins). Set the DTV744 IP Address, Netmask,
and Gateway as directed by your network administrator. Use any PC on the LAN to connect to the DTV744 using the web browser
instructions below.
1
To change the PC IP address, go to the Settings, Control Panel and double click on the Network icon. Select Configuration, TCP/IP protocol, and click on the
Properties box. Click on Specify IP Address and set the IP Address and Subnet Mask as indicated. Click OK to restart the PC with the new values.
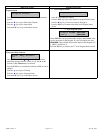
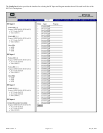
IP Address:
0.0.0.0
IP Setup...
N
etmask:
255.255.0.0
Gateway:
0.0.0.0
Reset Unit...