9
QUADREX
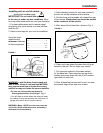
SCREW WITH
RUBBER
WASHER
(USE #2 PHIL-
LIPS)
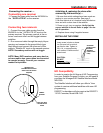
1. Be sure that switch settings have been made ac-
cording to your service provider. See page 3.
2. Be sure vehicle is in a location free of all obstruc-
tions and with a clear view of the satellite.
3. Power up unit, turn on receiver. Verify that the
correct satellite is found. Refer to page 3 for de-
tail of operation.
4. Replace dome using 8 supplied screws.
Initializing & replacing the dome after
connecting the receiver(s) —
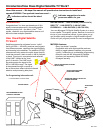
Connecting two receivers
1. Connect the coax cable coming from the
MV3500A to the “ SATELLITE IN” input on the
primary receiver. The primary receiver is the re-
ceiver used most often and will toggle between
satellites.
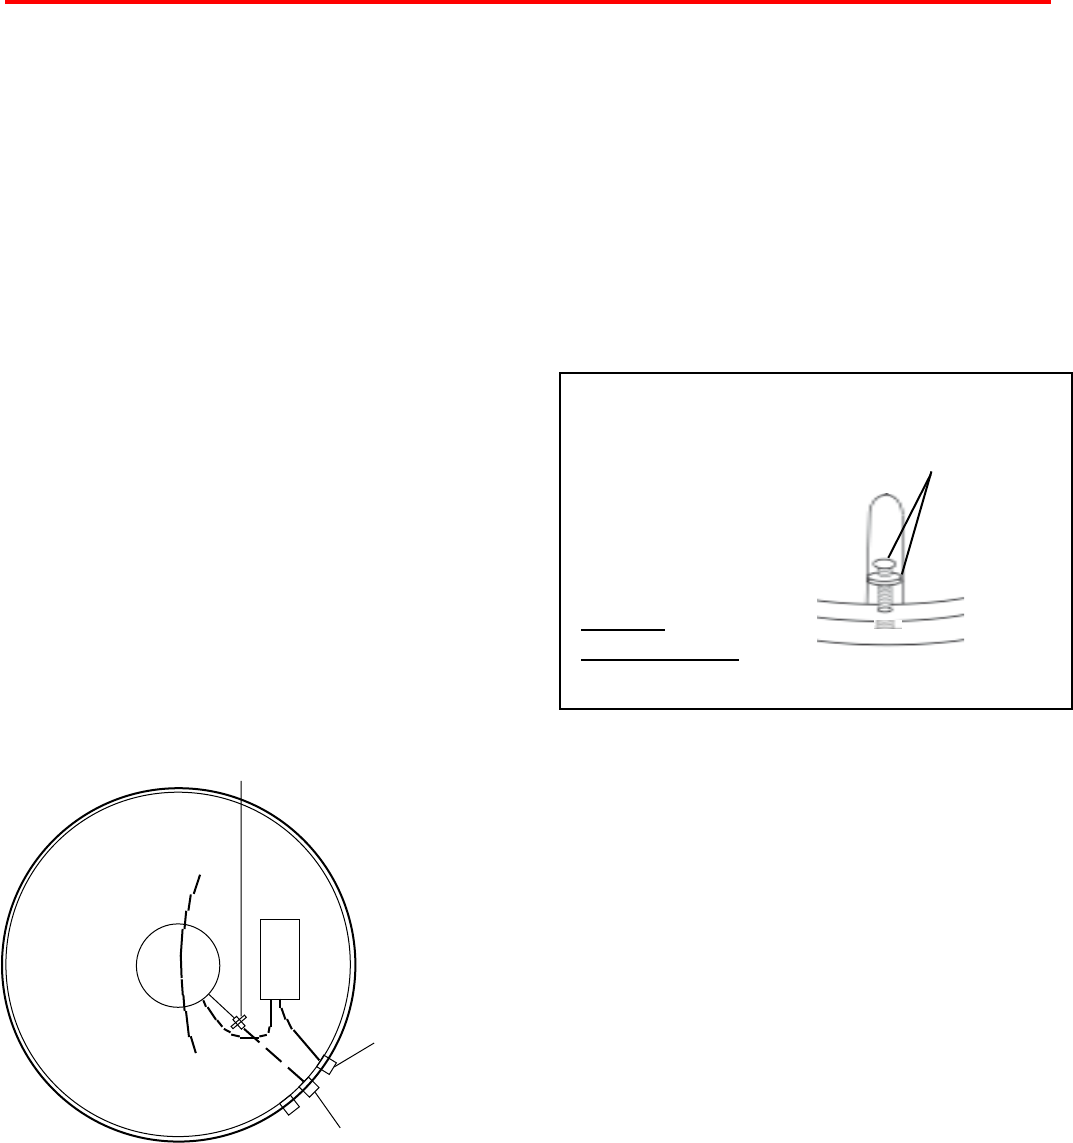
2. Run a second cable through the empty Heyco
opening and connect to the ground block-type
feed through and connect the other end of this
cable to “Satellite IN” input on the second receiver.
NOTE: Secondary receiver will not toggle.
NOTE: Many DVR receivers and many dual re-
ceivers require two coax cables be connected
to operate properly. Consult your receiver
manualforspecics.
Installation • Wiring
Connecting one receiver
1. Connect the coax cable from the MV3500A to
the “SATELLITE IN” on the receiver.
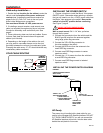
Connecting the receiver —
PRIMARY
RECEIVER
USED ONLY WITH
A SECONDARY RE-
CEIVER
GROUND BLOCK
CUSTOMER/INSTALLER PRO-
VIDES COAX FOR SECOND
RECEIVER
Rev. 9/07
HD Compatibility
In order to receive the full lineup of HD Programming
from your Satellite Program Provider, you will need to
purchase the Winegard HD Satellite Interface Model
WB-2000.
The Satellite Interface will allow your Movin’ View
system to receive additional satellites with more HD
programming.
DIRECTV subscribers will also require the DIRECTV
110°W Converter, Model WB-1100.
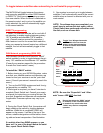
INSTALLING THE DOME
Insert screw in holes on dome
rim. Be sure bolt is vertical;
not tilted to side. Tighten to
20 in.-lb., or approximately
until washer is visible around
screw head.
CAUTION:
DO NOT
OVERTIGHTEN!!


