Clearing Paper Jams
8-5
Troubleshooting
8
NOTE
•
Some areas that are shown to have paper jams may not actually have paper jams.
However, always check the jam locations indicator on the control panel.
•
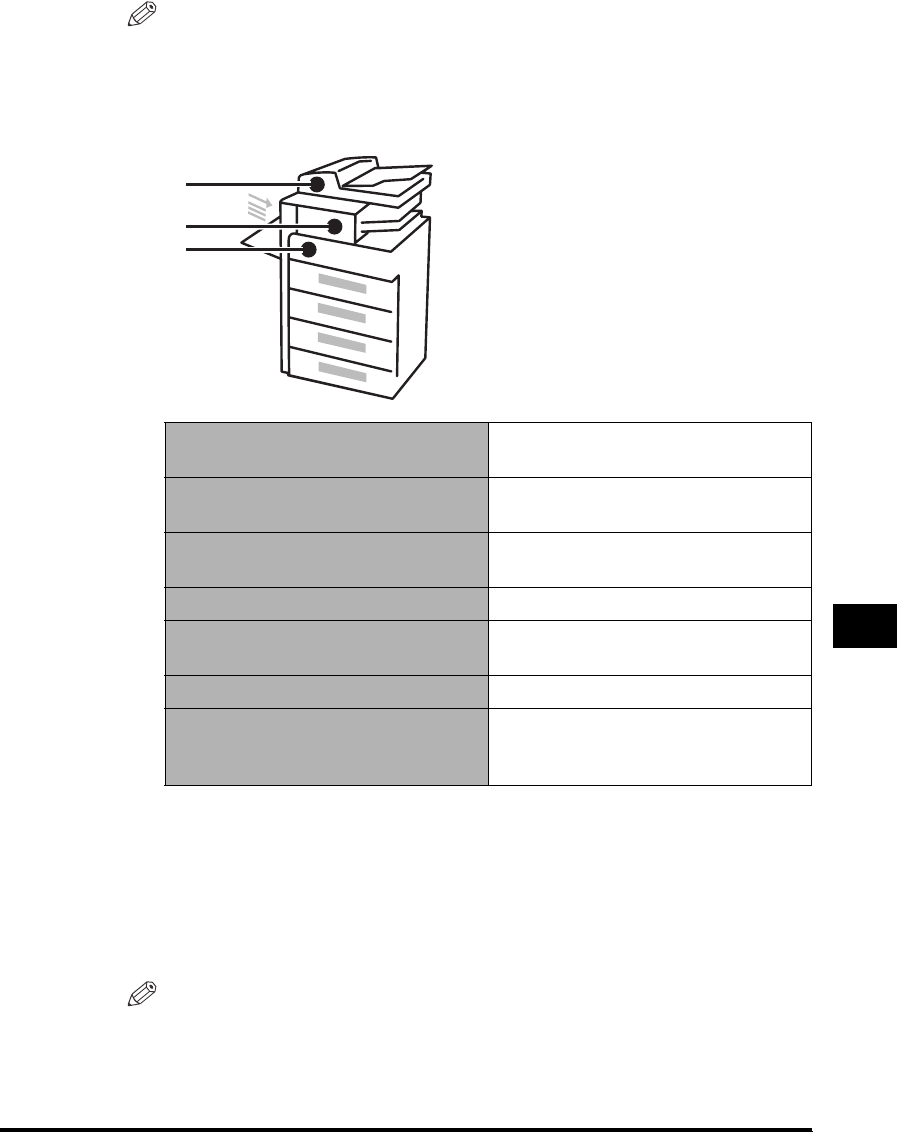
The following image which is in the upper left corner of the control panel, indicates
the possible locations where paper jams may occur, and the page number
describing how to remove the jammed paper.
2
After you have cleared all the paper jams at the locations
indicated on the control panel, restore all the levers and
covers to their original positions.
Once you have removed all of the jammed paper in locations other than the
optional feeder, printing or copying resumes.
NOTE
You do not have to re-enter the number of copies or prints, even if you are printing
multiple sets. The machine automatically recalculates the number of copies or
prints to make based on the number of sheets that have jammed.
a Feeder
See "Feeder (DADF-P1) (Optional)," on
p. 8-20.
b Finisher-U1
See "Finisher-U1 (Optional)," on p.
8-24.
b Inner 2 Way Tray-E1
See "Inner 2 Way Tray-E1 (Optional),"
on p. 8-28.
c Stack bypass See "Stack Bypass," on p. 8-16.
c Duplex Unit-A1
See "Duplex Unit-A1 (Optional)," on p.
8-17.
c Fixing unit See "Fixing Unit," on p. 8-6.
c Paper drawers
See "Paper Drawer 1," on p. 8-9, and
"Paper Drawers 2, 3, and 4," on p.
8-13.
a
b
c
