121
Playback Images
7
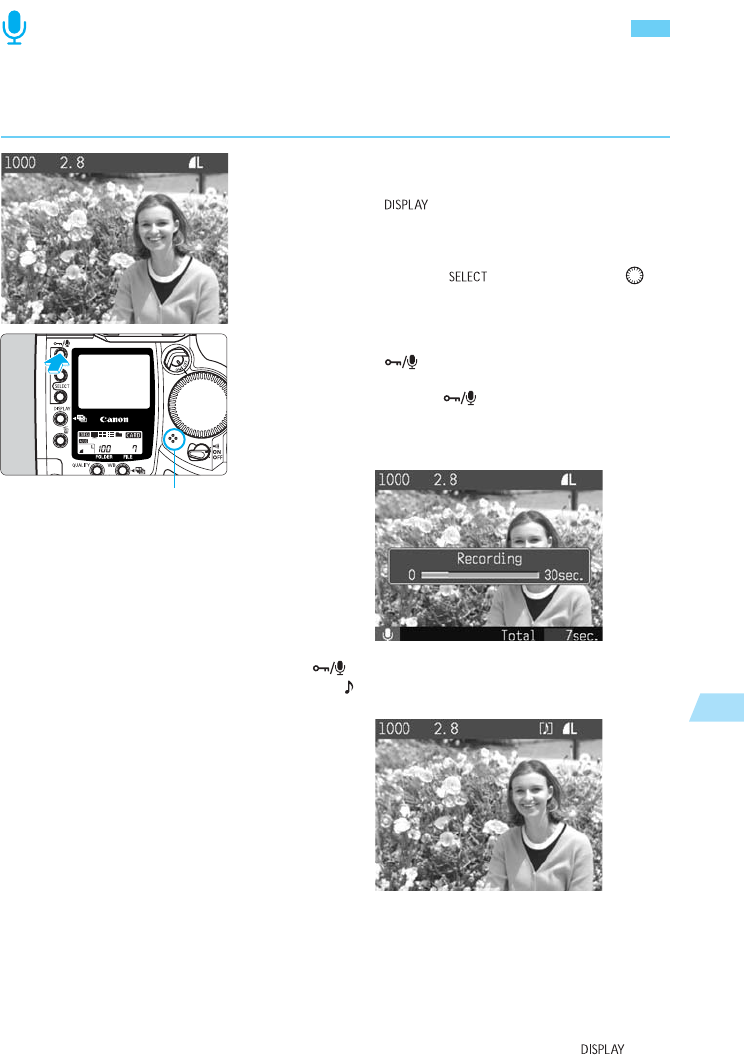
Sound Recording for an Image
With the camera’s built-in microphone, you can record your voice for any image. The sound
data is attached to the image file and can be played with the dedicated software.
Select the image to have a sound re-
cording.
•
Press the < > button to playback the image.
(→p.116)
•
You can record your voice regardless of the LCD
monitor’s image display format.
•
While pressing the < > button, turn the < >
dial to select the image to have a sound recording.
Then let go of the button.
1
Record your voice.
•
Press the < > button for about 2 sec.
s
When “Recording” appears on the LCD monitor,
keep pressing the < > button and speak into
the built-in microphone.
s
The elapsed recording time will be displayed on the
lower right corner.
•
After you finish the sound recording, let go of the
< > button.
s
The < > icon will be displayed if the image has a
sound recording.
•
The maximum time for a single sound recording is
30 sec.
•
To record a narration longer than 30 sec., follow
step
2
again to do another sound recording for the
same image.
•
While the image is displayed right after you
captured it, you can just follow step 2 to add a
sound recording.
•
To turn off the LCD monitor, press the < >
button.
2
microphone


