195
6
Downloading Images to Your Computer
After installing the software on your computer, connect your camera
to the computer.
1
Make sure the camera power is off.
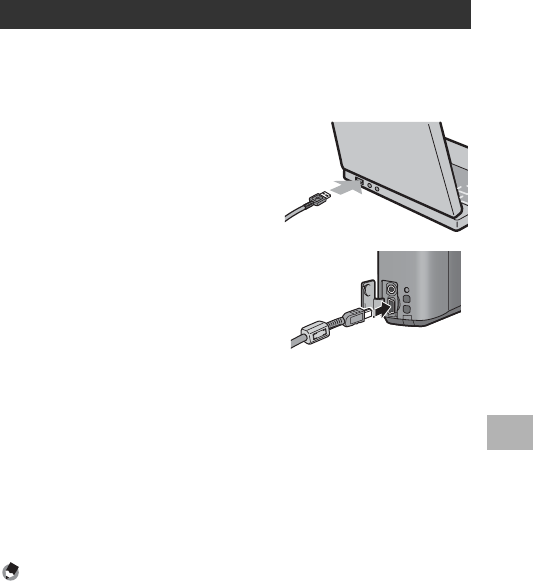
2
Connect the USB cable to the
USB port of your computer.
3
Connect the USB cable to the
USB terminal of your camera.
• Your camera turns on and the
computer automatically reads the
necessary files.
4
DL-10 starts and image
transfer begins automatically.
• DL-10 automatically creates a folder called [Digital Camera] inside
your [My Documents] folder. Downloaded images are saved in folders
with the date of each shot, inside the [Digital Camera] folder. (The files
will continue to be saved in the [Caplio] folder if you were previously
using Caplio Software.) Set the correct date and time on the camera
before shooting.
5
When image transfer is completed, disconnect the
camera and the computer. (GP.198)
Note ----------------------------------------------------------------------------------------------
• For how to use DL-10, refer to the “Software User Guide” (PDF file) contained in the
provided CD-ROM. (GP.191)
• If image transfer does not begin, please try the following procedures.
• Click the [Save] button in the DL-10 window. (Only if this is your first time
connecting the camera to your computer.)
• Restart your computer and perform Steps 1 to 5 again.
• Confirm that the [Saves automatically when connected to USB] checkbox in the
[Option Settings] dialog box for DL-10 is selected.
Downloading Images Using the DL-10


