152-402-145-02, Issue 2 Installation
H2TU-R-402 June 16, 2000 5
INSTALLATION
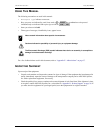
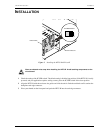
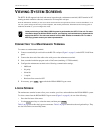
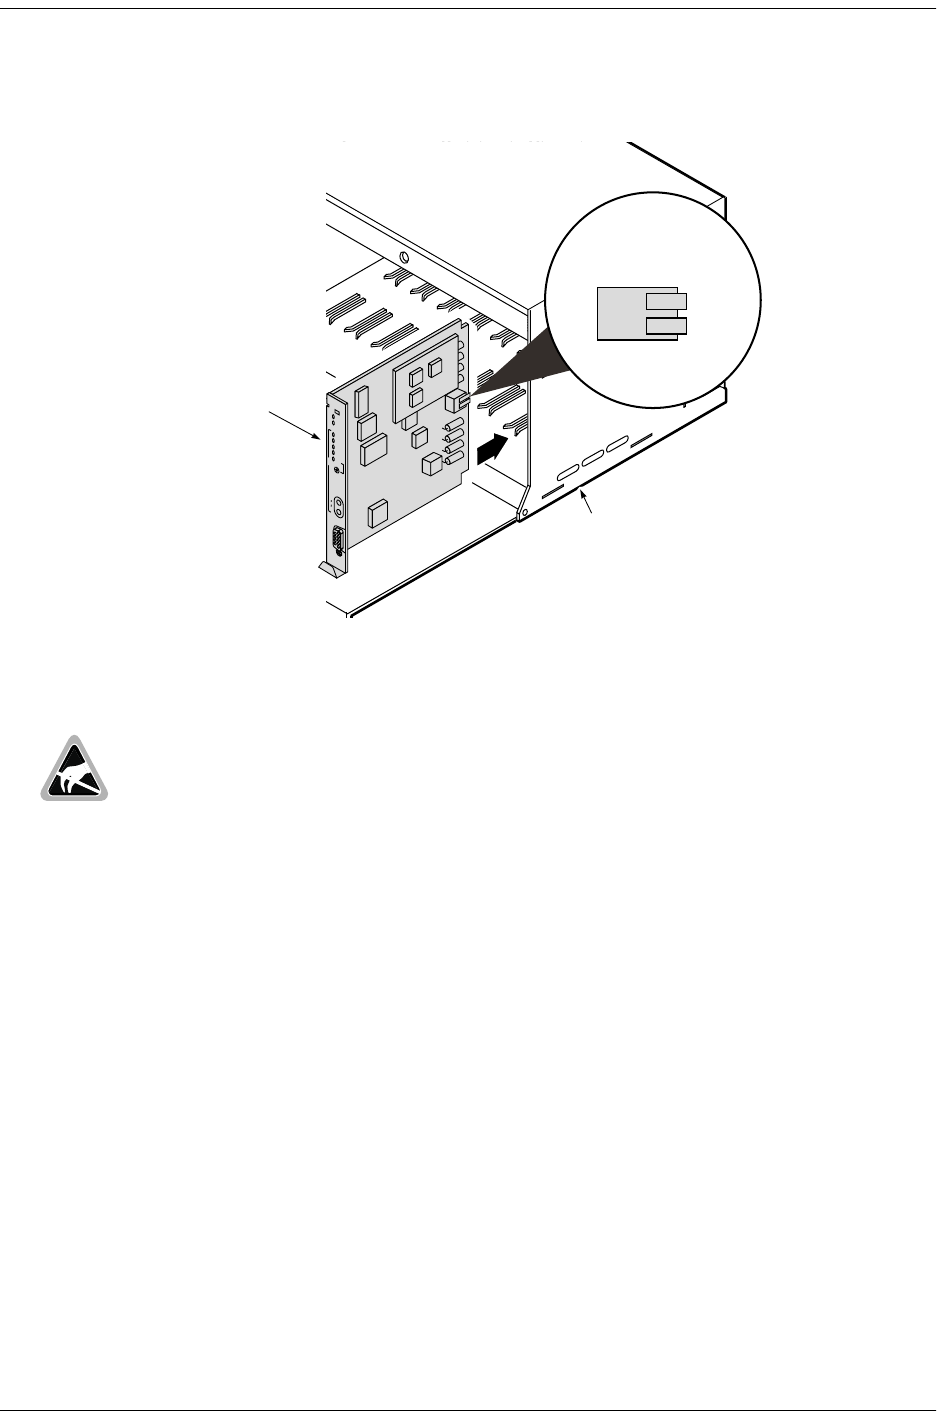
Figure 2. Installing the H2TU-R-402 List 4E
1 Check the setting of the SCURR switch. The default setting is disabled (up position). If the H2TU-R is locally
powered, and your application requires sealing current, place the SCURR switch in the down position.
2 Align the H2TU-R with the enclosure slot guides and slide the unit in. Push the unit back until it touches the
backplane card-edge connector.
3 Place your thumbs on the front panel and push the H2TU-R into the card-edge connector.
Wear an antistatic wrist strap when installing the H2TU-R. Avoid touching components on the
circuit board.
H2TU-R-402
Remote enclosure
S
O
L
I
T
A
I
R
E
A
L
M
L
L
O
O
P
E
S
F
S
F
B
8
Z
S
A
M
I
L
B
K
H
D
S
L
2
D
S
1
IN
B
R
G
O
U
T
R
S
-
2
3
2
D
C
E
SCURR
SCURR SWITCH


