Using Your eMachines Flat-Panel Monitor
6
On-screen display options
Adjusting OSD settings
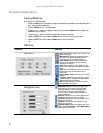
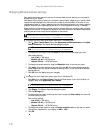
To adjust the OSD settings:
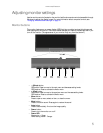
1 Press the Auto button. The display image is automatically adjusted to the ideal settings for
your current screen resolution.
2 Press the Menu button. The OSD opens.
3 Press the + or – button to highlight a setting, then press the Menu button to open the
selected menu or setting.
4 Press the + or – button to adjust the setting or change the option.
5 Select the EXIT icon, then press the Menu button to return to a top level menu.
6 Select the EXIT icon, then press the Menu button to exit the OSD.
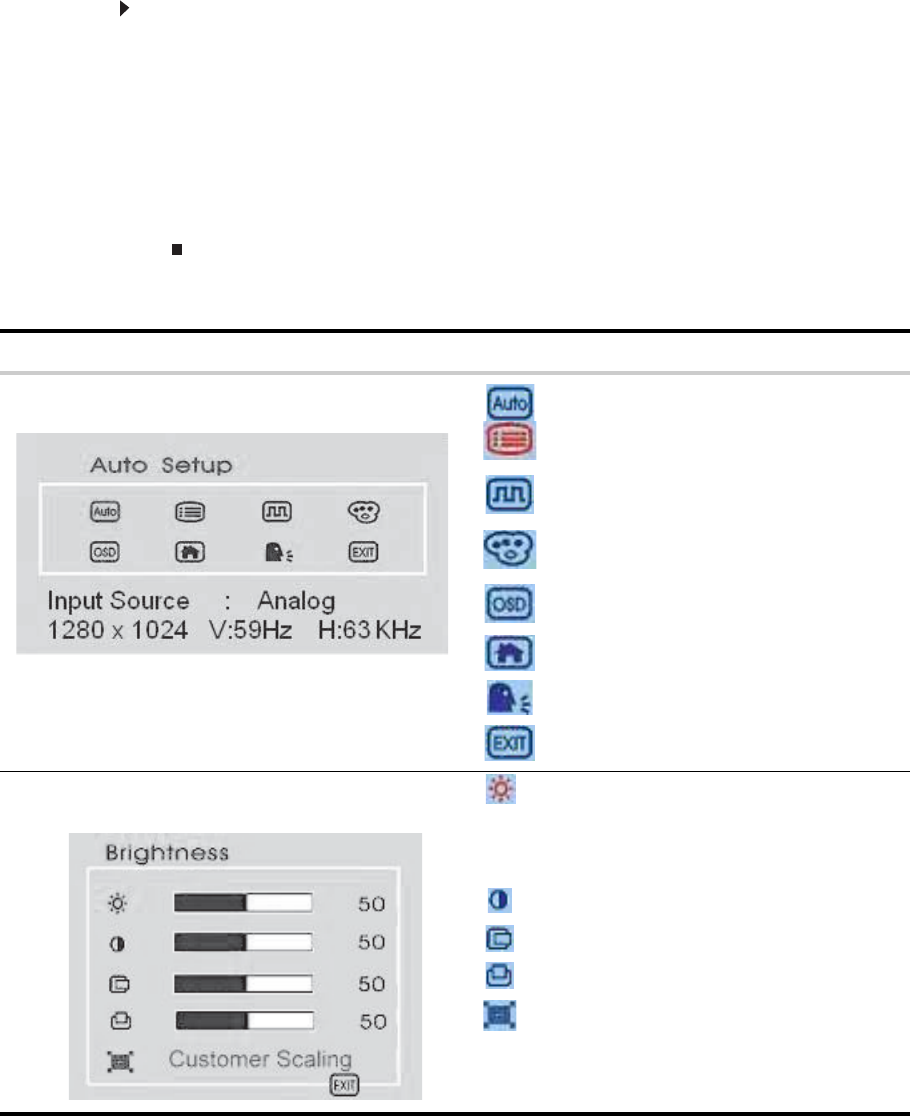
OSD menus
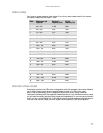
OSD Menu Description
Main menu
Auto—Automatically adjusts your monitor to its
optimum settings.
Management—Opens the Management menu,
where you can adjust brightness, contrast,
horizontal position, and vertical position.
Clock/Phase—Opens the Clock/Phase menu,
where you can adjust the clock and phase
settings of the monitor.
Color—Opens the Color menu, where you can
adjust color temperature, the sRGB, and custom
color.
OSD—Opens the OSD menu, where you can set
the horizontal and vertical position of the
OSD menus.
Factory Recall—Resets the monitor to its factory
settings.
Language—Opens the Language menu, where
you can select the language of the OSD menus.
Settings take effect immediately.
EXIT—Exits the submenu to a top level menu.
Exits the OSD menu system.
Management menu
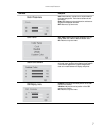
Brightness—Adjusts the amount of light in the
darkest portion of the picture. Use the lowest
brightness setting you are comfortable with to
maximize the life of the monitor backlights.
You may need to readjust brightness after the
monitor warms up.
Contrast—Adjusts the level of white between the
lightest and darkest portions of an image.
H.Position—Adjusts the horizontal position of the
display on the monitor.
V.Position—Adjusts the vertical position of the
display on the monitor.
Customer Scaling—Adjusts the aspect ratio of the
display. Select Fill to Screen or Fill to Aspect Ratio.
EXIT—Returns to top level menu.


