Using Your eMachines Flat-Panel Monitor
4
Ergonomic guidelines
The recommended screen positioning is based upon the following guidelines. These guidelines are
based on available scientific literature and published standards.
Screen height
The recommended screen height for displays (except in special circumstances, such as for bifocal
use) is that the top of the display should be set at or slightly below (about 1 inch or 25 mm) your
eye level while you are sitting in a comfortable working posture. This guideline places the center
of the screen at an ideal 15° to 20° viewing angle for most desktop displays.
Screen tilt
The screen should be tilted so your line of sight is perpendicular to the screen. This angle creates
the most consistent viewing distance when scanning from the top of the screen to the bottom.
You may need to adjust lighting to avoid screen glare when the screen is tilted upward.
Screen distance from user
The screen should first be placed at arm’s length from the user, then adjusted back and forth to
suit individual preference.
Starting the monitor
To start the monitor:
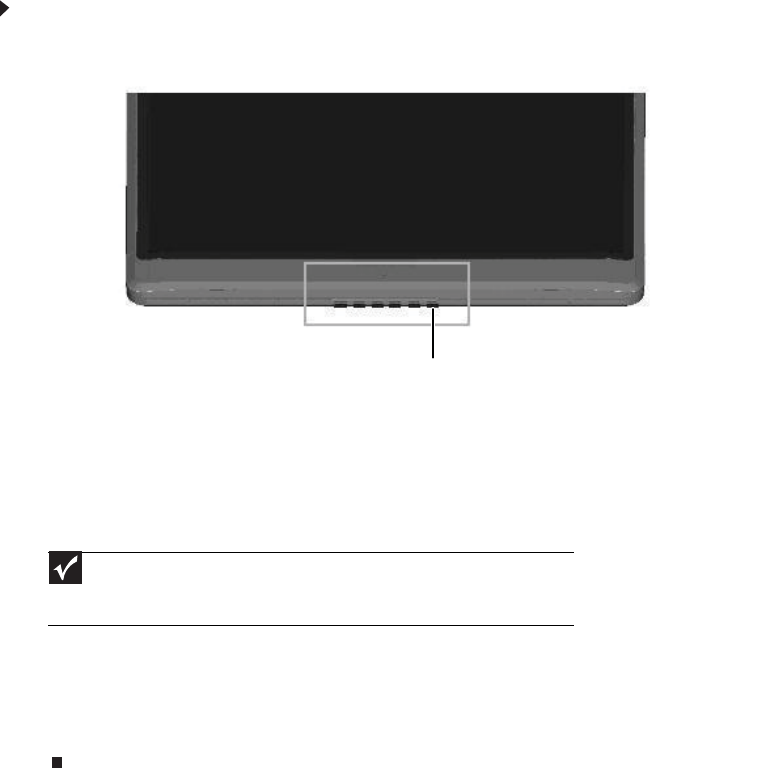
1 Press the power button on the front of your monitor. The power LED turns from orange to
green.
2 Turn on your computer.
After your computer is running, the power LED (centered above the monitor buttons) should
be green. Allow about 10 seconds for the display image to appear. If the power LED is not
green or you do not see a display image, check the connections. For more troubleshooting
information, see “Troubleshooting” on page 13.
3 Adjust the tilt of the monitor for the best viewing angle.
4 After you see the Windows desktop, press the Auto button (the second button from the
right on the front of the monitor) to automatically adjust your display image to the ideal
settings. See “Monitor buttons” on page 5.
5 Use the on-screen display (OSD) to adjust other monitor settings. For more information, see
“Adjusting monitor settings” on page 5.
Important
When adjusting the monitor settings, always press the Auto button before
entering the OSD. This will automatically adjust the display image to the ideal settings
for the current screen resolution.
Power button
