


56
4.4 RECORD & PLAY SETTING
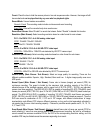
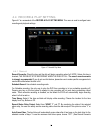
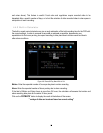
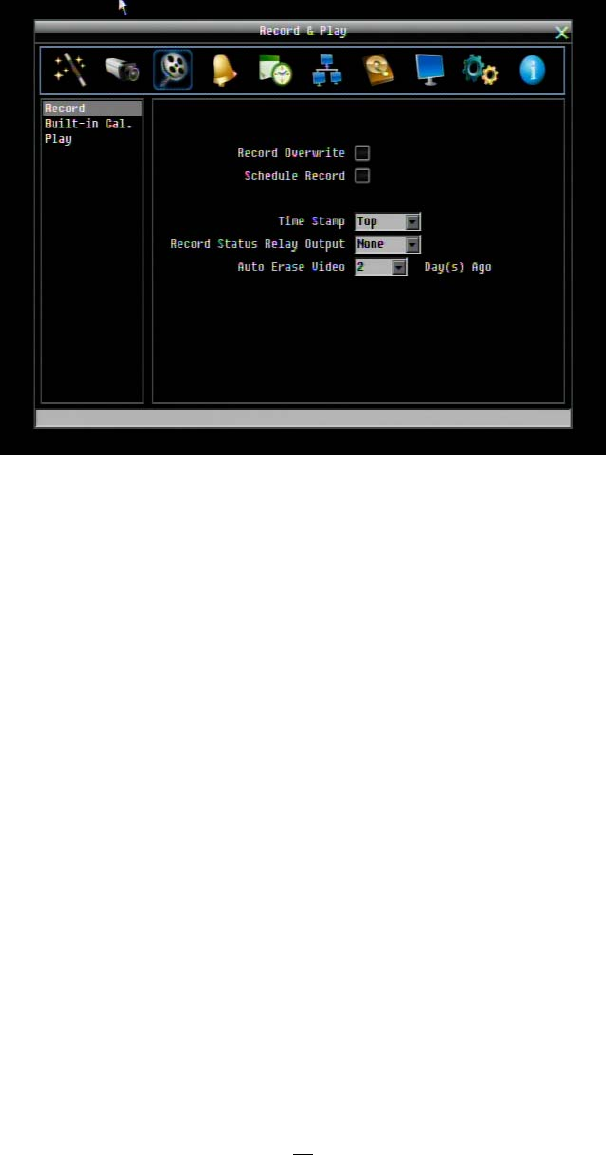
Figure 4-7 is a screenshot of the RECORD & PLAY SETTING MENU. This menu is used to configure basic
recording and playback settings.
Figure 4-7 Record & Play Menu
4.4.1 Record
Record Overwrite: Check the box and the disk will begin overwriting when full. NOTE: Unless this box is
checked, THE DVR MUST STOP RECORDING WHEN THE DISK IS FULL. The use of record overwrite
is strongly recommended. If you do not use this feature, please be sure to make specific arrangements to
monitor/be notified when the disk is full.
Schedule Record: Use schedule recording mode.
For Schedule recording, the only way to stop the DVR from recording is to turn schedule recording off.
Pressing any key on the front panel to attempt to stop recording will not work during scheduling record
mode. When schedule recording is disabled, as the default the DVR will automatically begin recording
when it is first turned on.
Time Stamp: Select if the time and date will display while recording. Choose the location for the time
display from Top, Bottom or Off.
Record Status Relay Output: Select from “NONE” “1” and “2”. By monitoring the state of the selected
alarm relay, the user can easily see the recording status from the alarm output if this option is set as “1” or
“2”.
Auto Erase Video: The hard drive will automatically erase video after it has been on the hard drive for the
selected number of days. To use the maximum hard drive space, choose “OFF”. (See Record Overwrite