16
2.2 General Front Panel Operation
2.2.1 How to select a channel / Enable audio
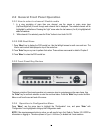
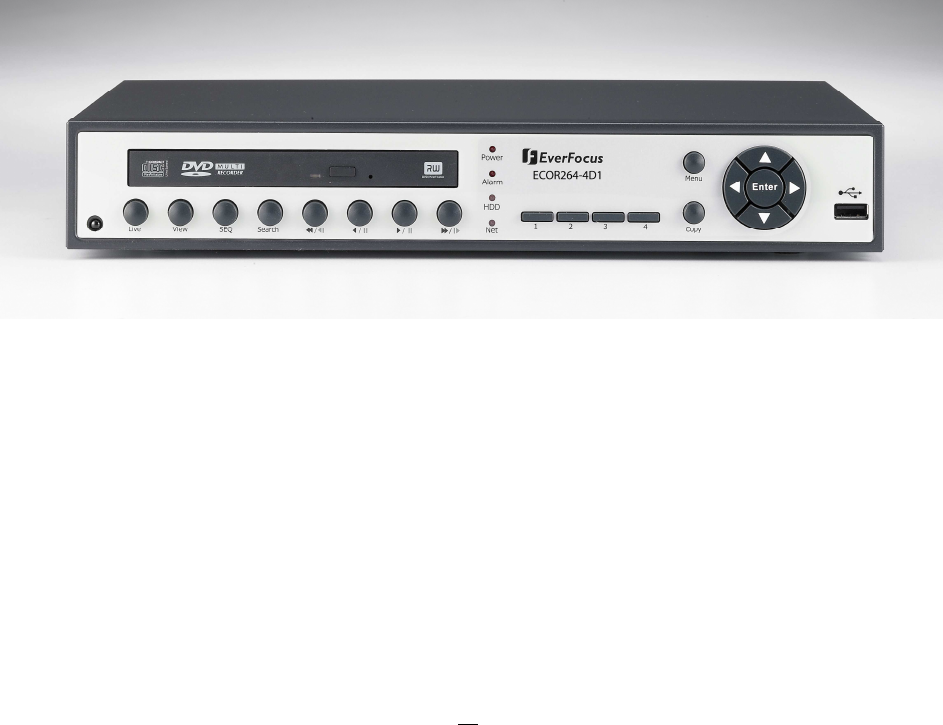
1. In a view consisting of more than one channel, use the mouse or press arrow keys
(Up/Down/Right/Left) to scroll through each channel that is displayed. The selected channel will be
highlighted by white frame. Pressing the “right” arrow when the last camera (4 or 8) is highlighted will
select all cameras.
2. While channel #1 is selected, press the “Enter” button to turn Audio On/ Off.
2.2.2 OSD Root Menu
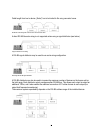
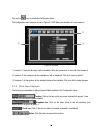
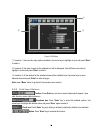
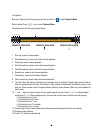
1. Press “Menu” key to display the DVR control bar. Use the left/right arrows to scroll over each icon. The
title for each icon will be displayed on top of the control bar.
2. Press “Enter” key on any icon to perform that action. These actions are covered in detail in Chapter 3
3. Press “Menu” to close the DVR control bar.
2.2.3 Front Panel Key Review
The basic principle of front panel operation is to use arrow keys to navigate among the menu items. Use
the “Enter” key to confirm a selection or enter the next level menu. Press the “Menu” key to enter the Main
Menu or exit from the current level of the menu.
2.2.4 Operation in Configuration Menu
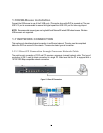
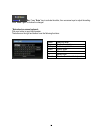
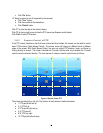
Press “Menu”, use the arrow keys to highlight the “Configuration” icon, and press “Enter” with
“Configuration” icon highlighted to bring up the Configuration menu.
NOTE: If the require password option is active, you will need to log in first. Refer to “Section 3.2 LOGIN” for
information on logging in. The menu (shown in
Figure 2-3 OSD Menu
) is divided into 3 main sections.


