14
D-108 Quick Operation Guide
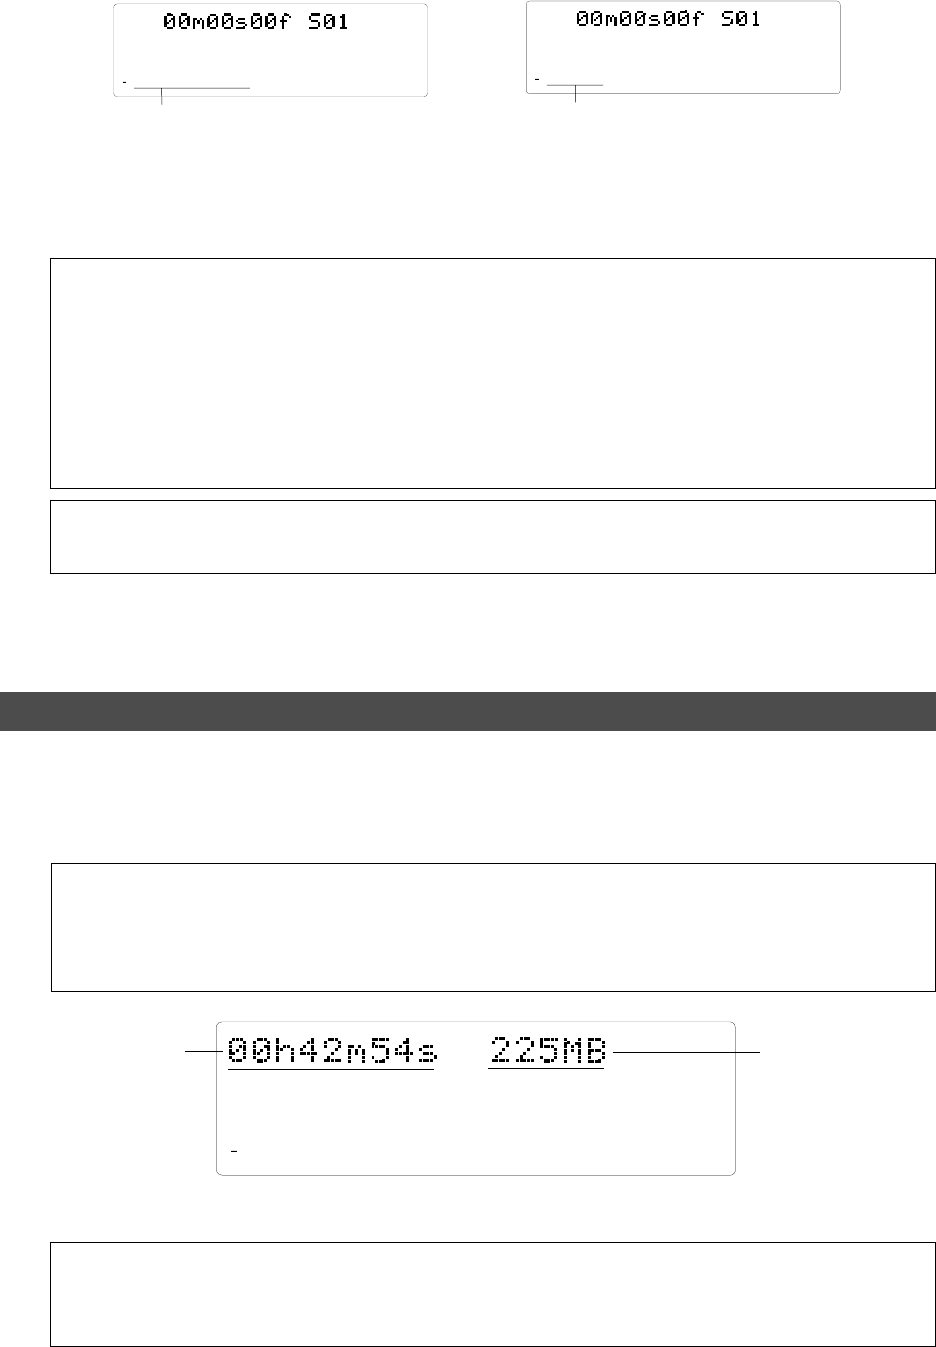
Time remaining
Space remaining
44.1kHz
REMAIN
87654321
42
OL
0
30
24
18
12
9
6
3
∞
44.1kHz
8
7
6
5
4
32
1
ABS
42
OL
0
30
24
18
12
9
6
3
∞
44.1kHz
4
32
1
ABS
42
OL
0
30
24
18
12
9
6
3
∞
Press the EXIT/NO key or the STOP button.
The D-108 quits the format menu in SETUP mode, and the display changes to ABS Time Base indication.
Formatting in [8track format] mode:
Track indicators 1-8 light up on the display.
Formatting in [4track format] mode:
Track indicators 1-4 light up on the display.
One Program (*1) is automatically set up after the disk format operation, and “ABS 00m 00s 00f” (ABS Time
Base - *2) appears, indicating that the top of the Program is located.
Now, you can start recording, playback, and editing on the D-108 using the connected SCSI disk.
(*1) Program:
You can set up a maximum of 99 Programs, depending on the available space on your SCSI disk.
You can select any Program to perform recording, playback, and edit (Program Select function).
You may also name the Programs to facilitate song management (Program Title Edit function). You
can delete unnecessary Programs (Program Delete function). For more information, refer to the
User’s Guide.
Programs on the SCSI disk are numbered with prefix “S” (e.g., [S01]) to differentiate them from the
Programs on the E-IDE hard disk (e.g., [P01]).
(*2) Time Base:
Refer to page 8 for an explanation and additional information on the selection of Time Bases.
Checking the available recording time (REMAIN) on a formatted disk
It is a good idea to check the available recording time after you format the disk. To do so, press the DISP SEL
key to display the REMAIN time indication, which indicates the available recording time and recording space
in the selected Time Base. The following example shows a disk with 42 minutes 54 seconds of available
recording time and 225 MB of space.
<Note>
The REMAIN time values are based on a mono track recording. If you wish to record on multiple
tracks, you can find out how many minutes of a song you can record by dividing the REMAIN time
value by the number of tracks. Check the REMAIN value before you make each new recording.
Press the DISP SEL key to return to the previous Time Base display.
<Ejecting the removable disk from the SCSI drive>
Press and hold down the STOP button and press the EXIT/NO key to eject the disk from the SCSI
drive.


