


Model D2424LVmkII Quick Operation Guide
6
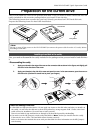
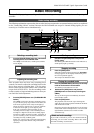
Preparation for the current drive
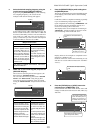
Caddy
Hard disk unit
Fixing screws
The D2424LVmkII has a slot for an optional hard disk. First you need to install a hard disk into the
caddy included in this recorder package before you install it into the slot.
The following instructions assume that you have already purchased an E-IDE hard disk unit.
Prepare the following items for hard disk installation:
<Note>
Be sure to turn off the power to the D2424LVmkII (or remove the power cable from the AC outlet) before
installing a hard disk.
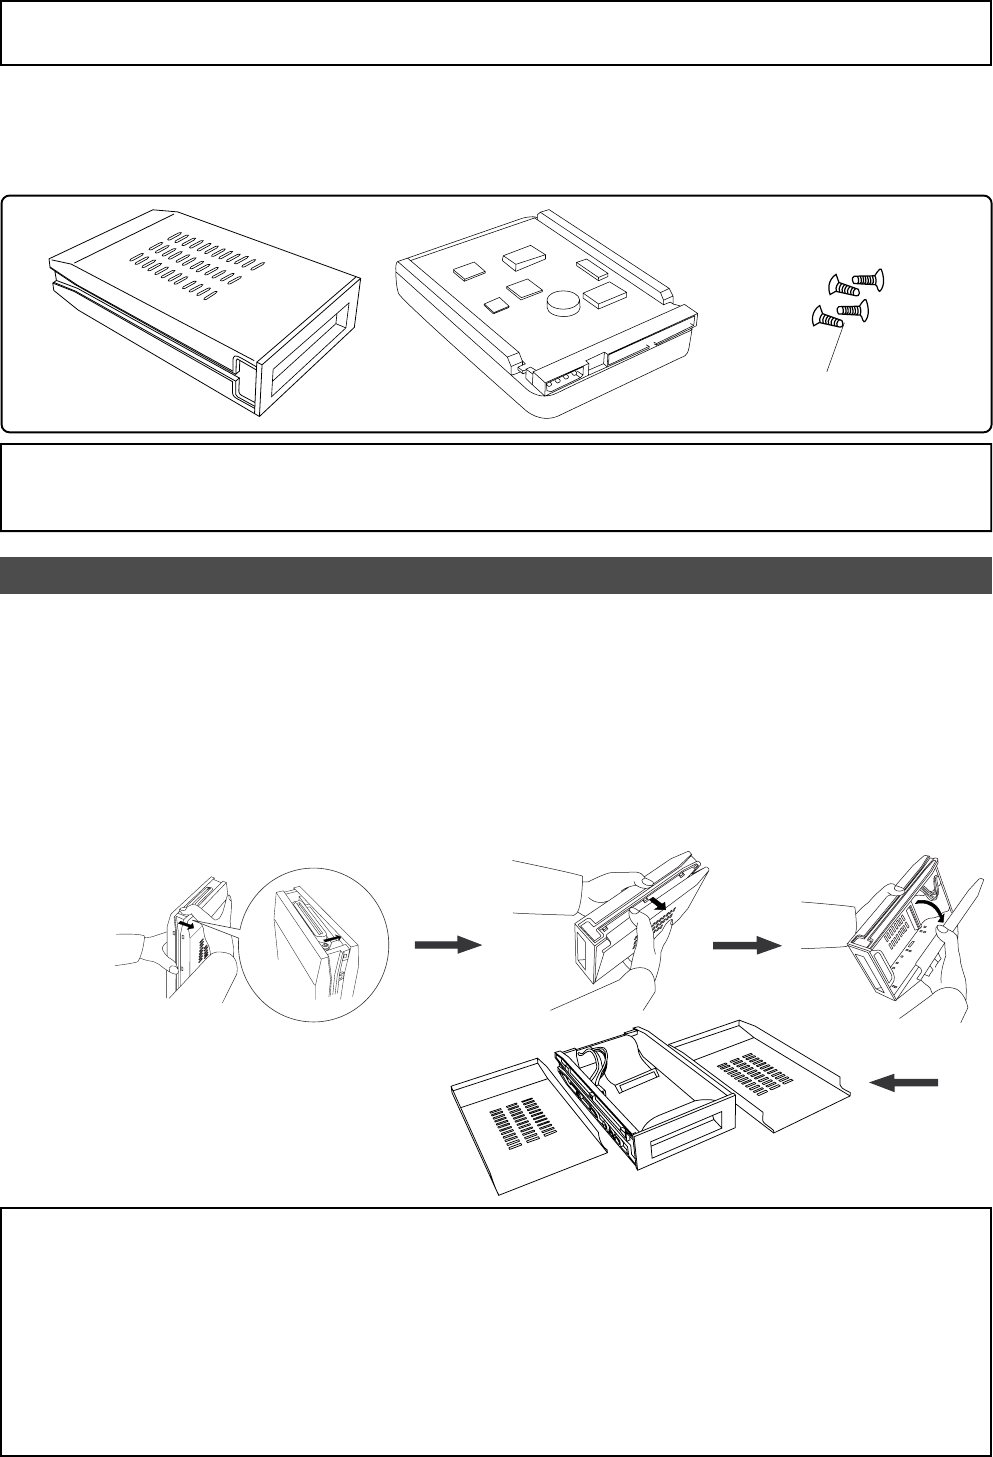
First, you need to disassemble the caddy included in the package so that you can install a hard disk into
it.
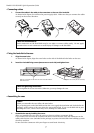
Installing a hard disk in the caddy
• Disassembling the caddy
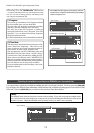
1. Apply your thumb to the edge of the case on the connector side as shown in the figure, and slightly pull
the cover in the direction of the arrow.
2. Apply your thumbs to the side of the case and open the cover. In the same manner, open the cover on
the other side. (Caution: Be careful not to pinch your fingers.)
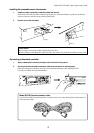
<Notes on handling a hard disk>
• A hard disk is a high-precision device. Do not apply any impact to the disk when and after you install it in
the caddy. Do not leave the disk near a device that generates a strong magnetic field. Choose a level and
stable surface for installation. Be careful not to injure yourself.
Fostex is not liable for any malfunction or damage to the hard disk caused by mishandling.
• You need to set the DIP (Jumper) switch on the hard disk to “
Master
” before you install it into the caddy.
If the switch is set to “Slave,” the hard disk will not function correctly.
Refer to the instruction manual that came with your hard disk for more information on the DIP (Jumper)
switch setting.