


26
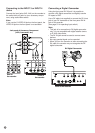
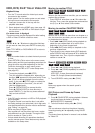
DV Recording Audio
You need to set this if you have a camcorder using
32kHz/12-bit sound connected to the front panel DV IN
jack.
Some digital camcorders have two stereo tracks for
audio. One is recorded at the time of shooting; the
other is for overdubbing after shooting.
On the Audio 1 setting, the sound that was recorded
while shooting is used.
On the Audio 2 setting, the overdubbed sound is used.
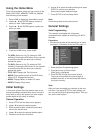
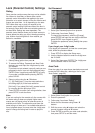
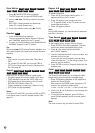
TV Recording Audio
When TV recording with bilingual, you can choose
audio channel to record.
[Main+Sub] Main language and Sub language
[Main] Main language only
[Sub] Sub language only
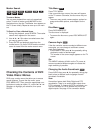
Auto Chapter
When recording in Video mode, chapter markers are
put in specified setting.You can change this interval to
5 minutes, 10 minutes or 15 minutes. If you select
[None], switch off automatic chapter marking altogeth-
er with the [None] setting.
Note:
This interval time is for reference: The actual time will
slightly vary.
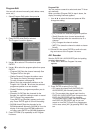
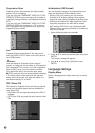
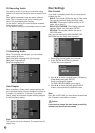
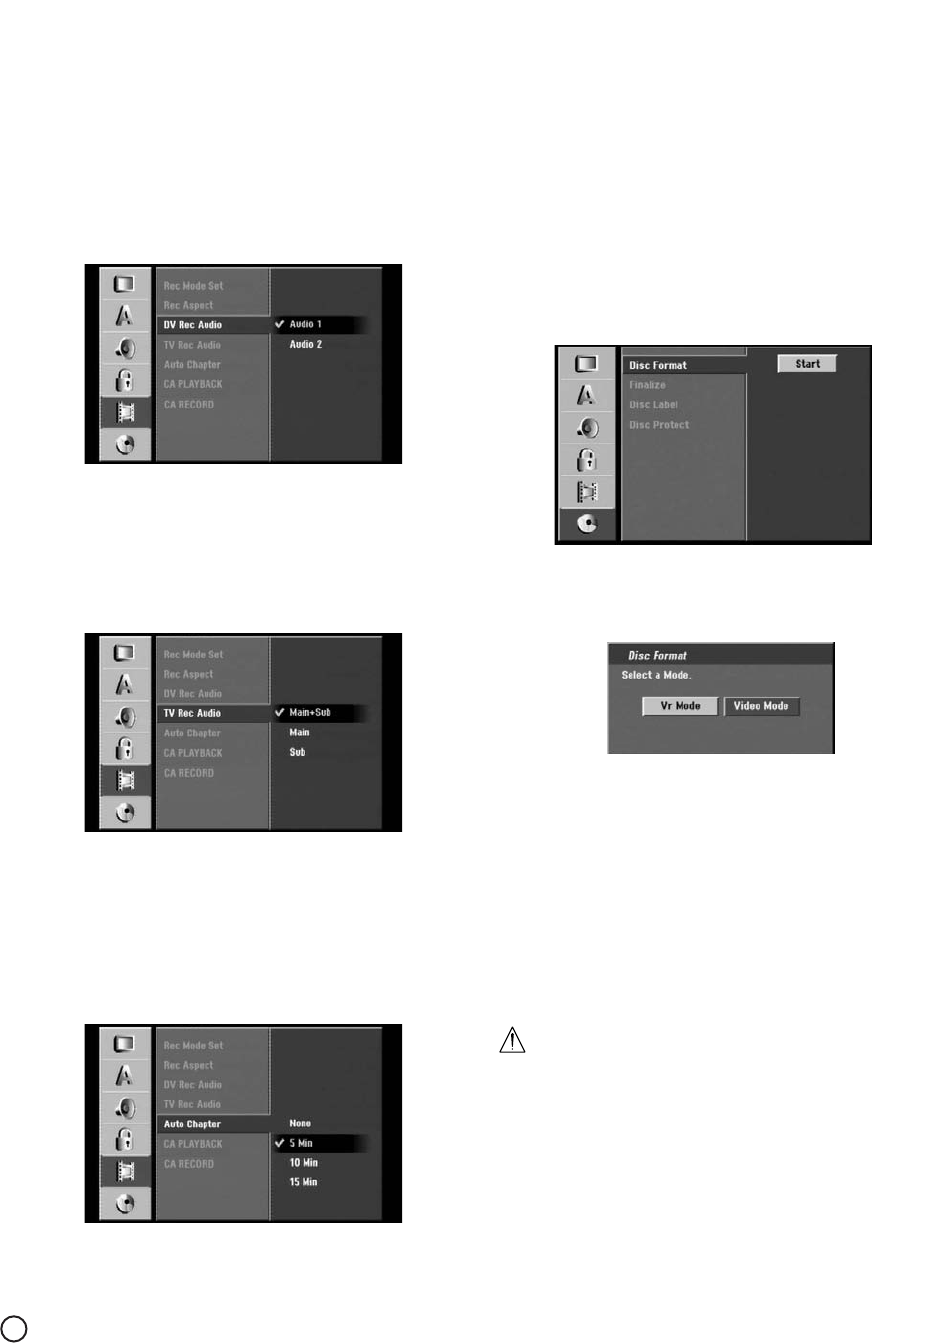
Disc Settings
Disc Format
If you load a completely blank disc, the recorder will
initialize the disc.
DVD-R: The recorder initialize the disc to Video mode.
The recording mode will always be Video mode.
DVD-RW: The recorder initialize the disc to VR
mode. (Go to Step 3)
DVD+R (
DL)/
DVD-RAM: The Initialize menu will
appears. Select “Yes” then press ENTER.
DVD+RW: The recorder initialize the disc to
DVD+RW mode.
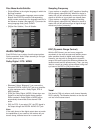
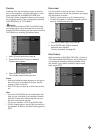
Also, you can reformat the DVD-RW/DVD+RW/
DVD-RAM from the Setup menu as below.
1. Select [Disc Format] option then press B.
2. Press ENTER while [Start] is selected.
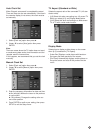
Format Disc menu appears.
3. Use b / B to select a desired mode (VR Mode or
Video Mode) then press ENTER.
Confirm message will appear.
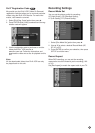
For DVD+RWs/DVD-RAMs, go to step 4.
4. Use b / B to select [OK] then press ENTER.
It takes a few moments to initialize the disc.
Note:
Even with a DVD-RAM, you must format a brand-new
disc: Follow the instructions on screen.
Caution
If you want to change the disc format, everything
recorded on the disc will be erased.