


Getting Started (Initial Setup)
20
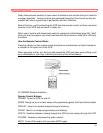
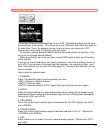
The screen shows the default settings on your VCR. The default settings are the ones
that are preset at the factory. They come up on the VCR every time the power goes out
for more than 1 hour--for example, during a storm or when you unplug the VCR.
Look at each item to see if it matches your own setup:
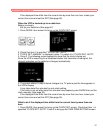
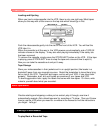
To change a setting, press the button that has the same number as that item. This
will cycle you through several options.
When everything is set up as you want, press GUIDE again to back out of the Easy
Guide System.
If you do not use the cable box, you need to set items 1 and 8 the first time you set up
your VCR. If you receive all channels from the cable box, you need to set item 1 and
item 7 the first time you set your VCR (See page 47). The rest of the items can be set
later as needed.
Here is what the options mean:
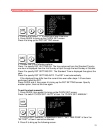
1 CHANNEL
Press 1 to select the type of receiving setup you have:
<ANT> Internal or external antenna
<CATV1> Ordinary cable
<CATV2> Alternate cable (if CATV1 doesn't give you the channels you expect)
2 MOVIE
Press 2 to select whether you want prerecorded movies (safety tab removed) to play
automatically when loaded, and then rewind, eject and turn off the power when done.
Options are <ON> and <OFF>.
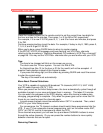
3 HIFI/LINEAR
Press 3 to control how the audio signal is processed by the VCR. Options are <HIFI>
and <LINEAR>.
4 STEREO/MONO
Press 4 to control how the audio signal is recorded and sent to the TV. Options are
<STEREO> and <MONO>.
5 SAP
Press 5 when you are ready to record a second audio program. Options are <OFF>
and <ON>.