


5
www.insigniaproducts.com
TV components
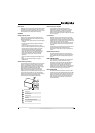
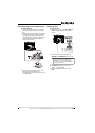
Accessories
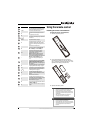
Make sure that the following accessories are
provided in the packaging:
• Remote control
• AAA batteries (2)
• Remote control holder
• AC power cord
•VGA cable
•Component cable
•Cleaning cloth
•User Guide
• Quick Setup Guide
Cleaning cloth
The cleaning cloth is for cleaning the TV screen
only. Do not use the cleaning cloth to clean any
other part of your TV.
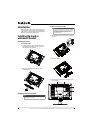
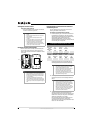
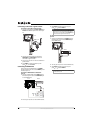
Front
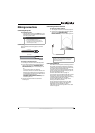
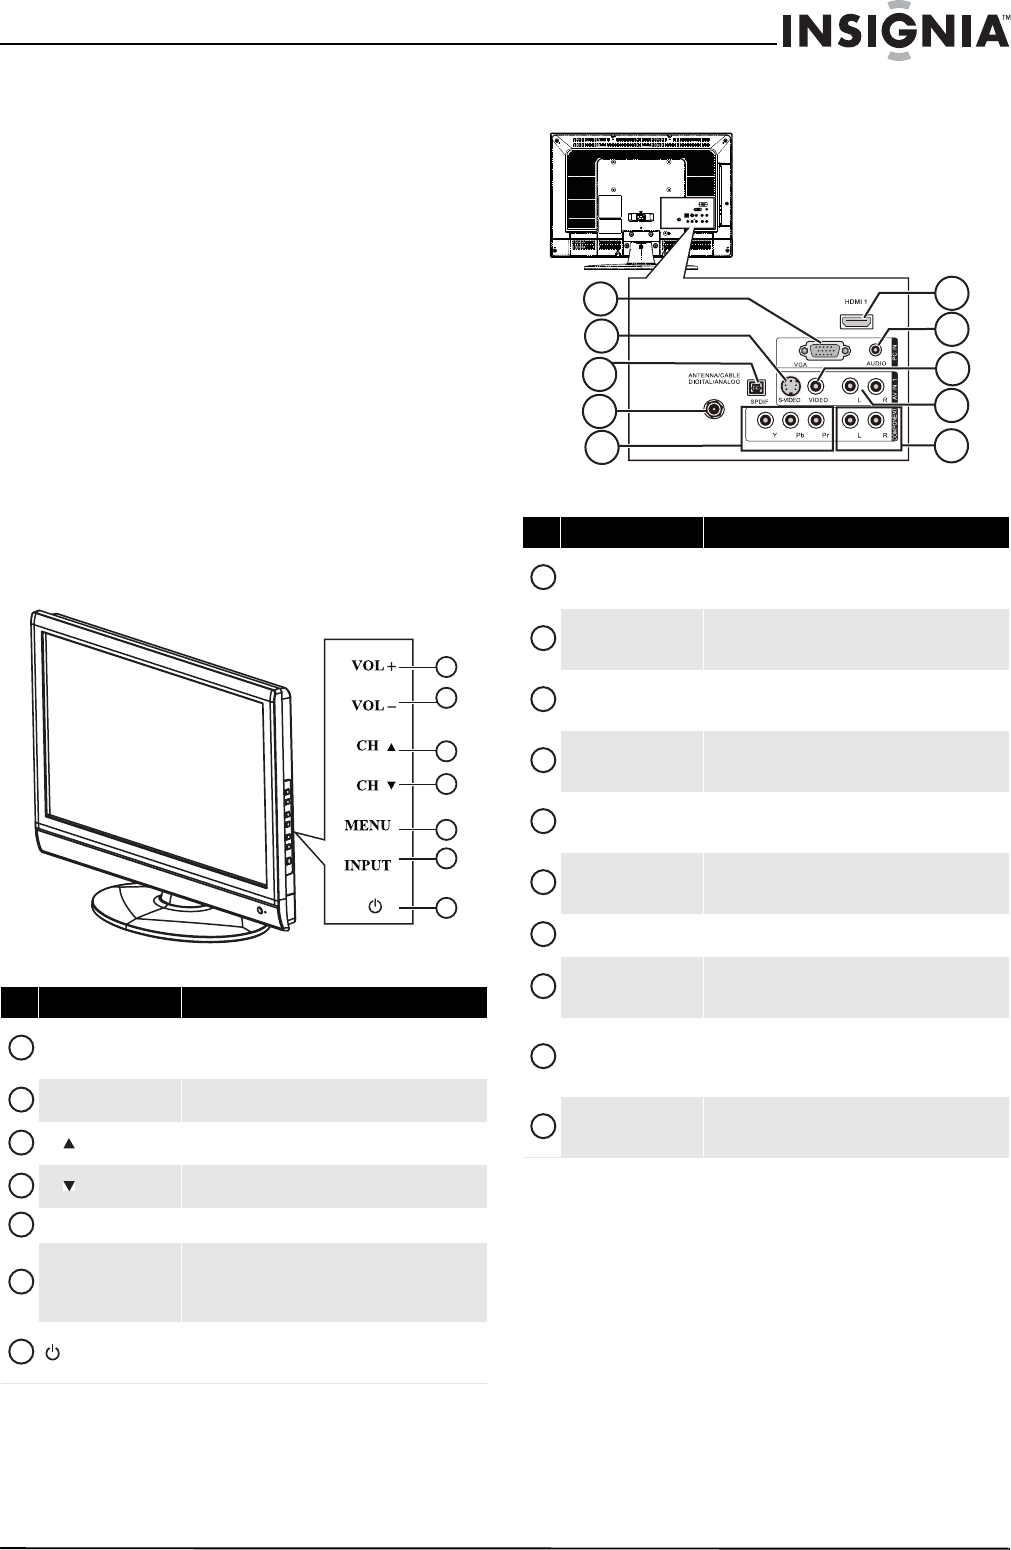
Back
# Button Description
VOL+
Press to increase the volume. In Menu mode, functions
as the right arrow to go to the next menu or increase a
setting.
VOL–
Press to decrease the volume. In Menu mode, press to
decreases a setting.
CH
Press to go to the next higher channel. In Menu mode,
functions as the up arrow.
CH
Press to go to the next lower channel. In Menu mode,
functions as the down arrow.
MENU
Press to open the on-screen menu.
INPUT
Press to open the input source menu, then press the
arrow keys to cycle through the available input
sources. In Menu mode, functions as the OK/ENTER
button.
(power)
Press to turn your TV on or off (standby mode). When
your TV is off, power still flows into it. To disconnect
power, unplug the power cord.
1
2
3
5
6
4
7
1
2
3
4
5
6
7
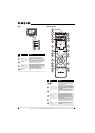
# Jack Description
PC IN VGA
Connect the video (VGA) for a computer to this jack.
For more information, see “Connecting a computer” on
page 13.
AV IN 1 S-VIDEO
Connect the video for an S-Video device to this jack.
For more information, see “Connecting an S-Video
device” on page 13.
SPDIF
Connect an audio amplifier to this jack. For more
information, see “Connecting an audio amplifier” on
page 14.
ANTENNA/CABLE
DIGITAL/ANALOG
Connect an antenna or cable TV to this jack. For more
information, see “Connecting an outdoor antenna” on
page 9 or “Connecting an indoor antenna” on page 9.
COMPONENT Y/Pb/Pr
Connect the video for a component video device to
these jacks. For more information, see “Connecting a
component video device” on page 13.
HDMI 1
Connect an HDMI device to this jack. For more
information, see “Connecting an HDMI device” on
page 12.
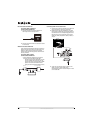
PC IN AUDIO
Connect the audio for a computer to this jack. For more
information, see “Connecting a computer” on page 13.
AV IN 1 VIDEO
Connect the video for a standard AV device to this jack.
For more information, see “Connecting a VCR” on
page 11.
AV IN 1 L/R
Connect the audio for an S-Video or standard AV device
to these jacks. For more information, see “Connecting
an S-Video device” on page 13 or “Connecting a VCR”
on page 11.
COMPONENT L/R
Connect the audio for a component video device to
these jacks. For more information, see “Connecting a
component video device” on page 13.
4
3
2
5
6
1
7
8
9
10
1
2
3
4
5
6
7
8
9
10