11
Insignia NS-UPDVD 1080p Upconvert DVD Player
www.insignia-products.com
• To change the program, press //
or to select the item you want to
change, then enter the new information,
or press CANCEL to cancel the input
information. Select PLAY, then press
ENTER to start the new program
playback.
5 Press STOP, then PLAY to resume normal
playback.
Searching for a specific title, chapter, or track
To search for a specific title, chapter, or
track:
1 With a disc in the player, press SEARCH.
The
SEARCH
menu opens in the Edit mode.
2 Press
// or to select the title,
chapter, or track you want, or to select the
time option.
3 Press the number buttons to enter the title,
chapter, or track you want, or the specific
point in time you want to go to. For example,
if you enter 01:23:56, playback will begin one
hour, 23 minutes, and 56 seconds into the
title.
If the number you enter is not valid, “INVALID
KEY” appears on the screen.
4 Press ENTER to start playback.
Changing your player’s settings
To change your player’s settings:
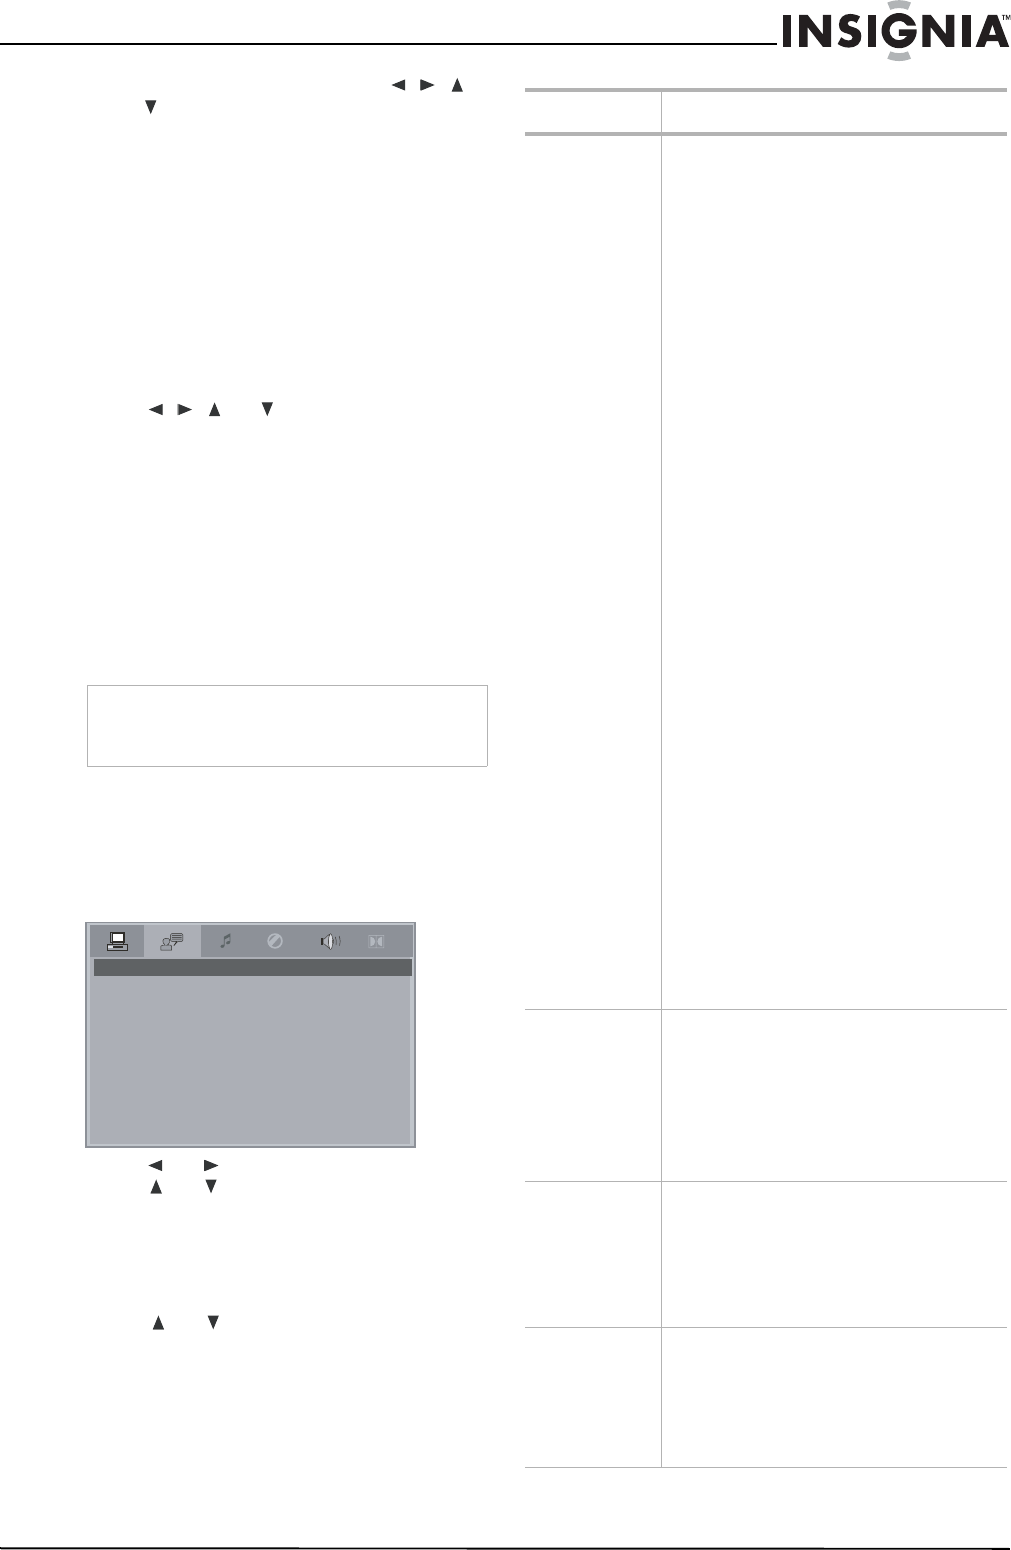
1 Press SETUP on the remote control. The
SYSTEM SETUP
menu opens on the TV
screen.
2 Press or to select a different menu, or
press or to highlight an item on the
displayed menu.
3 When you have selected an item on the
menu, press ENTER to change the setting for
that item. A sub-menu with setting options is
displayed.
4 Press or to highlight the setting you
want, then press ENTER to confirm your
setting.
5 Press SETUP to exit the menu.
Note
This feature does not work in Program Play mode.
If PBC is on, it turns off automatically when you
enter Search mode.
SYSTEM SETUP
TV SYSTEM
SCREEN SAVER
HD OUTPUT
VIDEO
TV TYPE
PASSWORD
RATING
DEFAULT
Menu Available options
SYSTEM
SETUP
TV SYSTEM–Select AUTO, PAL, or NTSC.
SCREEN SAVER–Turn screen saver On or Off.
HD OUTPUT–There are four options for the
HDMI port: HD OFF, 720P, 1080i, or 1080P.
(The number indicates the vertical resolution.
I=Interlaced scanning/P=Progressive scan.
Progressive scan gives a better picture. Select
a resolution that is supported by your TV or
monitor.)
Note: Every time you turn on your player, HD
OUTPUT will be restored to the HD OFF
automatically, so you must set the resolution
to match your TV when you turn it on.
VIDEO–Select based on how your DVD player
is connected to your TV:
• INTERLACE-YCBCR –Select if using a
Y, Cb, Cr component video cable.
• P-SCAN YPBPR–Select if connected to
a progressive scan TV using a Y, Pb, Pr
component video cable.
• S-VIDEO: Select if connected using an
S-VIDEO cable.
TV TYPE–Choose based on the kind of TV the
player is connected to:
• 4:3/PANSCAN–Select if connected to a
standard TV. The left and right sides of
widescreen images will be cut off.
• 4:3/LETTERBOX–Select if connected to
a standard TV. Widescreen images will
not fill the screen vertically.
• 16:9–Select if connected to a
widescreen TV.
PASSWORD–Lock or Unlock. To unlock the
RATING feature or change the password, press
the numeric buttons to input the existing
password (the factory-set password is "0000"),
then press ENTER. You can then change the
RATING setting as shown below, or input a
new password and press ENTER.
RATING–After entering the password (as
shown above), Select the highest rating you
want anyone to view, then lock the password.
To play a disc with a higher rating, the
password must be entered.
DEFAULT–Select to restore the player to
factory settings.
LANGUAGE
SETUP
OSD LANGUAGE–Select the language for the
on-screen display (menus).
AUDIO LANG–Select the DVD audio language
you want.
SUBTITLE LANG–Select the DVD subtitle
language you want.
MENU LANG–Select the DVD menu language
you want.
AUDIO SETUP
AUDIO OUT–Select the digital audio format:
• S/PDIF OFF–No digital output.
• S/PDIF RAW–Digital audio output is in
the original format, such as AC3 or
DTS.
• S/PDIF PCM–Digital audio output is
converted to PCM.
VIDEO SETUP
BRIGHTNESS–Sets the picture brightness.
CONTRAST–Sets the black/white balance.
HUE–Sets the color balance, red to blue.
SATURATION–Sets the color saturation.
Note: Press the up and down arrow buttons to
adjust these settings.


