


99
Chapter
2
File
Menu
900
910
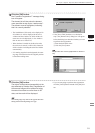
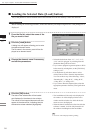
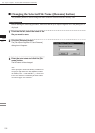
File – Import – Digitizer – PC Card (When VIVID 900/910 is Selected)
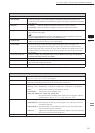
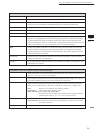
Parameters for [File-Import-Digitizer-PC Card-Load] Dialog Box
Element name
Enter the desired element name.
Reduction Rate
Selects the reduction rate to be applied when importing the data. You can select any of the following:
“1/1”, “1/4”, “1/9”, “1/16”, or “No polygon”.
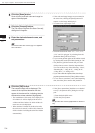
Fill Holes
Selects whether the programs ll in holes when importing the data. If the setting is On, the pro-
gram will automatically generate points to ll in holes left by missing data.
Remove
Selects which the data the program excludes when carrying out the import. Select from an of the fol-
lowing: “None”, “Boundary (B.)”, “5deg. & B.”, “10deg. & B.”, “15deg. & B.”, or “20deg. & B.”
None: Removal is not carried out when importing the data.
Boundary(B.): The program removes boundary points.
5deg. & B.,10deg. & B., 15deg. & B., 20deg. & B.:
The program removes boundary points, and also removes polygons within the
specied angular range (5°, 10 °, 15°, or 20 °) to the view vector.
Filter
None: The program does not perform ltering when importing the data.
Noise Filter (N.F.): When importing the data, the points that appear to be noise will be corrected
according to other data.
High Quality (H.Q.)
: The program lters out unreliable data. (Effective only when importing data
that was scanned using the VIVID 910.)
H.Q & N.F.: Applies both noise lter and high quality lter. (Effective only when importing
data that was scanned using the VIVID 910.)
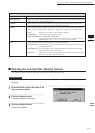
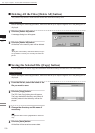
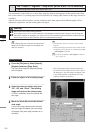
n Deleting the Selected File ([Delete] button)
The [Delete] button is used to delete the selected le from the memory card.
Operating Procedure
Before starting the following procedure, make sure that the [File-Import-Digitizer-PC Card] dialog box is
displayed.
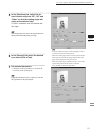
1
From the file list, select the name of the
file you want to delete.
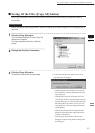
2
Click the [Delete] button.
A message dialog box will appear.
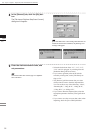
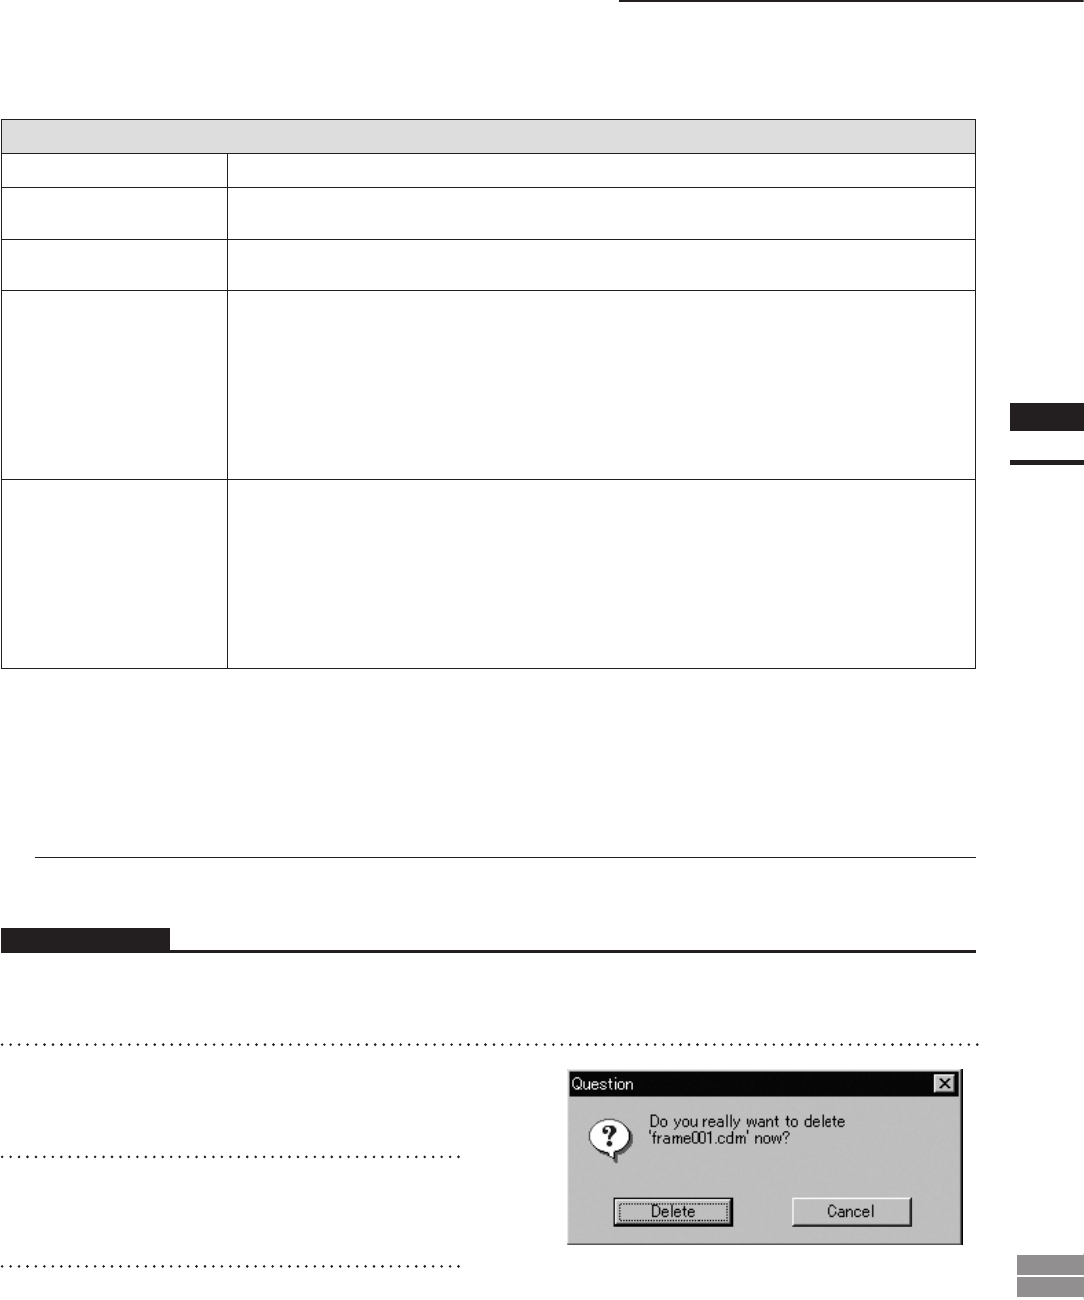
3
Click the [Delete] button.
The le will be deleted.