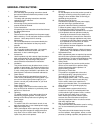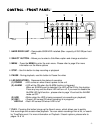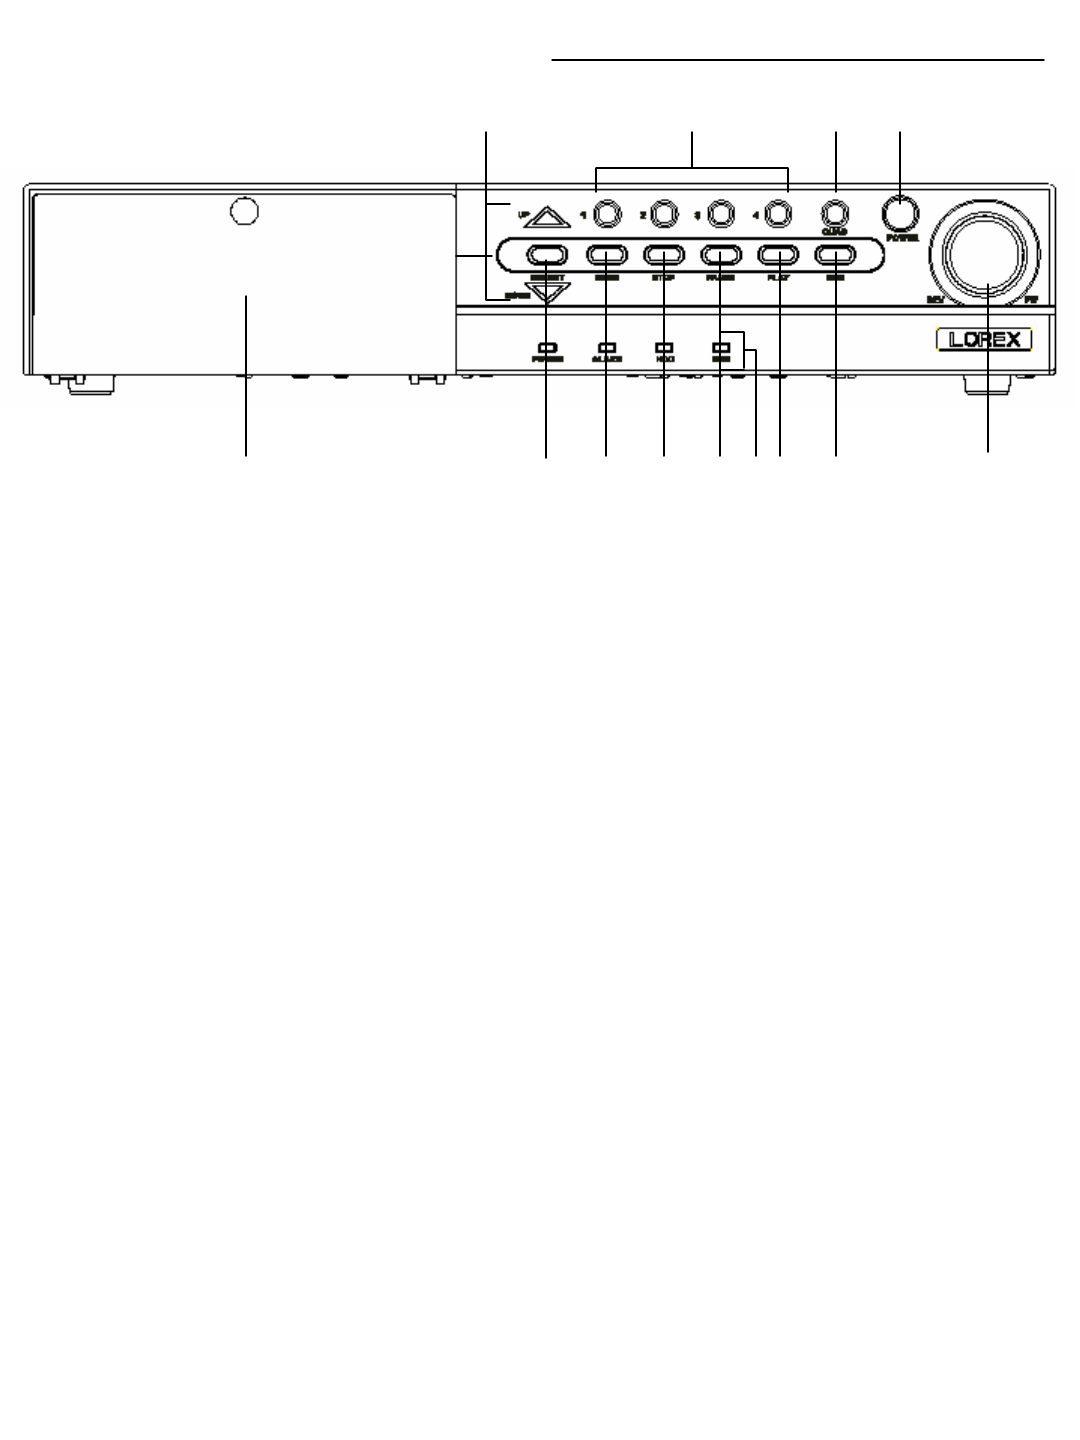
CONTROL - FRONT PANEL:
-5-
1. HARD DRIVE UNIT – Removable 80GB HDD installed (Max. capacity of 250 GB per hard
drive)
2. SELECT BUTTON – Allows you to select a Sub-Menu option and change a selection
3. MENU - Press the MENU to enter the main menu. Please refer to page 8 for more
information on the Menu options
4. STOP – Use this button to stop recording or playback
5. PAUSE - During playback, use this button to Pause the video
6. LED INDICATORS – Represents the status of operation
(1) POWER : LED comes on when there’s power to the unit
(2) ALARM : LED will be ON when the ALARM function is triggered.
When an ALARM event is detected, the LED will be ON for the duration.
Press any key and the Alarm LED will turn off. If you want to disable the
ALARM LED light function , please refer to page 10 and set the ALARM
mode as OFF
(3) HDD : Blinks when the HDD is being accessed (via recording or playback)
(4) REC / : Green LED comes ON when recording is in progress.
HDD Full : Red LED comes ON when HDD is full
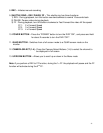
7. PLAY - Pressing this button brings up the Search menu, which allows you to quickly
find recordings and access video playback. You can select recordings from a list, or search
by Time/Date event. For more information on Playback / Search options, please refer to
pages 15 & 16
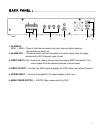
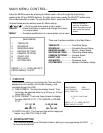
1234578
9
10111213
6


