42
How to Operate the MVP851, con’t
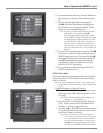
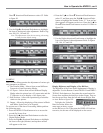
and select the highlighted CLEAR Button Icon,
then press the SELECT Push-button. Pressing
the Left directional Push-button will return
to a Program Entry Line.
4. Press the SELECT Push-button to enter the Track
choice into memory and Program Line 2 will be
highlighted.
Note: The playback time for the First Program Line
will appear in the Time Column.
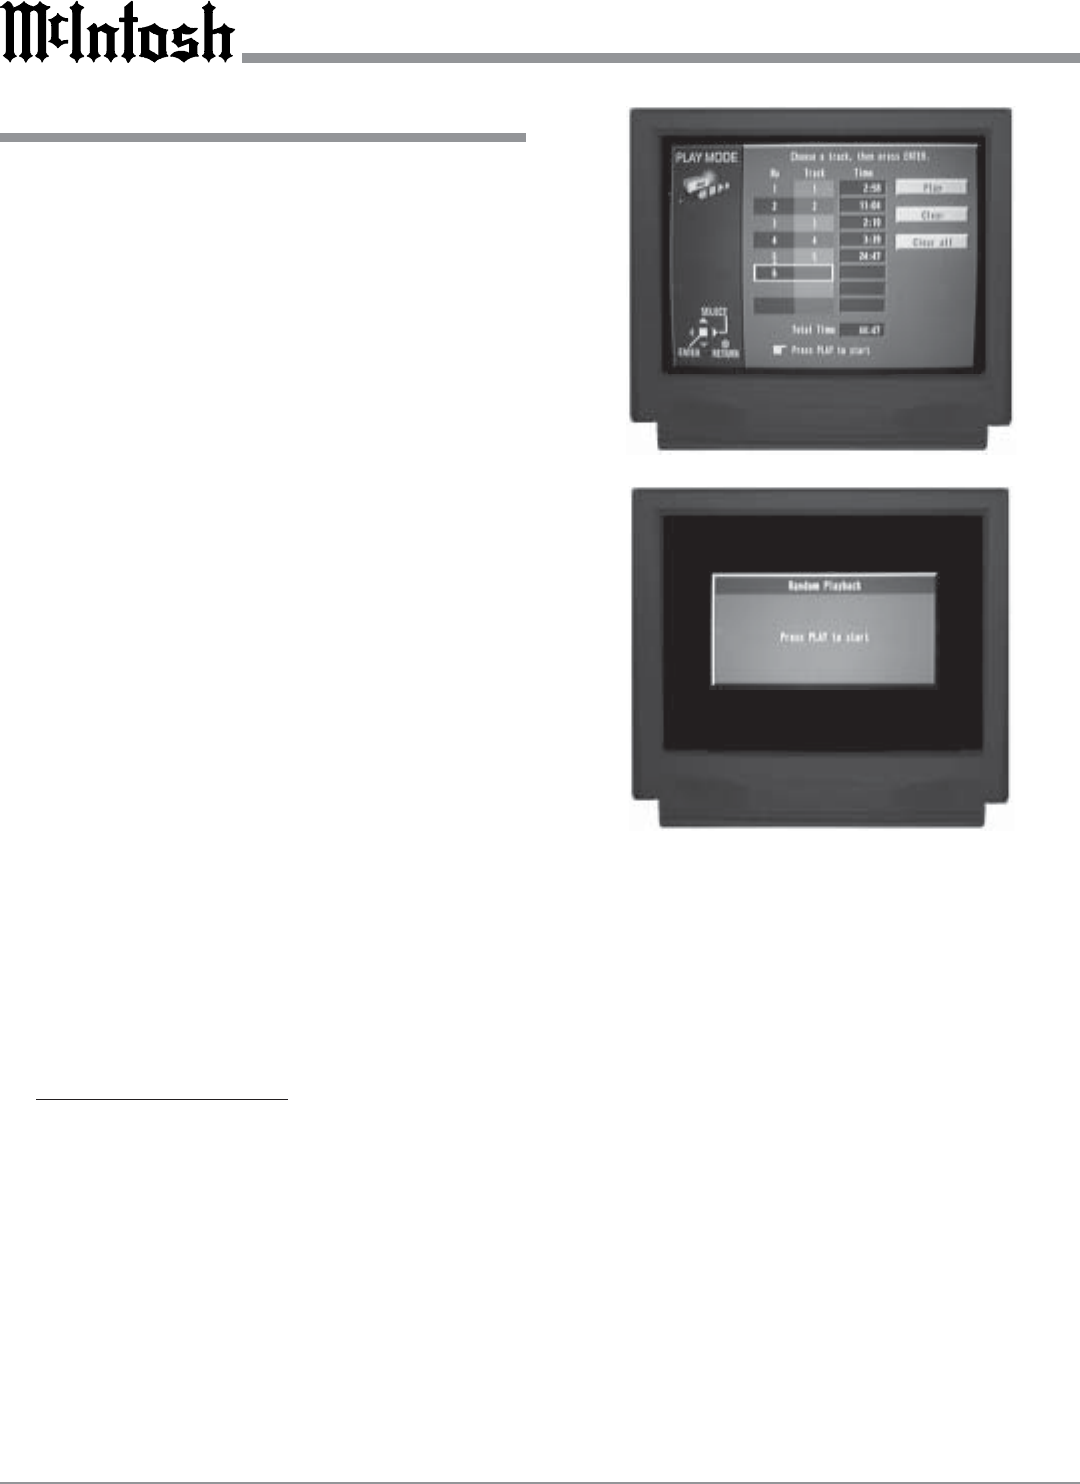
5. Press the Up or Down directional Push-but-
tons to select the desired Track Number on the
disc.
6. In a similar manner enter any selection additions to
the remaining six Program Lines.
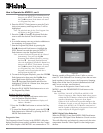
7. Start the Program Play Mode by pressing the
Right directional Push-button to highlight the
PLAY Button Icon and then press the SELECT
Push-button to start the Program Playback.
Note: An entire Playback Program may be Cleared
from memory. First press the Right
directional Push-button followed by pressing
the Down directional Push-button and
select the highlighted CLEAR ALL Button Icon,
then press the SELECT Push-button. Pressing
the Left directional Push-button will return
to a Program Entry Line. The Playback
Program is also Cleared when the disc is
removed from the MVP851.
8. To cancel the Program Playback, press the STOP
Push-button twice then press the Right direc-
tional Push-button followed by pressing the
Down directional Push-button and select the
highlighted CLEAR ALL Button Icon, then press
the SELECT Push-button.
9. Press the PLAY MODE Push-button twice to exit
the Program Play Mode.
Random Playback of a Disc:
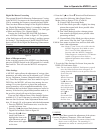
1. Press the PLAY MODE Push-button twice to ac-
cess the Random Playback Mode.
Note: The Front Panel Alphanumeric Display will
indicate “Random”.
2. Press the PLAY Push-button to activate the Play-
back.
3. To cancel the Random Playback, press the STOP
Push-button twice followed by pressing the PLAY
MODE Push-button once.
Progressive Scan
The Progressive Scan Circuitry in the MVP851 offers the
highest possible picture quality available when the Compo-
nent Video Outputs of the MVP851 are connected to a TV/
Monitor capable of Progressive Scan. Unlike a conven-
tional TV with Odd and Even Scanning Lines that are inter-
laced together to form a picture, the Progressive Scanning
Mode scans all the lines of picture information both Odd
and Even at one time, non-interlaced.
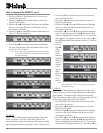
To activate the Progressive Scan Circuit on the
MVP851 press the PROGRESSIVE Push-button on the
Front Panel.
Note: CAUTION: DO NOT ACTIVATE the MVP851 DVD
Player’s Progressive Video Display Mode unless you are
certain that the TV/Monitor connected to the MVP851 is
capable of displaying a Progressive Scan Signal.
Failure to do so could result in possible damage to the
TV/Monitor. In order to view the Progressive Scan Video
Output of the MVP851, the TV/Monitor connected to it
must be capable of displaying a Progressive Picture and
setup to display the Progressive Signal.
MPEG Digital Noise Reduction
When the MVP851 Front Panel MPEG DNR Push-button
is pressed the 3D Digital Noise Reduction Circuit is active.
This will effectively and selectively remove only the noise
components from the Video Signal for clear image repro-
duction.
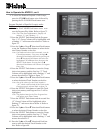
Figure 81
Figure 82


