43
How to Operate the MVP851, con’t
Digital Re-Master Processing
The optional Digital Re-Mastering Enhancement Circuitry
in the MVP851 can improve the sound quality from Audio
CDs by extending the frequency response beyond 20kHz.
There are three different settings for the Digital Re-Master-
ing. Digital Re-Mastering Setting 1 is intended to improve
the Sound of Pop and Rock Music, Setting 2 for Jazz types
of Music and Setting 3 for Classical Music.
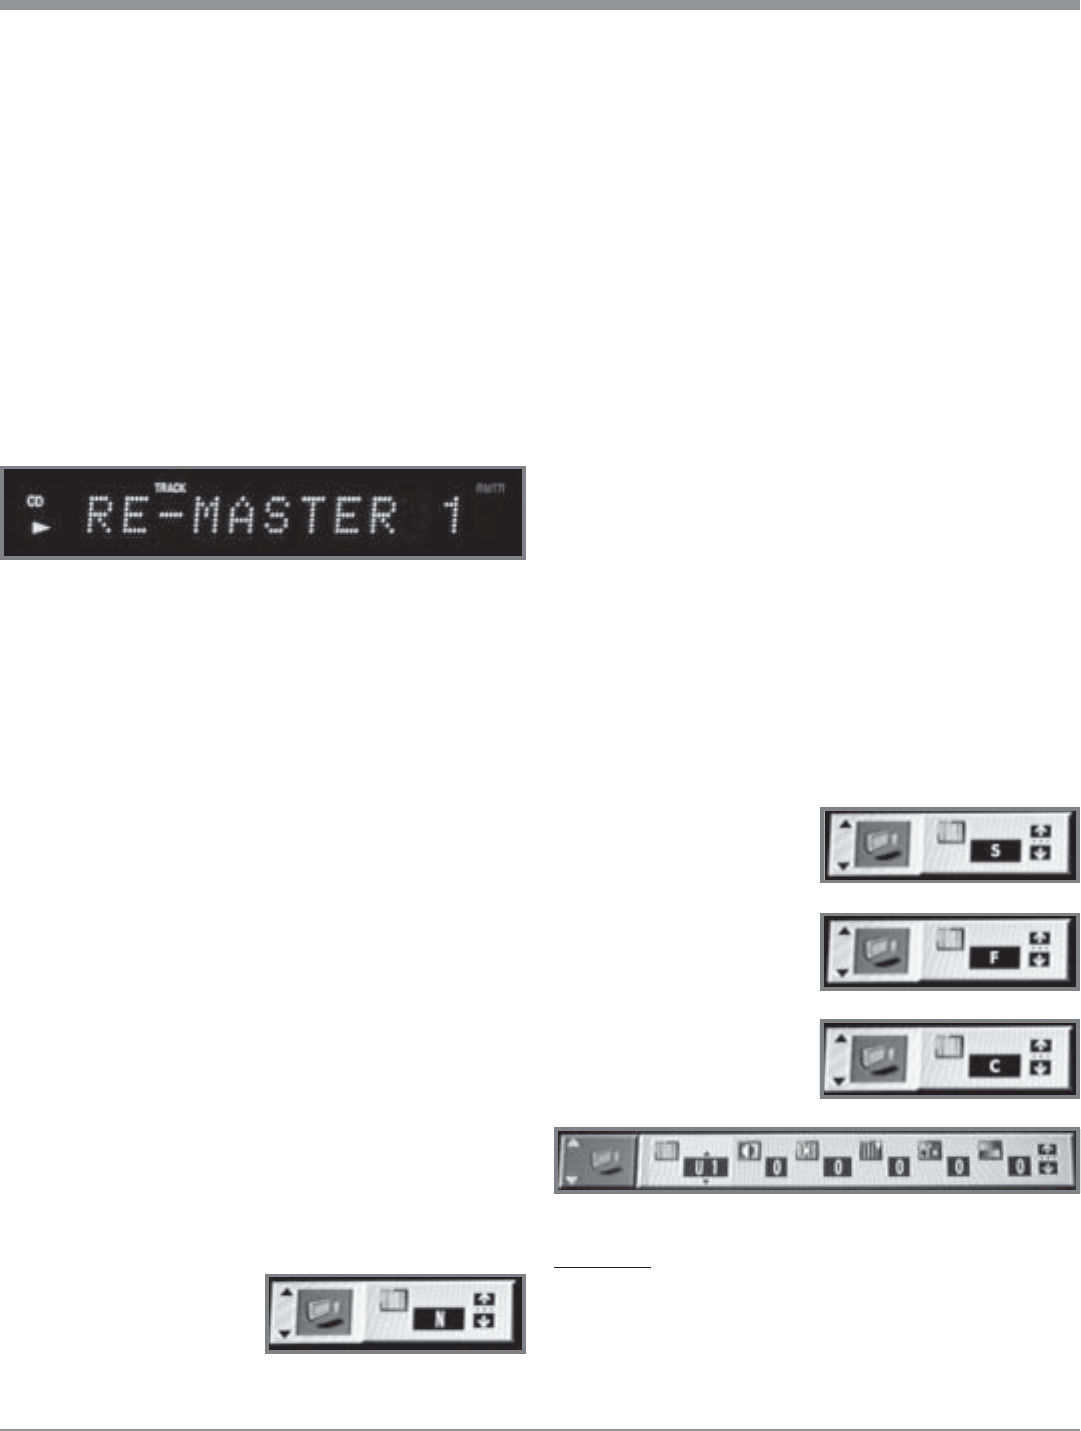
Pressing the Front Panel RE-MASTER Push-button
once will select Setting 1. Refer to figure 83. Two presses
of the Push-button will activate Setting 2 and three presses
for Setting 3. The fourth press of the RE-MASTER Push-
button switch Off the Digital Re-Mastering Enhancement
Circuitry.
Reset of Microprocessors
In the event the controls of the MVP851 stop functioning,
place the POWER Switch in the Off position for 1 minute,
then back On. This will reset the MVP851 microproces-
sors.
Video Settings
A MVP851 option allows the adjustment of various video
parameters, not unlike what can be adjusted on a TV/Moni-
tor (e.g. Brightness, Contrast, Sharpness and Color Level,
etc.). Once these adjustments have been made for a given
DVD Disc, the MVP851 will store into memory the new
settings. Every time that disc is played the preferences
stored in memory will be reapplied automatically. Up to
200 different discs with their unique settings are stored in
memory. If the last disc played had ajustments made to it,
the next disc played will start with those settings.
There are four different Preset Video Settings Options
available N, S, F and C that may be selected. In addition,
there are four On-Screen Video Adjustment Menus avail-
able, U1 through U4, with separate individual adjustments.
1. Press the DISPLAY Push-button twice to access the
second On Screen Icon.
2. Press the Up directional Push-button to select the
Digital Picture Mode. Refer to figure 84.
3. Press the Right direc-
tional Push-button to
highlight the Icon to the
right (Monitor) and up/
down arrows will appear
on the icon.
Figure 83
4. Press the Up or Down directional Push-buttons to
select one of the following Main Digital Picture
Modes. Refer to figures 85, 86, 87 and 88.
N: Normal Video Processing Mode
S: Soft Video Mode (provides a slightly less sharp
picture than normal with fewer possible video
processing artifacts)
F: Fine Video Mode (provides a sharper picture
than normal with slightly more possible video
processing artifacts)
C: Cinema Mode Video Mode (provides a picture
with a more “film like look” type of picture)
U1-U4: Four menus to select from, each one with addi-
tional video adjustments.
Note: Menus U3 and U4 are only visible when the
MVP851 Progressive Scan Mode is active.
The U3 and U4 Video Adjustment only
functions when the MVP851 Component
Video Outputs are connected to a TV/Monitor
capable of Progressive Scan. Refer to
Important Information notes number 12 and
13 on page 5.
5. To exit the Video Settings On-Screen Icon press the
DISPLAY Push-button twice.
Note: The next time the DISPLAY Push-button is pressed
twice the Video On-Screen Icon will appear. To
change from the Video Icon to the previous Disc On-
Screen Icon with
Repeat and
Marker Functions,
first press the
Left directional
Push-button to
select the Icon on
the Left Side of the
display. Then press
the Up or
Down
directional Push-
buttons to select
the Disc Icon.
U1 MENU
The U1 Video Menu permits the adjustment of the picture
Contrast, Brightness, Sharpness, Color and Gamma.
Note: The Gamma Setting affects the amount of detail in the
darker scenes in the picture. The remaining U1
Adjustments are similar to controls found on a TV/
Monitor.
Figure 84
Figure 87
Figure 85
Figure 86
Figure 88


