


••••••••••••••••••••••••••••••••••••••••••••••••••••••••••••••••••••••••••••••••••••••••••••••••••••••••••••••••••••••••••••••••••••••••••••••••••••••••••
30
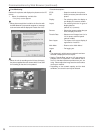
2. (When making the settings to send the e-mail • • •)
Input the desired settings for “SMTP Server (Host
Name or IP),” “POP Server (Host Name or IP),” “POP
User ID,” “POP User Password,” “DNS Server 1
Address,” “DNS Server 2 Address,” “From:,” and
“Recorder ID.”
• The settings currently set are shown in the “Current
Settings.”
3. To send the test e-mail, select “From Address Test
(send test mail)” and left-click.
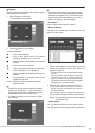
4-1. (When setting the receiver’s address • • •)
Enter the desired e-mail address to “New Address.”
4-2. Set the contents to be transmitted from the recorder
to the PC.
•“Remain,” “Temp/Fan,” “Reboot,” “Record,” “Alarm,”
and “Sensor” settings can be set.
4-3. Select whether to activate or inactivate the e-mail
address you have set.
• When a check mark is put to “Active” column, the
selected email address becomes active.
4-4. Select “set” and left-click.
4-5. Select “send” to send the test e-mail.
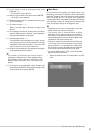
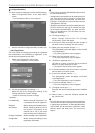
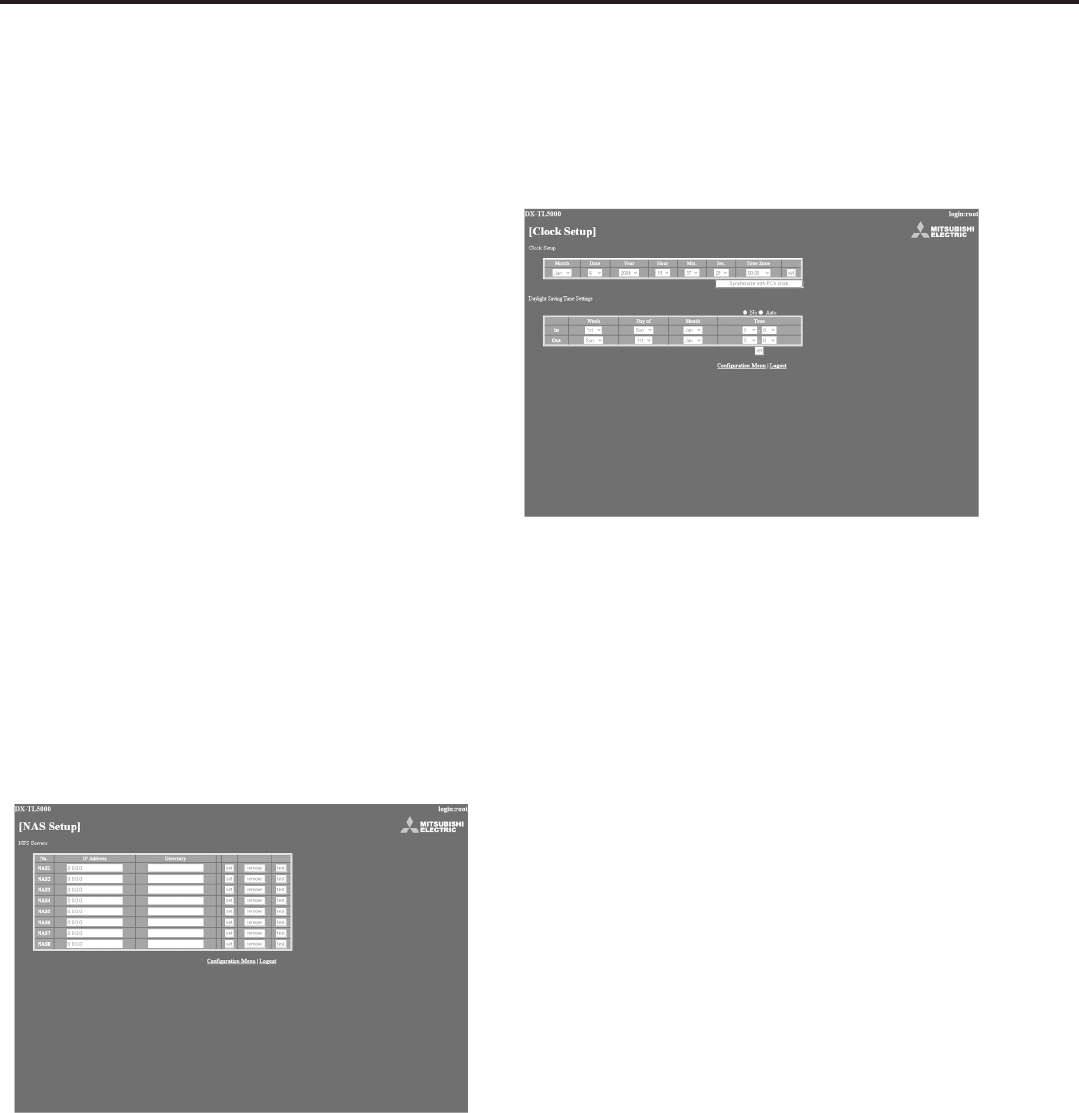
• NAS Setup
This is the screen for making the settings to connect to the
NAS server, and for mounting or removing the NAS server.
1. Select “NAS Setup” and left-click.
• The “[NAS Setup]” screen appears.
2. Input the desired settings for “IP Address” and
“Directory.”
3. Select “set” and left-click.
4. (When removing the NAS server • • •)
Select “remove” and left-click.
5. (When execute the mount test • • •)
Select “test” and left-click.
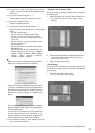
• Clock Setup
This is the screen for setting the clock of the recorder via
PC.
1. Select “Clock Setup” and left-click.
• The “[Clock Setup]” screen appears.
2-1. (When setting the clock using “Clock Setup” • • •)
Set “Month,” “Date,” “Year,” “Hour,” “Min.,” “Sec.,” “Time
Zone” to the desired time.
2-2. Select “set” and left-click.
3. (When setting the clock using “Synchronize with PC’s
clock” • • •)
When you want the clock of the recorder to be
synchronized with the PC clock, select “Synchronize
with PC’s clock” and left-click.
• The clock of the recorder is set to the same time as
the PC clock.
• When using this function on the timing that the year,
month, day, hour, or minute is changed, check the
clock after synchronizing with the PC clock.
4. (When setting the daylight saving time function • • •)
Select “No” when you do not want to use the daylight
saving time function.
Select “Auto” to use the daylight saving function.
• When selecting “Auto,” set the desired time period
for activating the daylight saving time function and
then select “set.”
Communications by Web Browser (continued)