


16
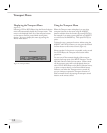
NetCommand® Controlled Recordings
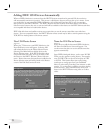
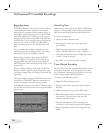
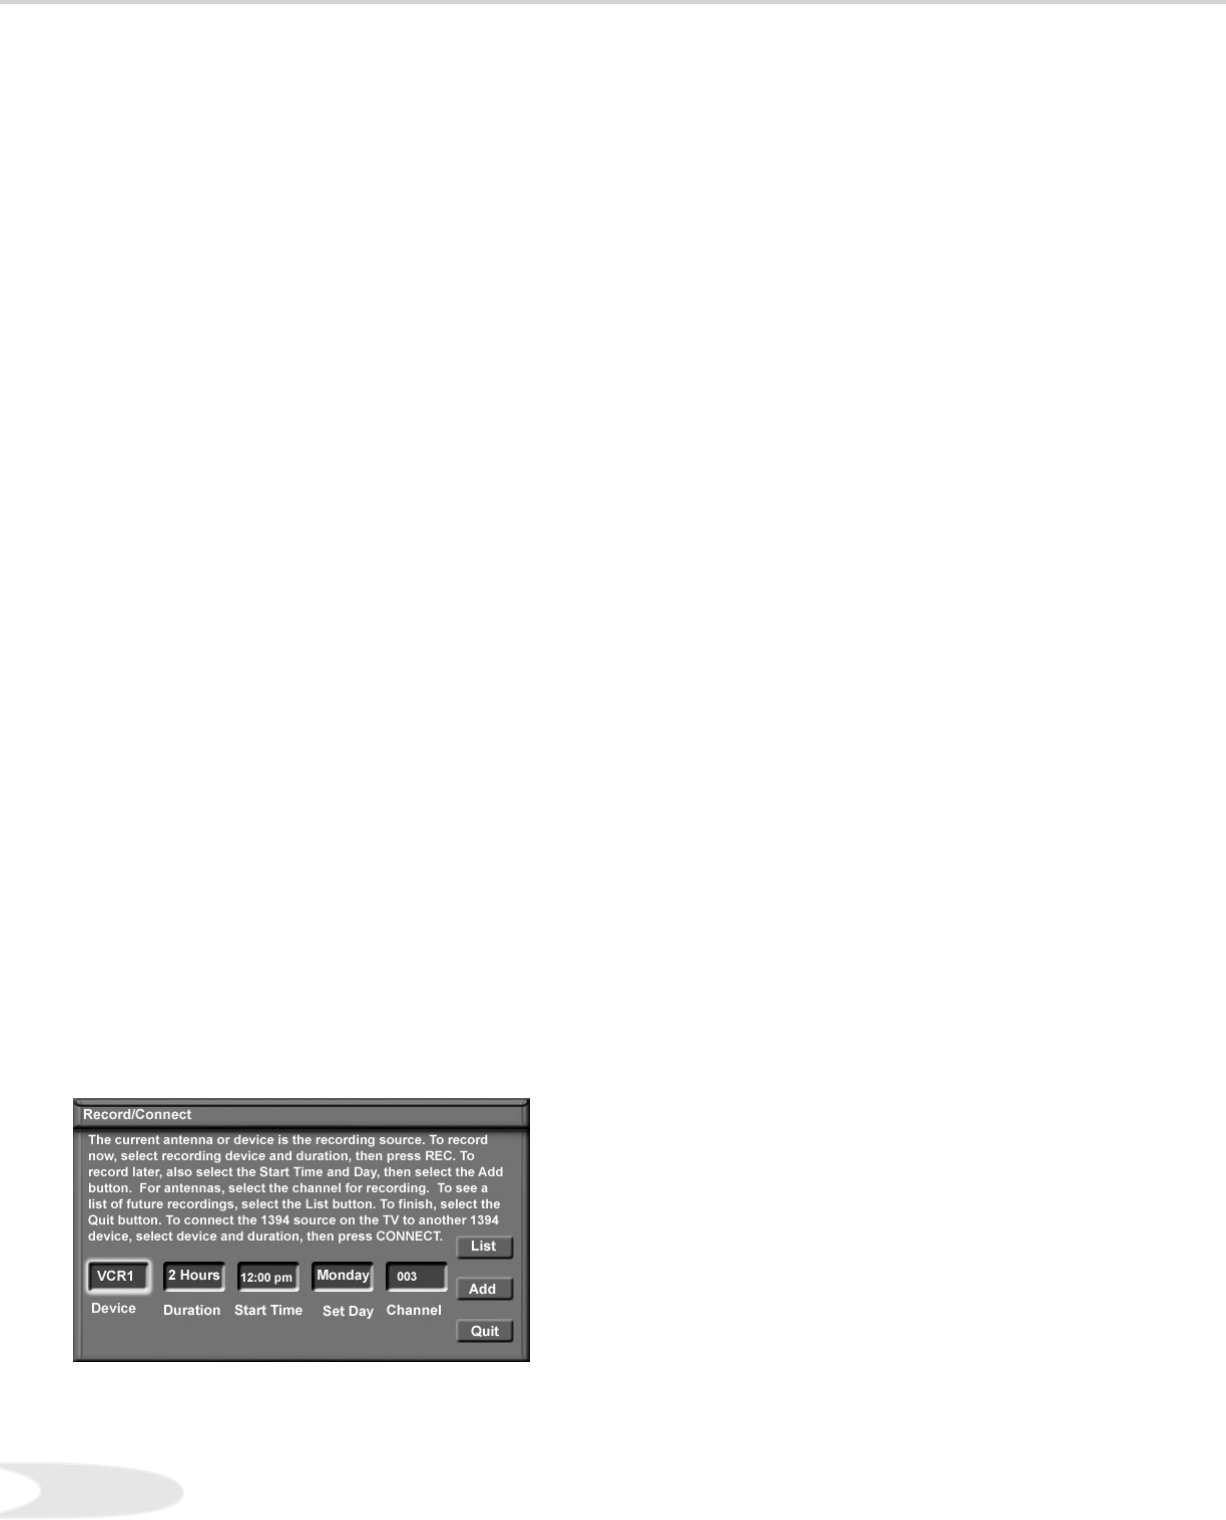
Recording Setup
(Figure 15)
Your HDTV Receiver is able to start and stop recordings
automatically and send the signals from one external
playback device to another external recording device. It
is also able to convert digital signals from Ant-DTV and
from IEEE devices to analog signals that can be
recorded on NetCommand compatible analog VHS and
S-VHS VCRs. You cannot record from an analog device
such as Ant-A, Ant-B or a VHS or S-VHS VCR to a
digital recording device such as a D-VHS VCR or AV
Disc.
You can schedule the recording to take place at a later
time and program the recording duration, in minute
increments, to last from minutes to hours.
When a digital recording is being made, the HDTV
Receiver will direct the signals to the recording device
using the IEEE cable. During the recording the
HDTV Receiver is able to watch any analog source or can
be turned off.
When an analog recording is being made, the HDTV
Receiver will direct signals to the recording device using
the Monitor Output Video or S-Video and stereo left and
right audio.
During the analog recording, the HDTV Receiver can be
powered Off. If the HDTV Receiver is powered On, it
must be watching the source that is being recorded.
If the Monitor outputs are sent to the A/V Receiver, then
the A/V Receiver must be turned on and set to the HDTV
Receiver input.
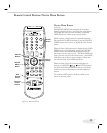
Recording Now
While viewing Ant-A, Ant-B, Ant-DTV, an IEEE
device, or a non-recording traditional device, pressing the
REC button will bring up the Record/Connect Screen.
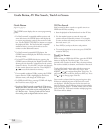
To initiate recording now:
. Display the Device Selection menu.
. Select the source device you want to record and
press ENT(er).
. While viewing the source device, press the REC
button. The Record/Connect screen is displayed.
. Check that the destination device (VCR) and duration
are OK. Change if necessary.
. Press REC a second time to initiate recording.
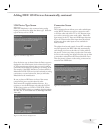
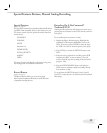
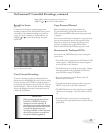
Time-Delayed Recording
You will need to select the destination device that you want
to record to, the duration of the recording, the start time,
day, and channel. Recording day includes same day every
week, everyday and Monday through Friday.
To initiate a time-delayed recording:
. Display the Device Selection menu.
. Select the source device you want to record and press
ENT(er).
. While viewing the source, press the REC button.
. Select the destination device, duration time, the start
time and day. For source devices that can select
channels, select the channel.
. Select the Add button to add the recording to the
record list (a confirmation message will be displayed).
. Select the Quit button when all recordings have been
added.
Figure 15. Record/Connect Screen