42 Chapter 3. NetCommand Setup and Editing
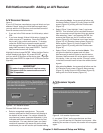
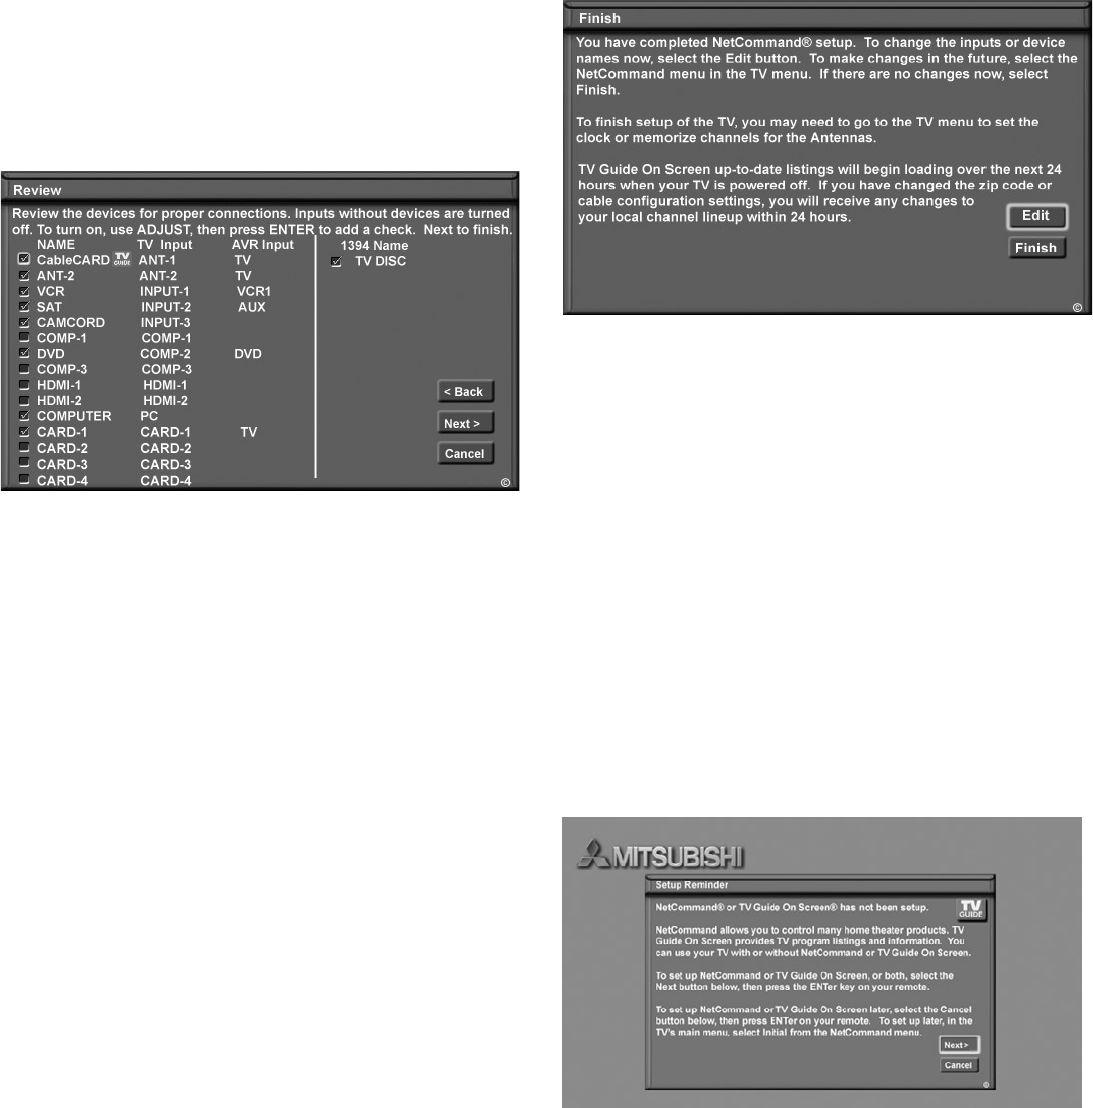
Review Screen
Figure 5
After you have made your device choices, the Review
Screen will display. It is important to review the settings
to ensure that they are correct. If necessary, you can
use <Back to return to the Device Setup screen to make
changes.
Figure 5. Review screen
Note: The Review screen lists the TV input and A/V
receiver input used with each device. You must
correctly identify the inputs you used when you
connected the devices. If you have not connected
your devices, write down these inputs as a guide. If
you cannot use these inputs, or if you would like to
change the name of a device, use the instructions in
Edit NetCommand to make necessary changes.
Note: If you select Next> on the Review screen, all
selections made are finalized.
On the Review screen, adding or deleting check marks
will turn the adjacent devices or inputs On or Off. 1394
device names only appear on the Review screen when
the devices are connected to the TV.
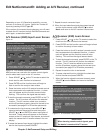
Finish Screen
Figure 6
To complete the NetCommand setup, select Finish from
the Finish screen.
If you wish to change any of the pre-configured inputs
or names for the devices, or add devices not in the
pre-configured setup, select Edit to display Edit
NetCommand menu.
If your A/V receiver was not listed, select Edit to add the
AVR and then assign all devices to new AVR inputs.
Figure 6. Finish screen
It may still be necessary to memorize the available
channels for Antenna-1 (and Antenna-2, if used). You
may do that by going to the TV Main menu and
selecting Setup. Instructions to memorize channels are
found in the Setup menu section.
NetCommand
®
Initial Setup, continued
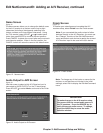
Setup Reminder
Setup Reminder
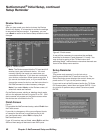
Figure 7
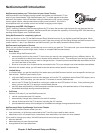
This screen only appears if you did not set up
NetCommand when the TV was first turned on. The
Setup Reminder screen displays the next six times you
power on the TV if you do not perform setup.
If you want to set up NetCommand and/or the TV Guide
On Screen system, select Next and press ENTER. If you
do not wish to perform setup, select Cancel and press
ENTER.
Figure 7. Setup Reminder screen


