29
14.2 Date/Time Menu
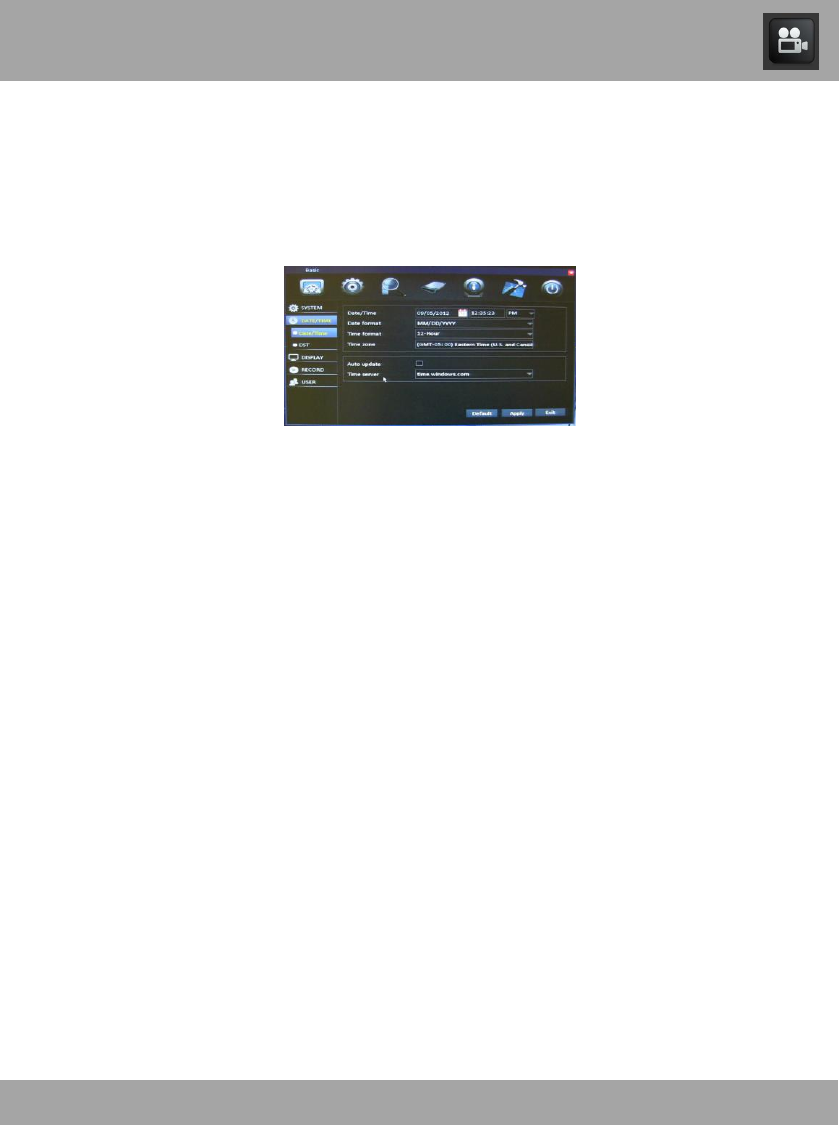
You should set the date and time when first setting up your system. You can
also configure Daylight Saving Time (DST) settings.
To access the Date/Time Menu, select the Basic button, and then select
Date/Time from the list on the left side of the screen.
Date/Time: Input the current date using the date format that is been
selected, and input the current time using the time format that has
been selected. If you have selected the 12-hour format, you will
have to differentiate between AM and PM.
Date Format: Use the drop-down menu to choose the way that you
would like the date displayed.
Time Format: Use the drop-down menu to choose the way that
you would like the time displayed.
Time Zone: Use the drop-down menu to choose the time zone in
which you are located. Keep in mind that if you have already
manually changed the date/time, it will change again to reflect the
time zone you chose.
Auto Update: Select this box if you would like the DVR to
automatically update the date/time. Keep in mind that this feature
will only work if the network settings have been configured properly.
Time Server: You will generally not need to change this setting.
This is the web address that updates the date and time.
Chapter 14: Basic Menu


