


Adjusting Basic Settings / Adjusting the Computer Image
Adjusting basic settings
25
SELECT
MOVE
MENU
RETURN
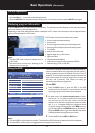
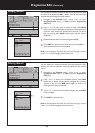
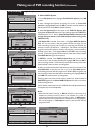
Audio Preference
Dolby Digital
OSD Language
English
Hearing Impaired
Off
S/PDIF Output
AUTO
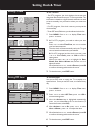
To adjust basic settings:
1
Press 3or4 to display Option menu, press 6 to access.
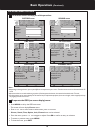
2
Press MENU. The on-screen menu opens.
Press 6 or 5 to select an option, press 3or4 to adjust the
option.
3
4
To close the menu, press EXIT button.
From Option menu you can select and adjust the following:
OSD Language — Selects on-screen menus language. In this model, only ENGLISH is available.
Hearing Impaired (digital only) — Selects On to display the subtitles (if available) for the hearing impaired.
S/PDIF Output (digital only) — Selects the digital audio output mode for S/PDIF. You can select AUTO or
PCM.
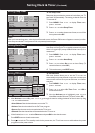
. AUTO: This mode outputs Dolby Digital or PCM to the digital audio output jack (S/PDIF) providing it is being
broadcast.
. PCM: Select this when a 2ch digital stereo amplifier is connected to the TV. When you select a Dolby Digital or
MPEG audio track, the sound is converted to the PCM (2ch) format and output.
Audio Preference (digital only) — Selects the audio track to output. You can select MPEG or Dolby Digital*.
. MPEG: If the programme has MPEG and Dolby Digital tracks, select MPEG to output MPEG track in preference.
. Dolby Digital*: If the programme has MPEG and Dolby Digital tracks, select Dolby Digital to output Dolby Digital
track in preference.
* Manufactured under license from Dolby Laboratories.
Dolby and double-D symbol are trademarks of Dolby Laboratories.
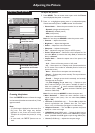
Audio Only — When listening to radio programs, or listening to MP3 music (under USB music play), you can set
Audio Only to Power Saving for energy save. The backlight will turn off automatically after some seconds. Select
Normal then the backlight works normally.
Audio Only
Normal
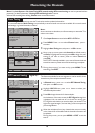
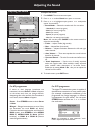
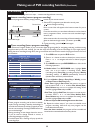
Adjusting the Computer Image - PC only -
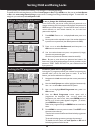
To adjust the computer image:
1
Press 5 or 6 repeatedly to scroll the menu page until you
select the Screen item, then press 4or OK to access.
2
Press MENU. The on-screen menu opens with Picture menu
displayed.
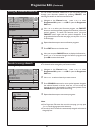
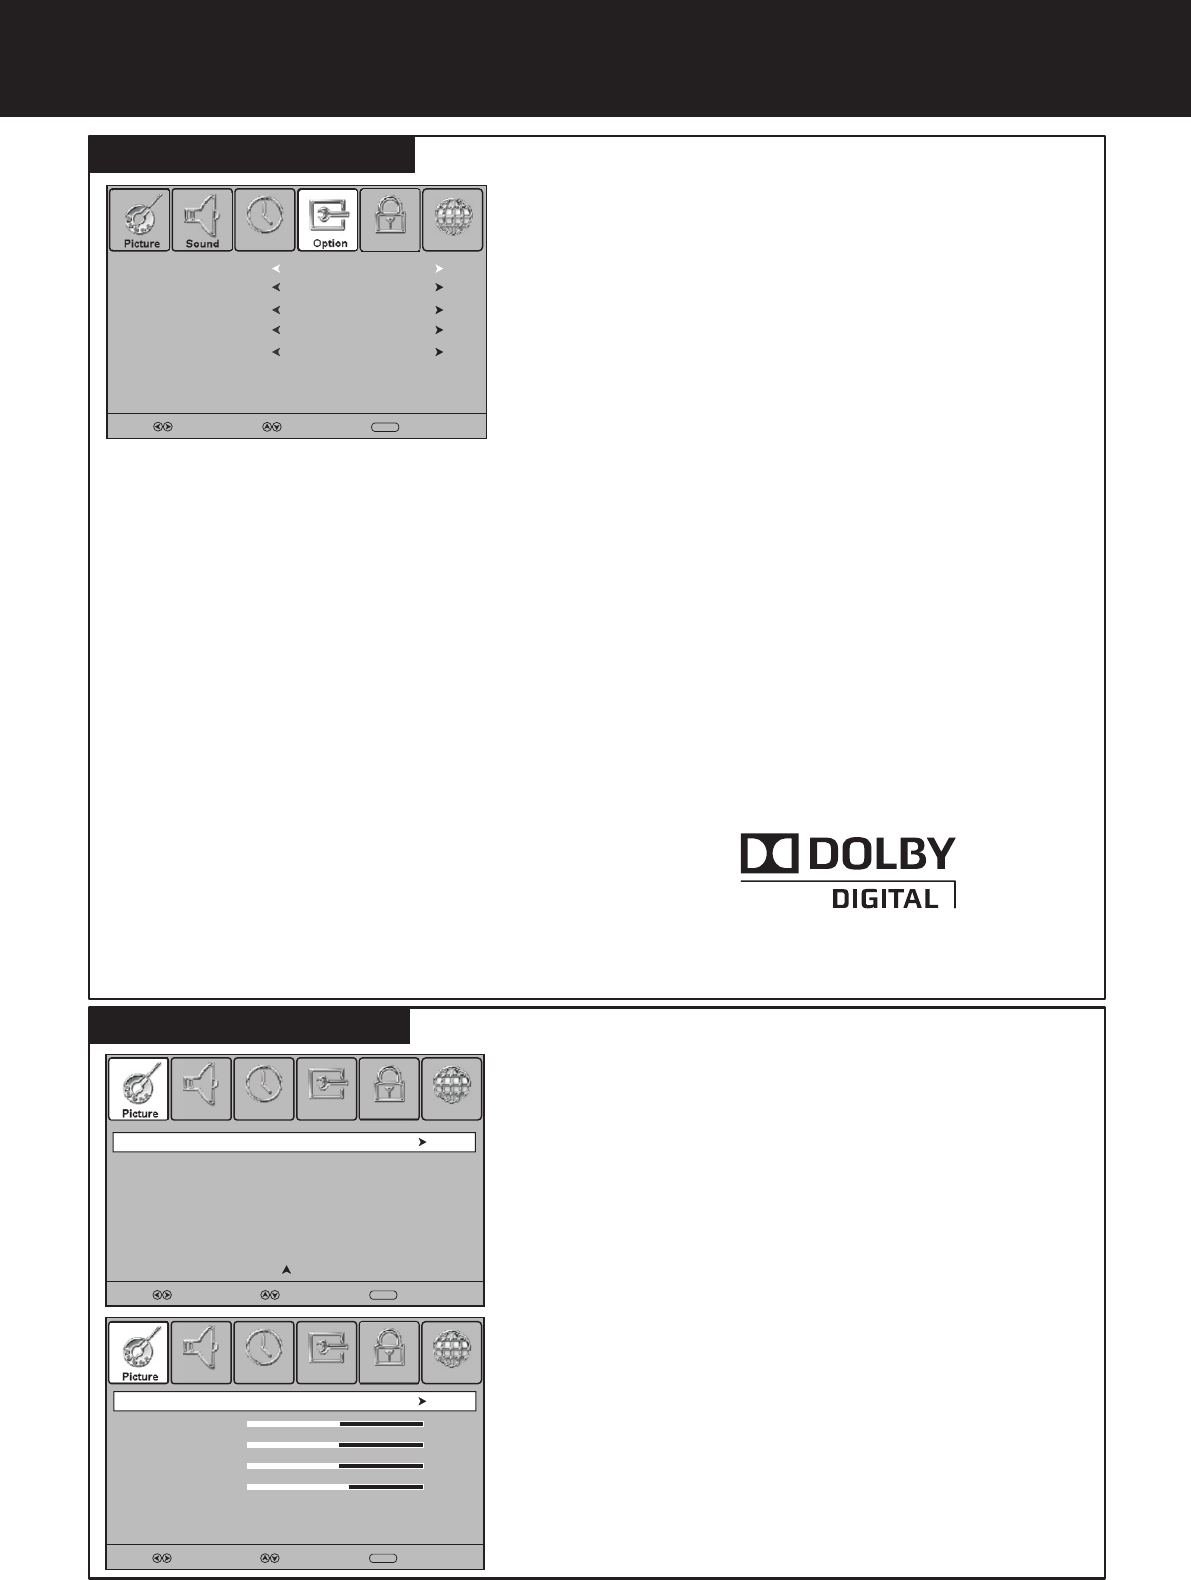
! Auto Adjust — Automatically adjusts the image settings
such as position and phase.
! Horizontal Pos. — Moves the image right or left.
! Vertical Pos. — Moves the image up or down.
! Size — Adjust the horizontal width of the image on the
screen.
! Phase — Adjusts the focus of stable images.
4
Press 6 or 5 to highlight an option, press 3or 4 to adjust
the level, or press OK to confirm. You can select:
3
To close the menu, press EXIT button.
SELECT MOVE
MENU
RETURN
Screen
Before adjusting the screen, make sure that you select the
correct source (D-SUB).
Horizontal Pos.
50
Vertical Pos.
50
Phase
Size
SELECT MOVE
MENU
RETURN
60
Auto Adjust
50
ChannelLockPicture TimeSound Option
ChannelLockPicture OptionSound Time
ChannelLockPicture OptionSound Time