


35
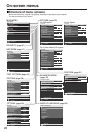
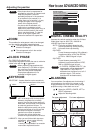
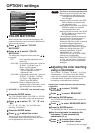
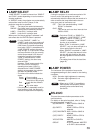
OPTION1 settings
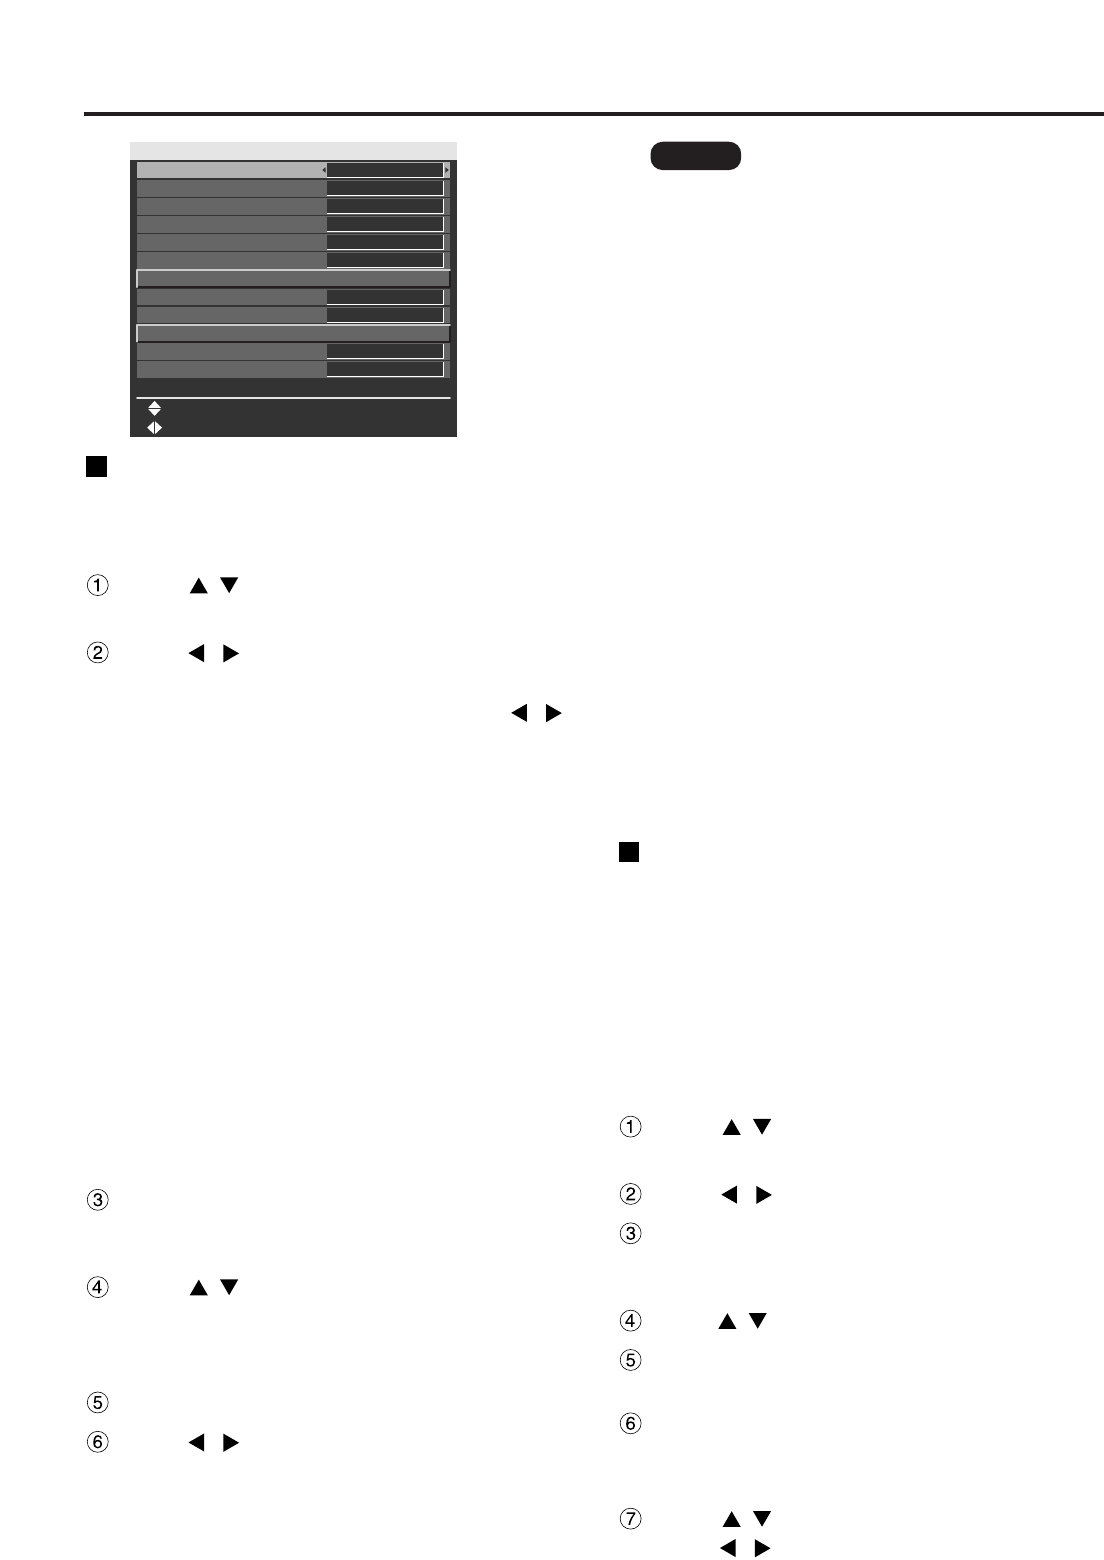
OPTION1
COLOR MATCHING
COLOR CORRECTION
CONTRAST MODE
AUTO SIGNAL
BACK COLOR
STARTUP LOGO
SUB MEMORY LIST
DVI EDID
CHANGE
MENU SELECT
OFF
USER
NORMAL
OFF
BLUE
OFF
EDID2:PC
DVI SIGNAL LEVEL
0-255:PC
FUNC1
OSD POSITION
1
OSD MEMORY
ON
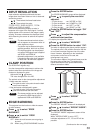
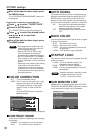
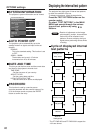
COLOR MATCHING
When multiple sets are used simultaneously, this
projector allows the user to correct the difference of
colors among the sets.
Press to select “COLOR
MATCHING”.
Press to switch “COLOR
MATCHING”.
The setting will change as follows each time
is pressed.
OFF : Color matching adjustment is not
carried out.
3COLORS : It is possible to adjust the 3 colors of
“R (Red)”, “G (Green)” and “B
(Blue)” and “Wh (White)”*.
* When “3COLORS” is selected,
only the brightness can be
adjusted for “Wh”.
7COLORS : It is possible to adjust the 7 colors of
“R (Red)”, “G (Green)”, “B (Blue)”,
“Cy (Cyan)”, “Mg (Magenta)”, “Ye
(Yellow)” and “Wh (White)”.
MEASURE : Refer to “Adjusting the color
matching using a colorimeter” on the
right for details on these modes.
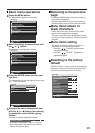
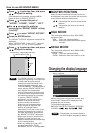
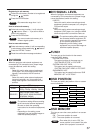
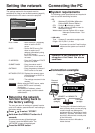
If “3COLORS” or “7COLORS” was selected in step
2.
Press the ENTER button.
The “COLOR MATCHING: 3COLORS” or “COLOR
MATCHING: 7COLORS” screen will be displayed.
Press to select “R”, “G”, “B” and
“Wh”.
(“R”, “G”, “B”, “Cy”, “Mg”, “Ye” and “Wh” when
selecting “7COLORS”.)
Press the ENTER button.
Press to adjust the values.
These values can be adjusted from 0 to 2048.
(If the default value of the color is 2048, the value
can be adjusted from 256 to 2048.)
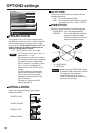
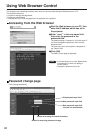
Adjusting the color matching
using a colorimeter
The “R (Red)”, “G (Green)”, “B (Blue)”, “Cy (Cyan)”,
“Mg (Magenta)”, “Ye (Yellow)” and “Wh (White)”
colors can be changed to the desired hues using a
colorimeter which is capable of measuring the
chromaticity coordinates and luminance.
Inputting the current luminance and chromaticity
coordinates
Press to select “COLOR
MATCHING”.
Press to select “MEASURE”.
Press the ENTER button.
The “COLOR MATCHING:MEASURE” screen will
be displayed.
Press to select “MEASURED DATA”.
Press the ENTER button.
The “MEASURED DATA” screen will be displayed.
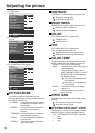
Use the colorimeter to measure the
luminance (Y) and chromaticity
coordinates (x, y).
Press to select the colors, and
press to select their values.
•
The effects of correcting the adjustment color
When tuning the correction color that
is the same as the adjustment color
: The brightness of the adjustment
color changes.
When tuning the correction color RED
: RED is added to or reduced from
the adjustment color.
When tuning the correction color GREEN
: GREEN is added to or reduced
from the adjustment color.
When tuning the correction color BLUE
: BLUE is added to or reduced from
the adjustment color.
• This adjustment should be carried out
by a person who is familiar with the
projector or by a service person
because a high level of skill is required
to make successful adjustment.
•
Pressing the DEFAULT button will
restore the factory defaults for all items.
• When any setting other than “OFF”
has been selected for “COLOR
MATCHING”, “AI”, “COLOR
CORRECTION” and “COLOR TEMP”
settings are not adjustable.
• When “AUTO TESTPATTERN” is set
to “ON”, the test pattern for adjusting
the adjustment color is automatically
displayed.
Note
(Continued on the next page)