6 SmartNode 10200 Series Quick Start Guide
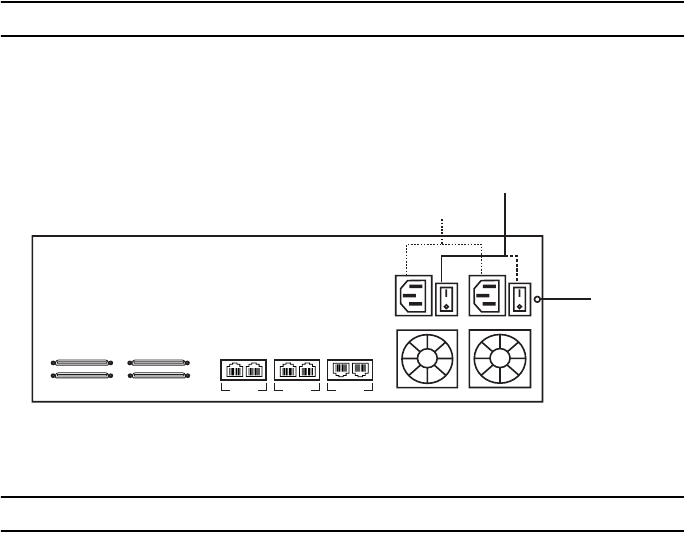
5.0 Connecting to the power source
1. Connect to two independent power sources (if only one power source is used, press the green button at
the rear of the unit to disable the audible alarm).
2. Verify that the Power LED on the front panel is a Solid Green.
Figure 6. Connecting the power source
6.0 Connecting to the Control host
1. Connect to the Control host through the console serial port (see 6.1 “Connecting the console serial
port” on page 7) OR the Ethernet management interface (see 6.2 “Connecting the Ethernet man-
agement interface” on page 7).
The IP address of the management port is 192.168.200.10/24. If it is not possible to connect to the
management port via IP, use the serial cable to connect to the SmartNode Control host for the first time.
2. Default HOSTNAME is the Control host serial number, which can be found in the “Important Notice” sheet
included with your shipment.
3. Refer to the "Important Notice" sheet for the username and password to log onto the Control host. Navi-
gate to: HTTP://HOSTNAME:12358, to configure the SmartNode unit. (username/password: root/root)
ETH VoIP SMP
0/0 0/1 0/0 0/1 0/0 0/1
Audible
alarm button
Power switch
Power socket
49-64
33-48
17-32
1-16
