8 SmartNode 10200 Series Quick Start Guide
7.1 Accessing the SmartNode via the Console Management port
Logging into the SmartNode Console
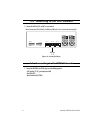
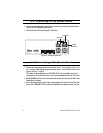
1. To physically connect the console serial port, follow the instructions in 6.1 “Connecting the console
serial port” on page 7.
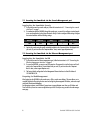
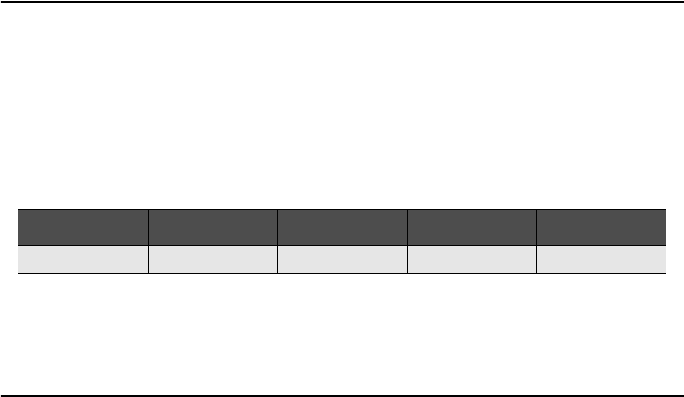
2. To communicate with the SN10200 through the console port, you must first configure a terminal emula-
tor or console application (such as HyperTerminal or Putty) in order to configure initial settings. Configure
the terminal emulator with the following settings:
3. Log into the console using the specific credentials included on the 'Important Notice' that shipped with
your unit. (If you do not have the “Important Notice” sheet, contact support@patton.com).
7.2 Accessing the SmartNode via the Ethernet Management port
Logging into the SmartNode via SSH
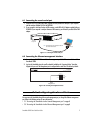
1. To physically connect the Ethernet management port, follow the instructions in 6.2 “Connecting the
Ethernet management interface” on page 7.
2. To access the SN10200, you must use an SSH connection. The password is set at the factory and is indi-
cated on the “Important Notice” sheet included with your unit. (If you do not have the “Important
Notice” sheet, contact support@patton.com).
3. The factory default configuration for the Management Ethernet Interface is a Static IP address of
192.168.200.10/24.
Preparing for Web Management
After logging into the SN10200 via the console port or SSH, a control menu displays. This menu allows you to
complete simple tasks like setting the time zone and configuring the management IP Address, and more compli-
cated tasks like advanced debugging.
For debugging assistance, contact Patton’s Support team at support@patton.com. Once your IP Address and
Time Zone are set, there are no more configuration steps in the CLI and you may proceed to the web manage-
ment page.
Baud rate Data rate Parity Stop bits Flow control
9600 8 bits None 1 None


