C2673M-D (8/10) 33
NETWORK CONFIGURATION
If you are installing the DX4500/DX4600 in a network environment and you want to use the remote client application to access the DVR server,
you must configure the DVR network settings. Using the TCP/IP protocol, the DX4500/DX4600 remote client application can connect with up to
16 DX4500/DX4600 servers simultaneously for individual remote viewing, operation, and administration. The DX4500/DX4600 also supports
event notification, e-mail, and emergency agent notification.
The DX4500/DX4600 must be turned on, connected to a network, and you must be logged on at the administrator level to configure network
software settings. You must reboot the DVR for any network configuration changes to take effect, and you must restart the system before the
changes take effect. Before you change network settings, be sure you are not recording any video that cannot be interrupted.
CONFIGURING TCP/IP
To configure the TCP/IP network settings:
1. Log on to the DVR at the administrator level. The DVR application window opens.
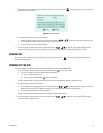
2. On the front panel, press the MENU/ESC button, or the remote control, press the MENU/ESC button . Using the mouse, click the
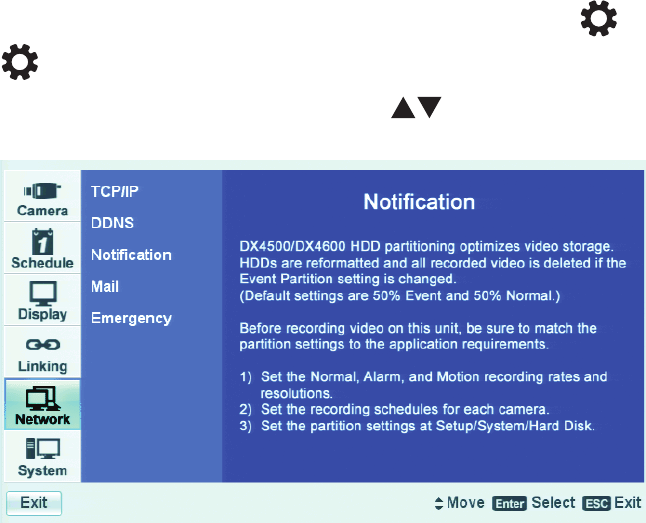
Setup icon . The Setup window opens to the Camera menu, displaying the options.
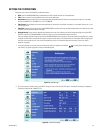
3. On the front panel or remote control, press the up/down arrow buttons to select Network. Using the mouse, click Network.
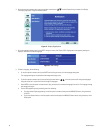
The Network page opens.
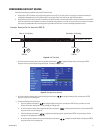
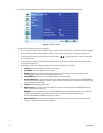
Figure 24. Network Page Options


