


17
English
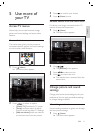
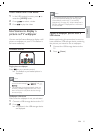
View photos, play music and watch
video from a USB storage device
Caution
Philips is not responsible if the USB storage
device is not supported nor is it responsible
for damage or loss of data from the device.
•
Your TV is À tted with a USB connector that
enables you to view photos, listen to music or
watch movies stored on a USB storage device.
Supported À le formats
Pictures JPEG (non-progressive only)
Music MP3
Video H.264, MPEG4
Note
Only FAT or DOS-formatted USB storage
devices are supported. File names must not
exceed 128 characters.
Your TV only supports USB Á ash drives in
FAT/FAT32 format. It does not support other
devices that can be connected to the USB
port including but not limited to the following:
portable storage devices such as external
hard drives and mini hard drives, MP3 player,
digital camera, phone, portable video player,
portable multimedia player.
•
•
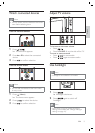
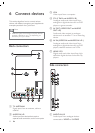
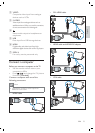
Connect a USB storage device and
enter the content browser
1 Turn on the TV.
2 Connect the USB device to the USB port
on the side of the TV .
3 Press ( Home ).
The home menu appears.
4 Press to select [Browse USB] .
5 Press to conÀ rm.
The USB content browser appears.
Note
If you connect multiple USB storage devices
via USB hub, a message appears prompting
you to select a device. Press
to select the
device, then press
to conÀ rm.
•
»
»
4 Press to select [Lock] or [Unlock] .
5 Press .
All channels and connected devices are
locked or unlocked.
Lock or unlock one or more channels
1 When watching TV, press .
The channel grid appears. The active
channel is highlighted.
2 Press ( ).
3 Press to select [Lock/Unlock chan.] .
4 Key in your PIN code.
The channel displays the lock icon.
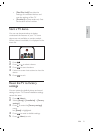
Use the TV clock
You can display a clock on the TV screen. The
clock displays the current time using time data
received from your TV service operator.
Display the TV clock
1 When watching TV, press ( ).
The TV options menu appears.
2 Select [Clock] .
3 Press .
The clock is displayed.
Note
The clock is disabled automatically after ten
minutes. To disable the clock before that,
repeat this procedure.
•
»
»
»
»
»
EN