


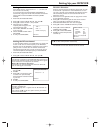
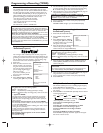
Turning on your DVD/VCR
The following steps only be performed when you insert the AC
PLUG at the first time.
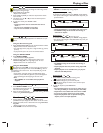
1 Turn on the TV and select the
video channel on the TV.
2
Plug in the DVD/VCR.
3 Press K/L repeatedly to select
your desired language.
4 Press DISC/VCR MENU.
5 Confirm with P+.
The automatic TV channel search
starts.
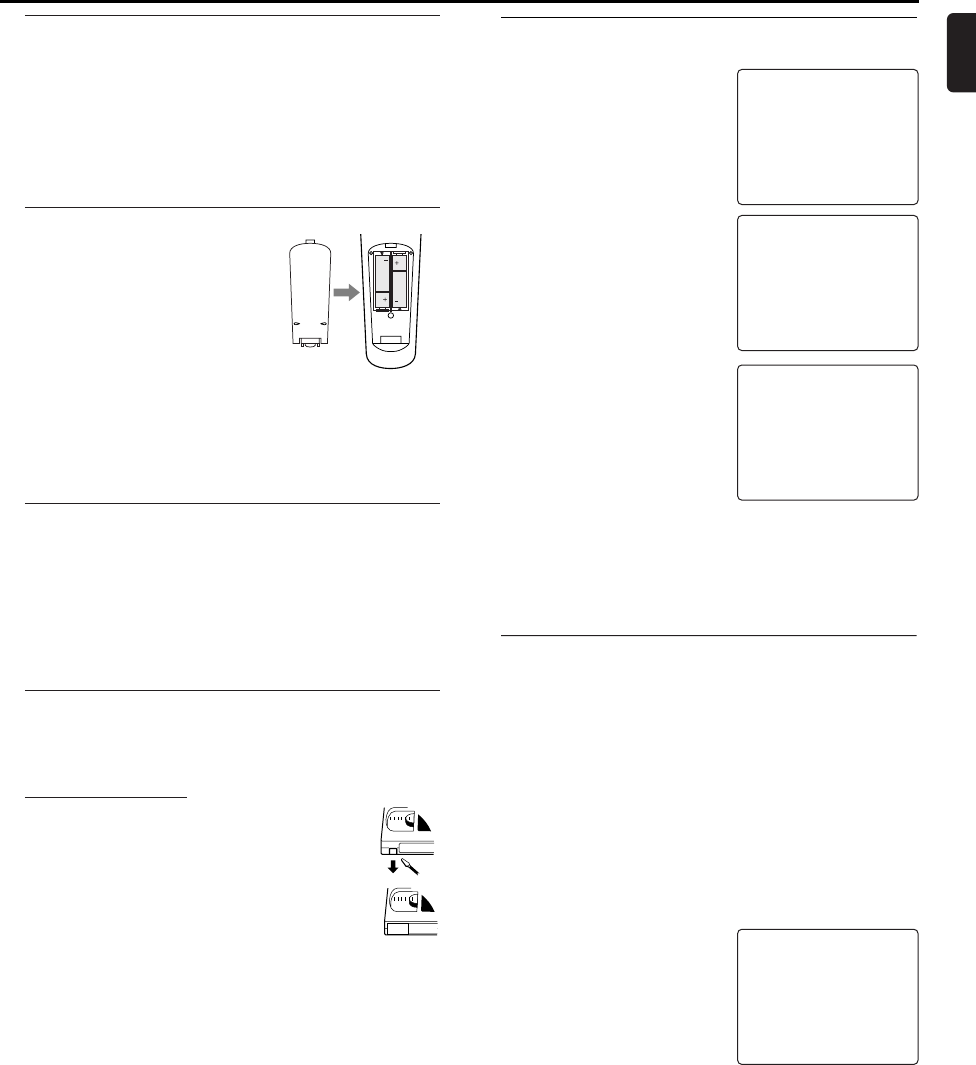
6 'TIME' and 'DATE' will appear on
the TV screen.
7 Check 'TIME'.If required,please
change the time with numerical key
pads.
8 Check if the displayed settings for
'DAY','MONTH' and 'YEAR' are
correct.
9 When all information is correct,
save by pressing STATUS/EXIT.The
preparation for use is now com-
plete.
Notes:
– If the DVD/VCR has been completed AUTO TUNING at
this procedure,this initial menu has never shown even if
power failure is occured or inserted AC plug again.)
Playable Video Cassette Tapes
Philips Consume Electronics recommends that only video cas-
sette tapes that have the VHS mark and High Quality (HQ) sys-
tem is compatible with this DVD/VCR.This
DVD/VCR has an Automatic Head Cleaner.
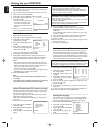
Recording Prevention
Video cassette tapes have record tabs to
ensure recordings are not erased accidentally.
1 To prevent recording, break off the tab with a
screw-driver.
2 To allow recording, cover the hole with cello-
phane tape.
Notes:
– Use only tapes with VHS mark.
– Remove any adhesive stick-on notes from the tape
before inserting into the DVD/VCR.
– Periodic maintenance is required to maintain your
DVD/VCR performance.
– Video heads will require replacement after a period of
time. Only an authorised service center should perform
this service.
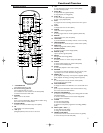
Using the Remote Control
• Direct the remote control at the remote sensor of the
DVD/VCR.
• Do not drop the remote control.
• Do not leave the remote control near extremely hot or
humid place.
• Do not spill water or put anything wet on the remote con-
trol.
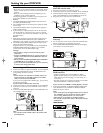
Inserting batteries into the Remote Control
1 Open the battery cover.
2 Insert batteries (AA size) with the
correct polarity as indicated by the
+ and - symbols inside the battery
compartment.
3 Close the cover.
CAUTION!
– Remove batteries if they are exhausted or not to be used
for a long time.
– Do not use old and new or different types of batteries in
combination.
– Batteries contain chemical substances, so they should be
disposed off properly and kept away from children.
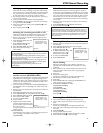
External Input Mode (for VCR features)
To receive the signal from an external input (decoder,satellite
receiver,video camera,another VCR etc.), connect to the AV2
(DECODER) socket,and enter “002” with numerical key pads
button to appear “AV2” on the TV screen.
If you use the AV1 (TV) socket,enter “001” with numerical key
pads to appear “AV1” on the TV screen.
If you use the front AUDIO/VIDEO input jacks,enter “003” with
numerical key pads to appear “AV3” on the TV screen.
7
English
Setting Up your DVD/VCR
1
2
PLEASE WAIT
START FINISH
❚❚❚❚❚❚❚❚❚❚❚
❚❚❚❚❚❚❚❚❚❚❚❚❚
SELECT KL
→ ENGLISH
FRANÇAIS
ESPAÑOL
DEUTSCH
ITALIANO
SVENSKA
NEDERLANDS
PUSH MENU TO CONTINUE
Video Channel Setting
Video channel setting will be necessary, if your DVD/VCR is
connected to the TV via the coaxial cable.
1 Insert a pre-recorded tape into the DVD/VCR.The DVD/VCR
will turn on and start playback automatically.
If playback does not start, press PLAY B .
2 Select and adjust your TV to channel 36.
• If the playback picture appears on the TV screen,continue
with step 8.
• If channel 36 is employed for broadcasting,or interference
lines appear on the picture,the RF converter must be set to
a different channel between CH22 and CH69. Continue with
step 3.
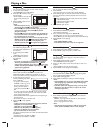
3 Press DISC/VCR MENU.
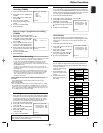
4 Press K/L to select INITIAL SET
UP.Then,press B.
5 Press K/L to select RF OUT.Then,
press B twice.
6 Press K/L to select a channel
which is not used for broadcasted
between channel 22 and channel 69
in your area,then press B.
• You can also see the selecting RF channel in the display
7 Press STATUS/EXIT to exit.
Set the TV channel to the RF OUT CHANNEL which was
selected on the DVD/VCR.A picture from the VCR will appear
on the TV screen.If a picture does not appear,repeat steps 3
to 7 using a different channel which is not used for broadcast-
ed.
8 Press STOP C to stop the tape.
Note:
– You may also access the RF OUT CH menu by pressing
and holding DISC/VCR MENU for 3 seconds during power
off until the RF OUT CH menu appears.
SELECT KL CHOOSE B
→ RF OUT CH 36
SET=0-9
END=EXIT
TIME --:--
DATE --/--/--
SMART CLOCK [ON]
END=EXIT