18
1
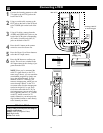
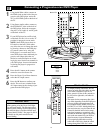
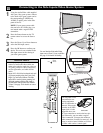
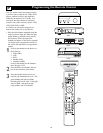
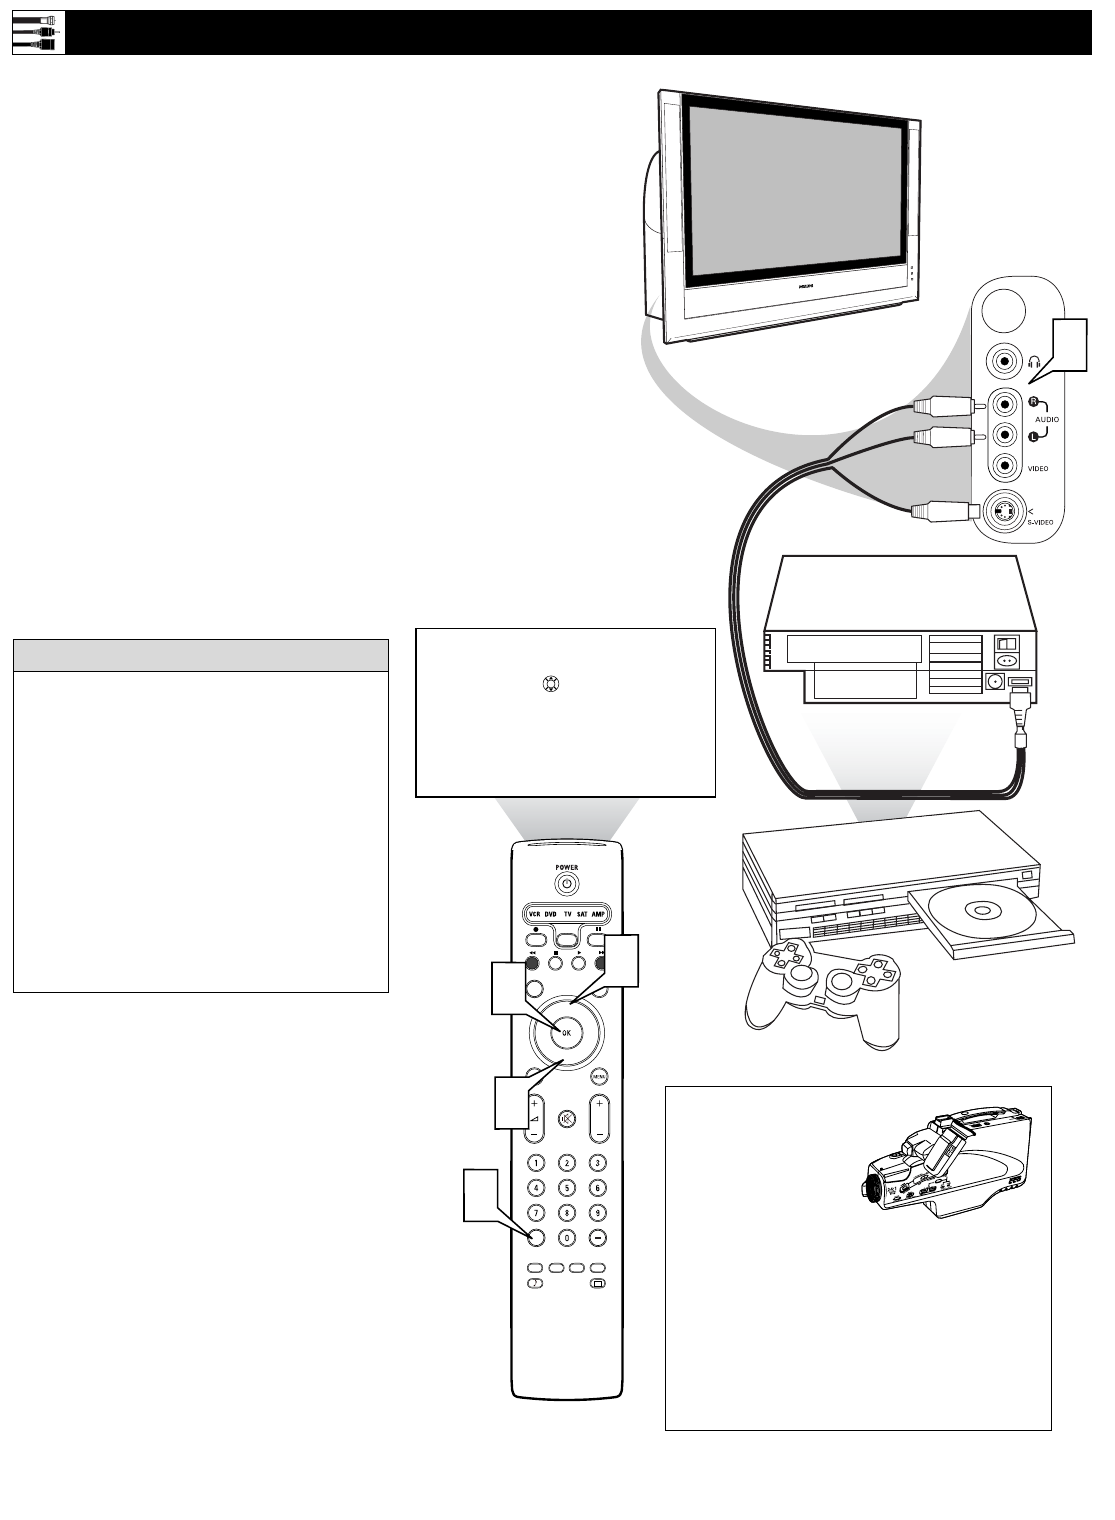
Using the Audio/Video cable supplied
with your video game system, connect
to the back of the game system and to
the corresponding S-VIDEO and
AUDIO (L and R) jacks in the Side
panel of the TV.
NOTE: If your game system cable
does not have an S-Video plug, you
can instead make a regular Video
connection.
2
Press the Source button on the TV
remote control to access the Source
list.
3
Press the Cursor Up or Down button to
select the Side input source.
4
Press the OK button to confirm your
choice. The set is now switched to the
Side input source for the viewing of
your video game system.
Connecting to the Side Inputs:Video Game System
®
®
®
®
SAP
CONTROL
TIMER
ACTIVE SLEEP
CLOCK
AV+
PIP
SCREEN
FORMAT
SURF
TV
SURR
HD
INFO
SELECT
DNM
CC
AUTO
AUTO
P
---
AV6:Other
SIDE:Other
Source
OK
2
3
4
3
1
Panel on
Side of
TV
Back of Game System
(example only)
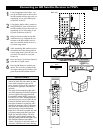
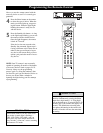
The side panel is also
convenient for con-
necting equipment
such as camcorders or
cameras. If the equip-
ment has an S-Video
output jack, it is the
suggested one to use
for your connection to receive the best pic-
ture. Otherwise, you can make a regular
Video connection. You must also make an
audio connection (L and R for stereo or L for
mono) to receive sound. Neither an S-Video
or Video cable carries a sound signal.
Camcorder
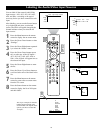
You can label the Side Audio/Video
input source “Game” if you would like.
See page 19 for details on labeling.
•To simplify making connections, the con-
nectors on audio and video cables are
often color coded to match the colors on
TV jacks: yellow for video (composite),
red for right audio, and white for left
audio.
• Inputs AV3–AV6 allow horizontal and verti-
cal picture panning using the Cursor Left,
Right, Up, and Down buttons. The Side
input allows vertical picture panning; left
and right panning with the Side input is
possible when the input has been labeled
“Game.” See page 19 for details on source
labeling.
HELPFUL HINTS


