66
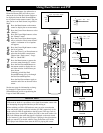
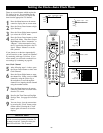
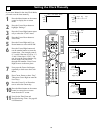
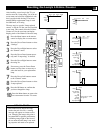
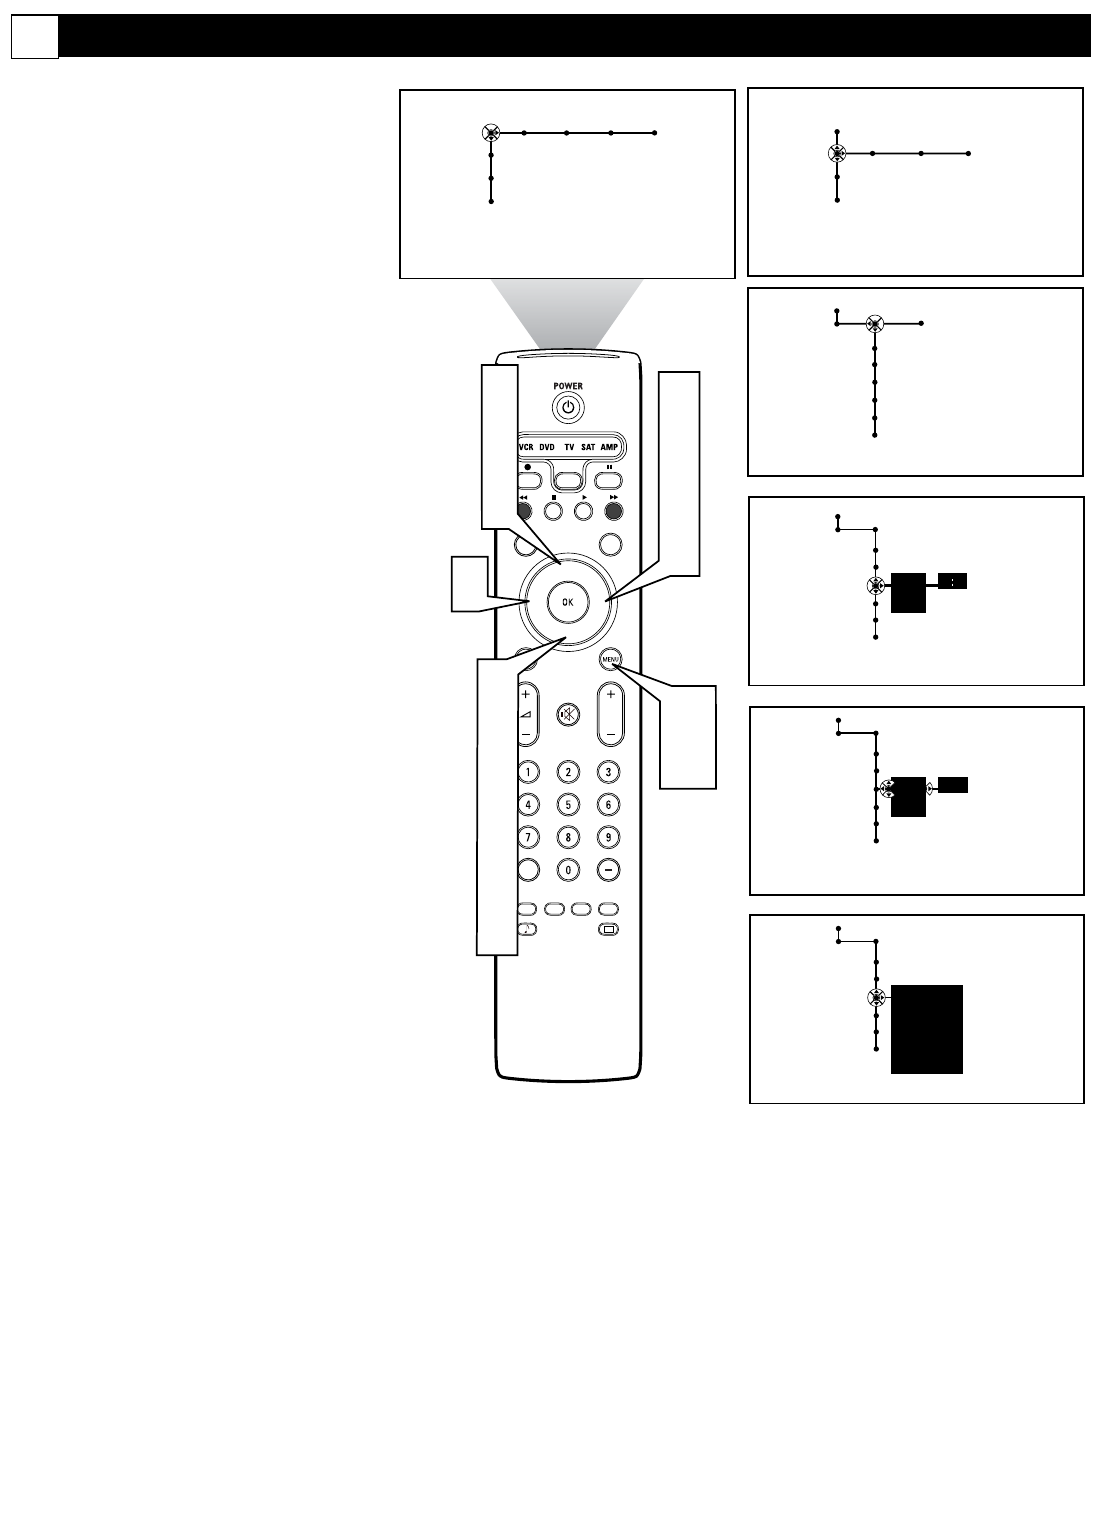
If you select Manual in the Auto Clock Mode,
you need to set the time manually.
1
Press the Menu button on the remote
control to display the on-screen
menu.
2
Press the Cursor Down button to
highlight “Settings.”
3
Press the Cursor Right button repeat-
edly to select the “Clock” menu.
4
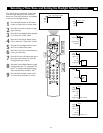
Press the Cursor Down button to
select Time.
5
Press the Cursor Right and Up or
Down buttons to select AM or PM.
6
Press the Cursor Right button and
use the number buttons to enter the
current time. (For example, enter 0,
8, 3, and 0 if the time is 8:30 or 1, 2,
4, and 5 if the time is 12:45.) You
can also use the Cursor buttons (Up,
Down, Right, Left) and scroll
through each number. Press Cursor
Right to move to the next place.
7
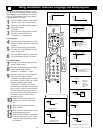
Next press the Cursor Left button
repeatedly to back out to the Clock
Menu.
8
Press Cursor Down to select “Day”.
Then press Cursor Right to enter the
list of days.
9
Press the Cursor Up or Down but-
tons to select the current day.
10
Press the Menu button on the remote
control to remove the on-screen
menu from the TV screen.
11
Next Set the Time Zone and
Daylight Savings Time. See page 69
for instructions.
Setting the Clock Manually
®
®
®
®
SAP
CONTROL
TIMER
ACTIVE SLEEP
CLOCK
AV+
PIP
SCREEN
FORMAT
SURF
TV
SURR
HD
INFO
SELECT
DNM
CC
AUTO
AUTO
P
Clock
Settings
1
10
3
5
6
8
2
4
5
6
8
9
Picture Sound Features Channels
TV
Settings
Demo
Install
5
6
9
7
Auto clock mode
Auto clock channel
Time
Day
Time zone
Daylight saving
AM
PM
-- --
Clock
Settings
Auto clock mode
Auto clock channel
Time
Day
Time zone
Daylight saving
AM
PM
Clock
Settings
Auto clock mode
Auto clock channel
Time
Day
Time zone
Daylight saving
Sunday
Monday
Tuesday
Wednesday
- - -
8:28
Clock Source
Settings
General Clock Source
TV
Settings
Demo
Install
Auto clock mode
Auto clock channel
Time
Day
Time zone
Daylight saving
G


