11 Timer Presetting
48
En
7
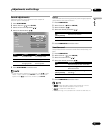
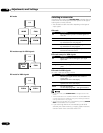
Specify a channel number. ( / then ENTER for each
digit)
Day(s) Start/End Times
Recording Device
•1
Wed 5/19 3:58p - 10:58p A 2.0 None
xxxxxxxxxxxxxxxxxxxxx
xxxxxxxxxxxxxxxxxxxxx
xxxxxxxxxxxxxxxxxxxxx
Clear TimerSuspend Timer New Timer
Exit
Home Menu
DBA
Timers
Channel
8
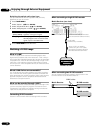
Select a recording device. ( / then ENTER)
•To preset for auto channel select, select “None”.
Day(s) Start/End Times Channel
•1
Tue. 5/18 12:03a - 1:03a A 2.0 D-VHS
xxxxxxxxxxxxxxxxxxxxx
xxxxxxxxxxxxxxxxxxxxx
xxxxxxxxxxxxxxxxxxxxx
Clear TimerSuspend Timer New Timer
Exit
Home Menu
DBA
Name
Advantz
Recording Device
Timers
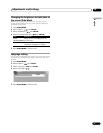
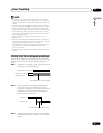
9
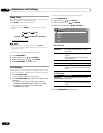
Press HOME MENU to exit the menu.
An alarm screen appears slightly before the preset timer is
activated. If watching a TV channel through antenna A or B in a
single-screen mode, the screen allows you to cancel the
presetting by pressing D.
Timer Alert
The Following timer is about to begin:
Sun. 1/0 12:00 am – 12:00 am
Ant. A 0.0
Cancel TimerAccept
D
A
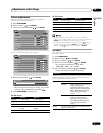
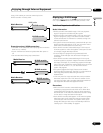
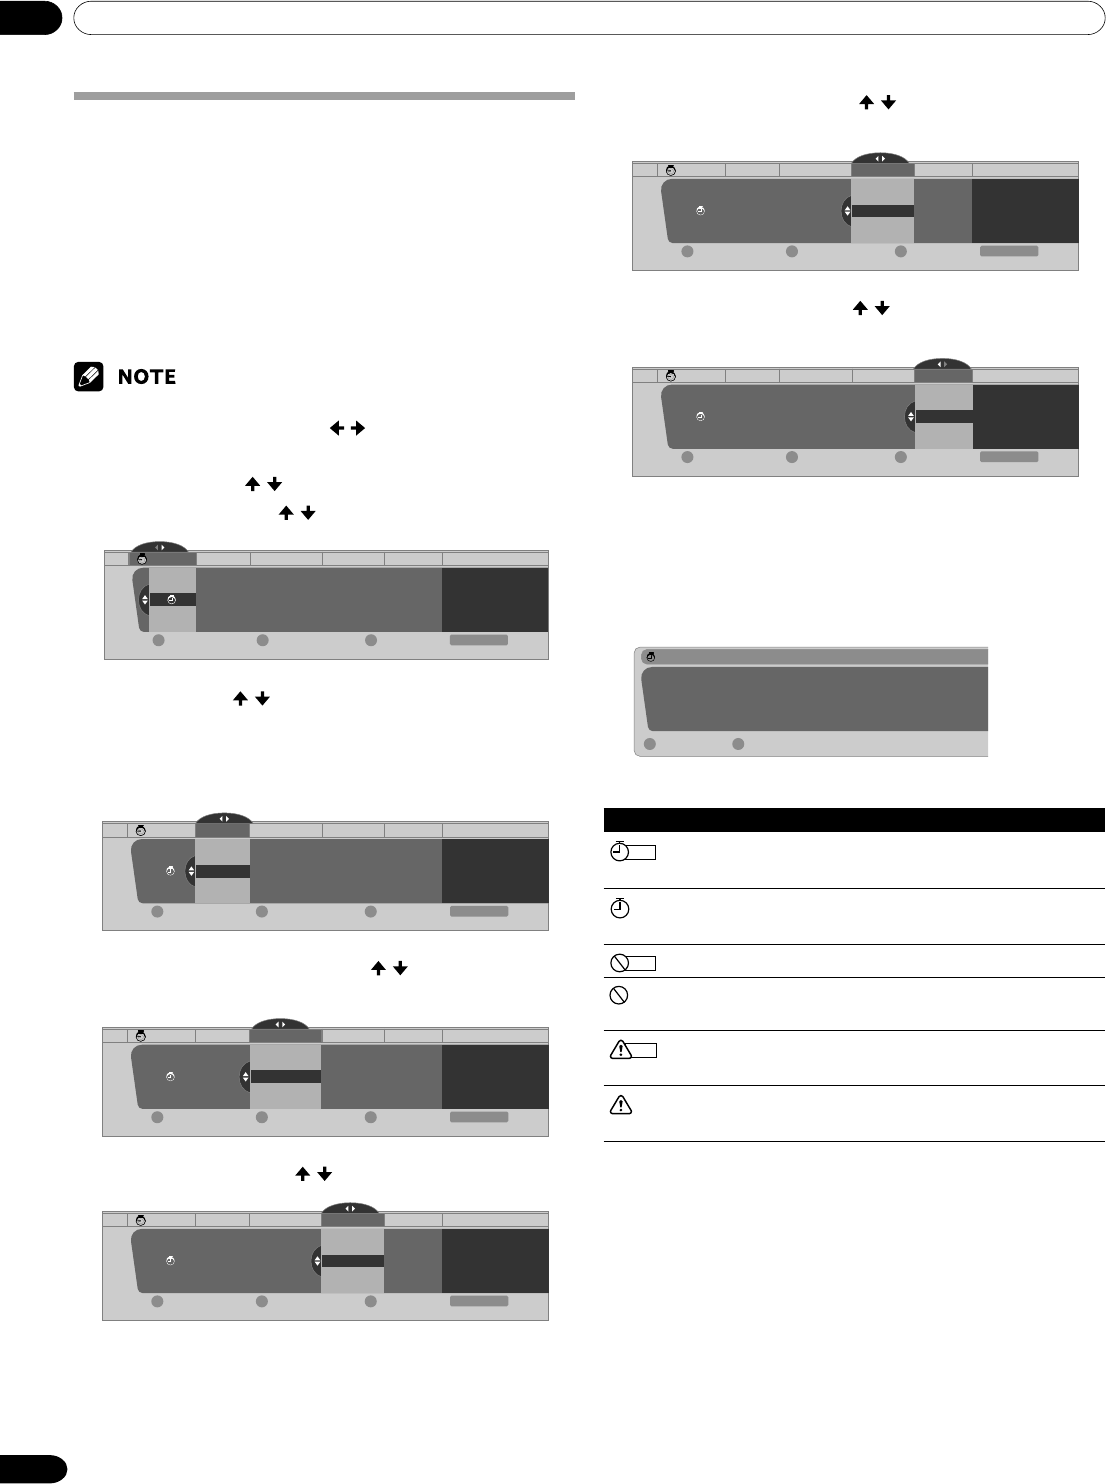
The icons beside the list numbers have the following meanings.
Icon Meaning
REC
Preset for recording; no conflicts with other timers
exist.
Preset for auto channel select; no conflicts with
other timers exist.
REC
Preset for recording; conflicts with other timers exist.
Preset for auto channel select; conflicts with other
timers exist.
REC
Preset for recording; the timer start has been
delayed.
Preset for auto channel select; the timer start has
been delayed.
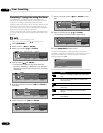
Presetting TV programs using the timer
Using the menu, you can easily preset TV programs for
watching later (auto channel select), recording with a D-VHS
recorder, or recording via the supplied VCR controller.
With the power to the system left on, the Auto Channel Preset
automatically selects the preset TV program when its on-air
time comes. Then you will not miss an important TV program
when you are enjoying another TV program.
For the connections with a D-VHS recorder, see pages 54 and
55. For the connections with the supplied VCR controller, see
page 59.
•You can make up to 32 presettings in total.
• In steps 4 to 8, you can also press / to move the cursor.
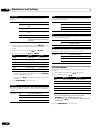
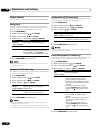
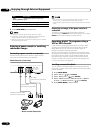
1
Press HOME MENU.
2
Select “Timers”. ( / then ENTER)
3
Select a list number. ( / then ENTER)
Day(s) Start/End Times Channel
Recording Device
Timers
•1
Mon 5/17 9:58p - 10:58p A 2.0 None
xxxxxxxxxxxxxxxxxxxxx
xxxxxxxxxxxxxxxxxxxxx
xxxxxxxxxxxxxxxxxxxxx
Clear TimerSuspend Timer New Timer
Exit
Home Menu
DBA
Timers
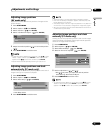
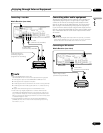
4
Specify a date. ( / then ENTER)
• The selections include the days of the week (e.g.,
Mondays), “Weekdays”, “Weekends”, and “Everyday”.
Selecting one of these will cause the timer to activate
periodically.
Start/End Times Channel
Recording Device
•1
Wed. 5/19 9:58p - 10:58p A 2.0 None
xxxxxxxxxxxxxxxxxxxxx
xxxxxxxxxxxxxxxxxxxxx
xxxxxxxxxxxxxxxxxxxxx
Clear TimerSuspend Timer New Timer
Exit
Home Menu
DBA
Timers
Tue. 5/18
Mon. 5/17
Thu. 5/20
Fri. 5/21
Day(s)
5
Specify the start and end times. ( / then ENTER for
each field)
Day(s) Channel
Recording Device
•1
Wed 5/19 3:58p - 10:58p A 2.0 None
xxxxxxxxxxxxxxxxxxxxx
xxxxxxxxxxxxxxxxxxxxx
xxxxxxxxxxxxxxxxxxxxx
Clear TimerSuspend Timer New Timer
Exit
Home Menu
DBA
2
1
4
5
Timers
Start/End Times
6
Select antenna A or B. ( / then ENTER)
Day(s) Start/End Times
Recording Device
•1
Wed 5/19 3:58p - 10:58p A 2.0 None
xxxxxxxxxxxxxxxxxxxxx
xxxxxxxxxxxxxxxxxxxxx
xxxxxxxxxxxxxxxxxxxxx
Clear TimerSuspend Timer New Timer
Exit
Home Menu
DBA
Timers
Channel


